【东枫科技】usrp rfnoc 开发环境搭建
作者
太原市东枫电子科技有限公司 ,代理销售 USRP,Nvidia,等产品与技术支持,培训服务。
环境
Ubuntu 20.04
依赖包
sudo apt-get update
sudo apt-get install autoconf automake build-essential ccache cmake cpufrequtils doxygen ethtool \
g++ git inetutils-tools libboost-all-dev libncurses5 libncurses5-dev libusb-1.0-0 libusb-1.0-0-dev \
libusb-dev python3-dev python3-mako python3-numpy python3-requests python3-scipy python3-setuptools \
python3-ruamel.yaml
sudo apt-get -y install autoconf automake build-essential ccache cmake cpufrequtils doxygen ethtool fort77 g++ gir1.2-gtk-3.0 git gobject-introspection gpsd gpsd-clients inetutils-tools libasound2-dev libboost-all-dev libcomedi-dev libcppunit-dev libfftw3-bin libfftw3-dev libfftw3-doc libfontconfig1-dev libgmp-dev libgps-dev libgsl-dev liblog4cpp5-dev libncurses5 libncurses5-dev libpulse-dev libqt5opengl5-dev libqwt-qt5-dev libsdl1.2-dev libtool libudev-dev libusb-1.0-0 libusb-1.0-0-dev libusb-dev libxi-dev libxrender-dev libzmq3-dev libzmq5 ncurses-bin python3-cheetah python3-click python3-click-plugins python3-click-threading python3-dev python3-docutils python3-gi python3-gi-cairo python3-gps python3-lxml python3-mako python3-numpy python3-numpy-dbg python3-opengl python3-pyqt5 python3-requests python3-scipy python3-setuptools python3-six python3-sphinx python3-yaml python3-zmq python3-ruamel.yaml swig wget vim net-tools
pip3安装
sudo apt install python3-pip
【错误】不要安装的python包
pip3 install dash parse jsonschema
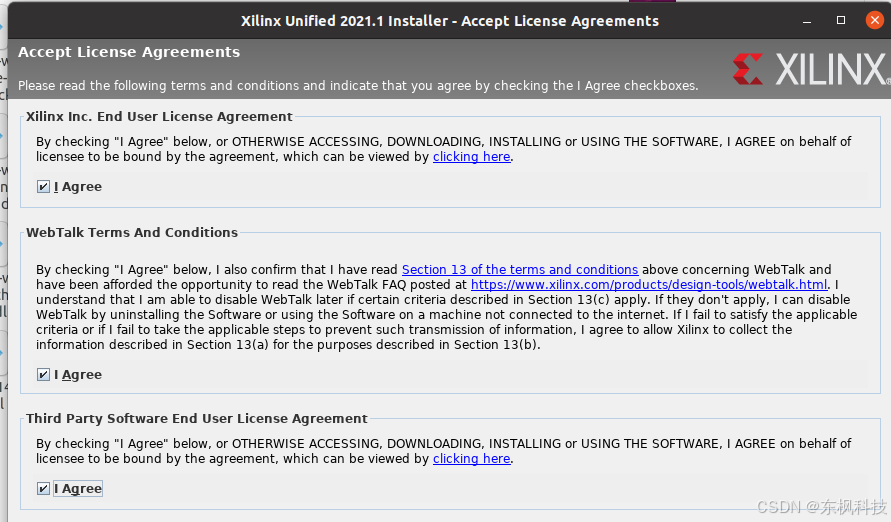
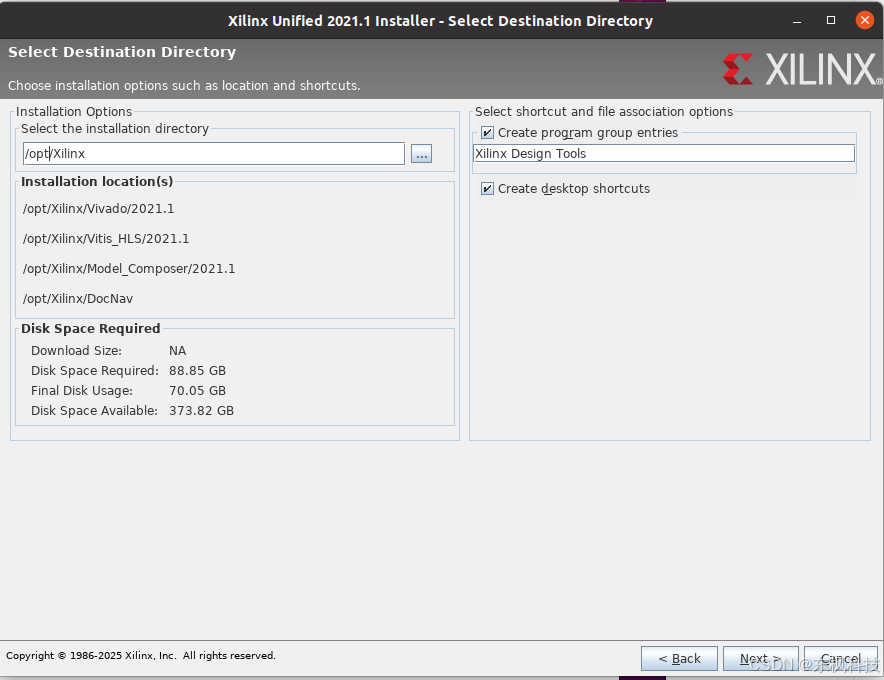
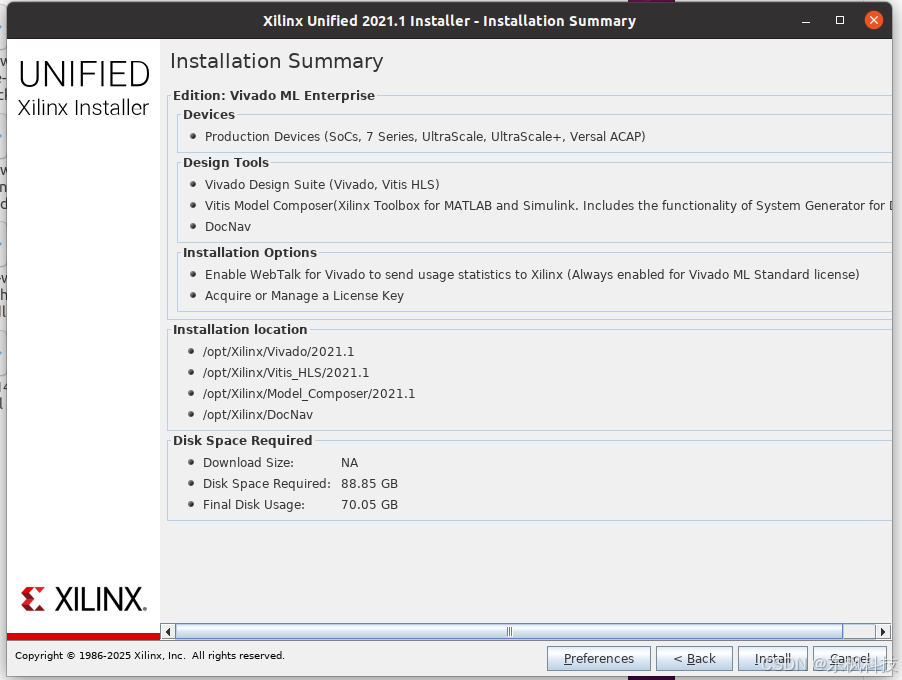
安装 vivado 2021.1
sudo dpkg-reconfigure dash	##更改dash模式,选择nosudo apt-get install libstdc++6
sudo apt-get install libncurses5
sudo apt-get install libtinfo5
sudo apt-get install opencl-headers
sudo apt-get install ocl-icd-libopencl1
sudo apt-get install ocl-icd-opencl-dev
安装nas并挂载
sudo apt update
sudo apt install nfs-common
sudo mount -t nfs 192.168.0.100:/volume2/Software ~/Music
拷贝安装包到linux里面
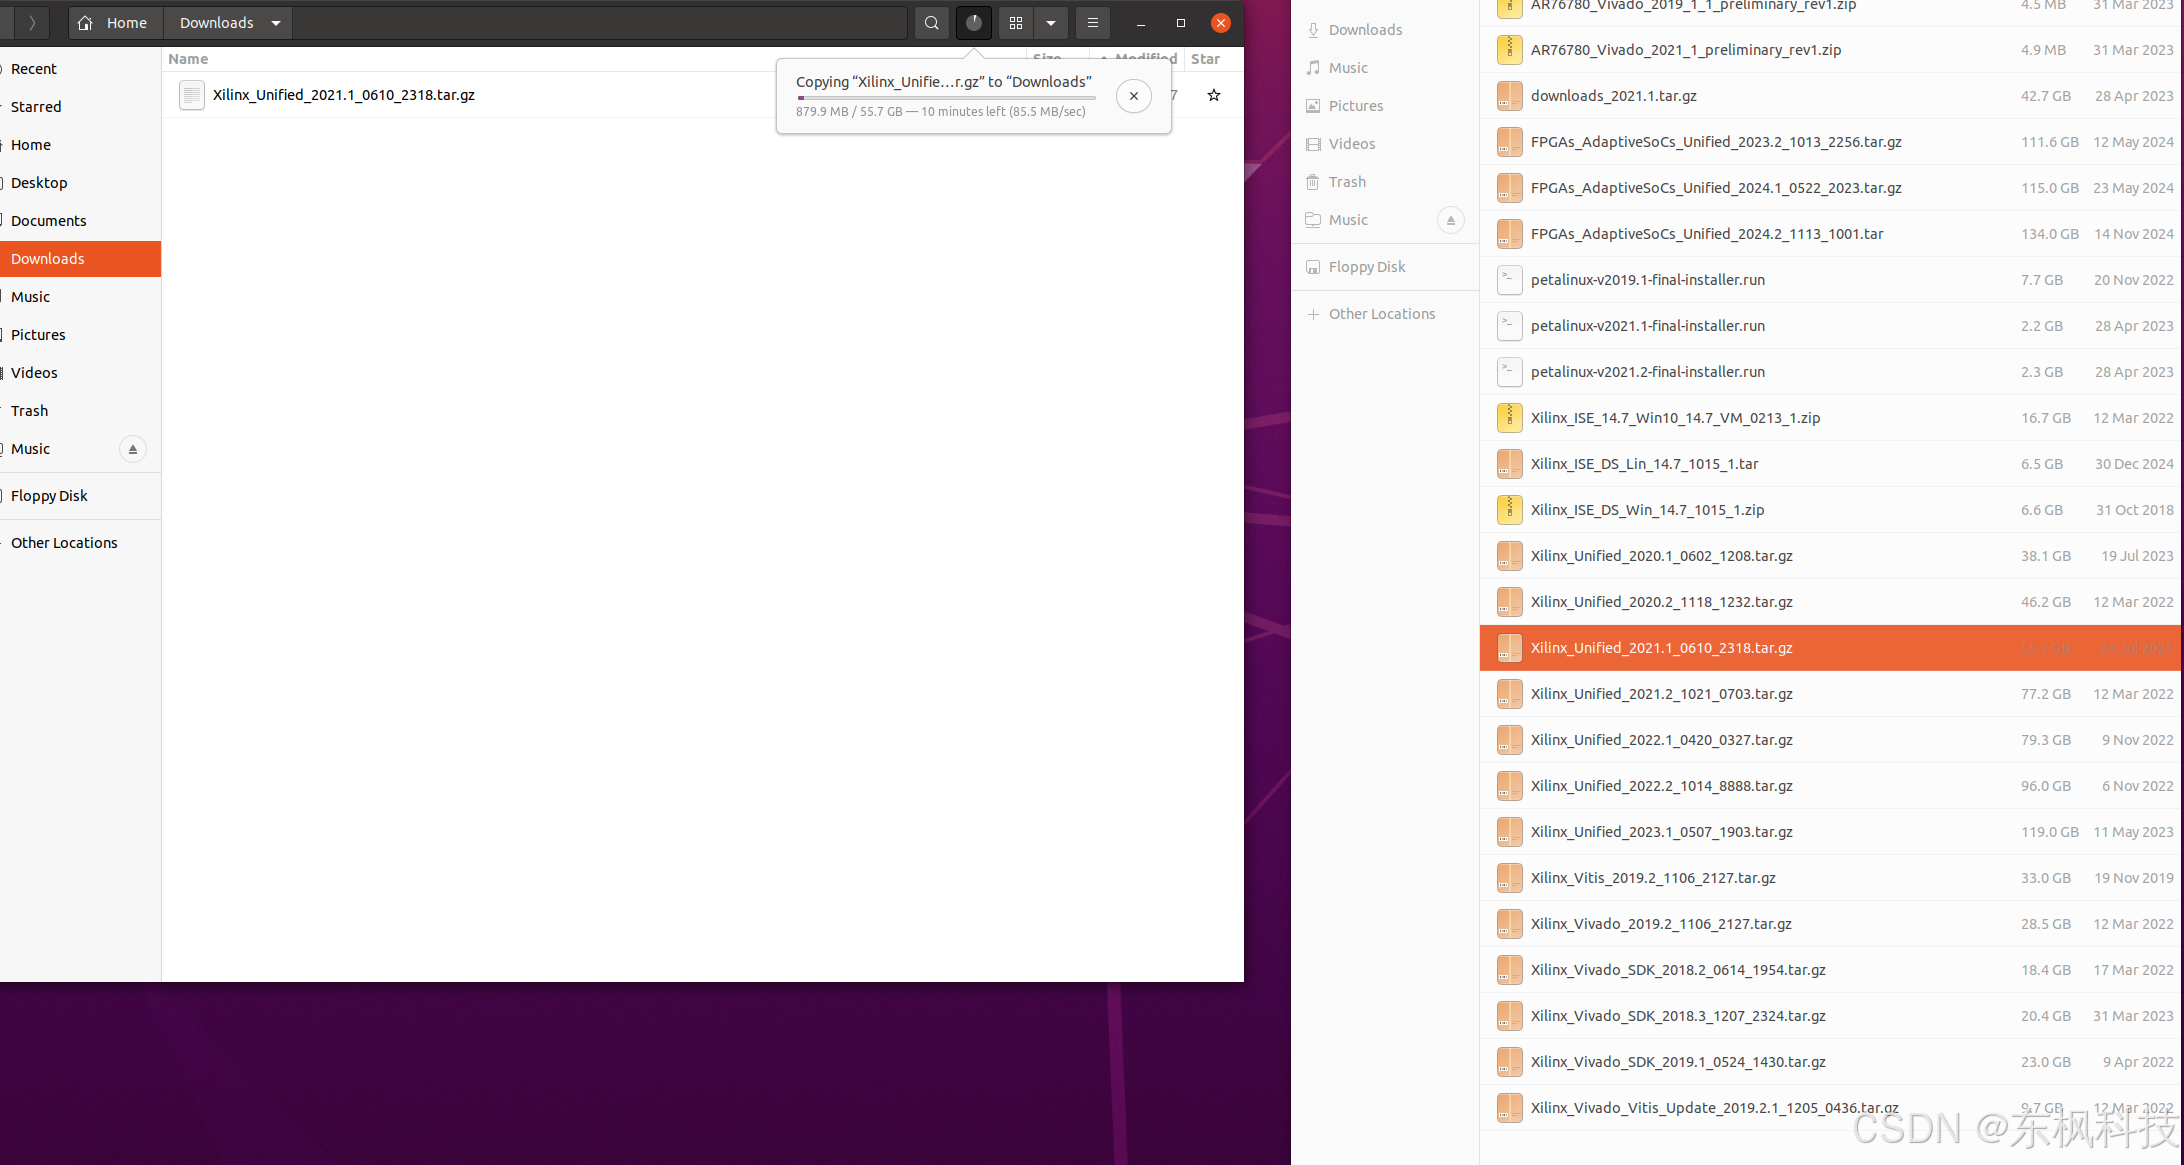
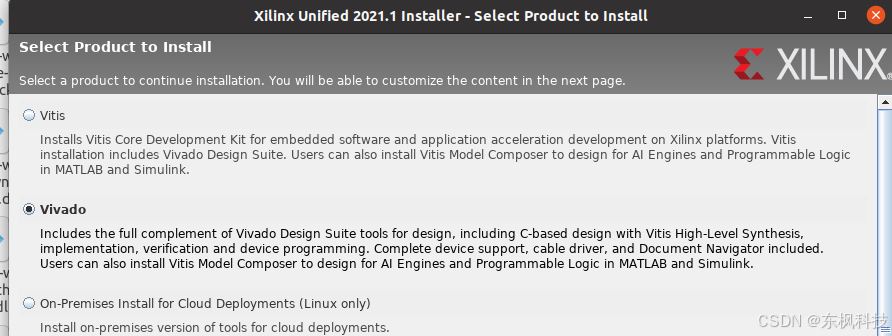
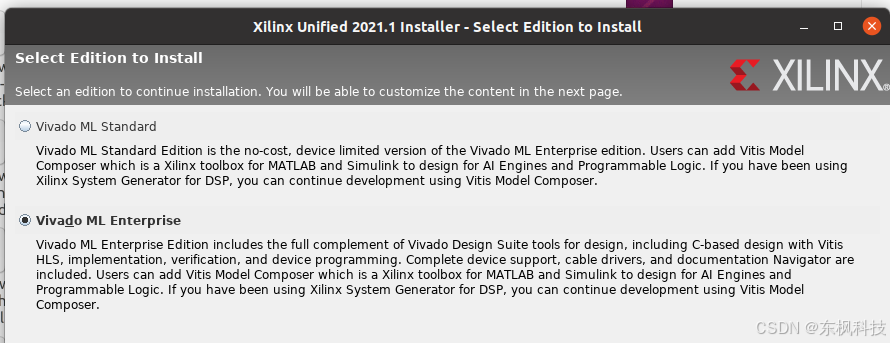
解压vivado安装包之后,进入命令行,安装vivado

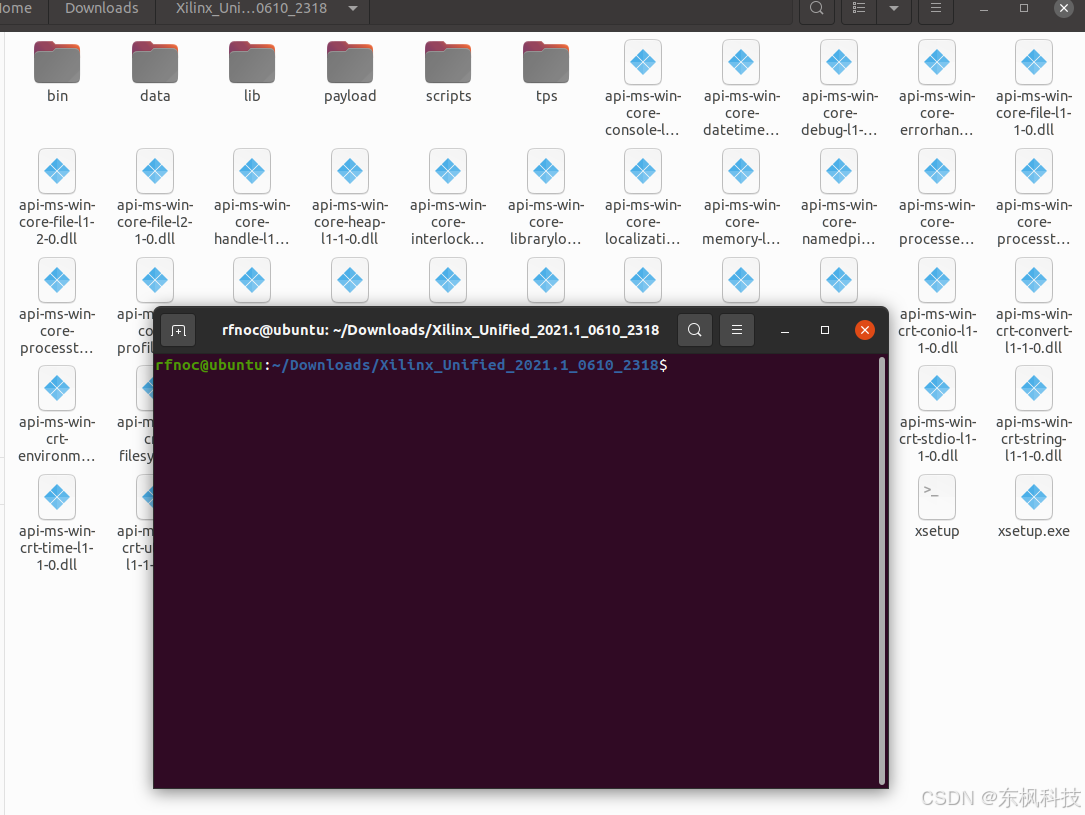
sudo ./xsetup
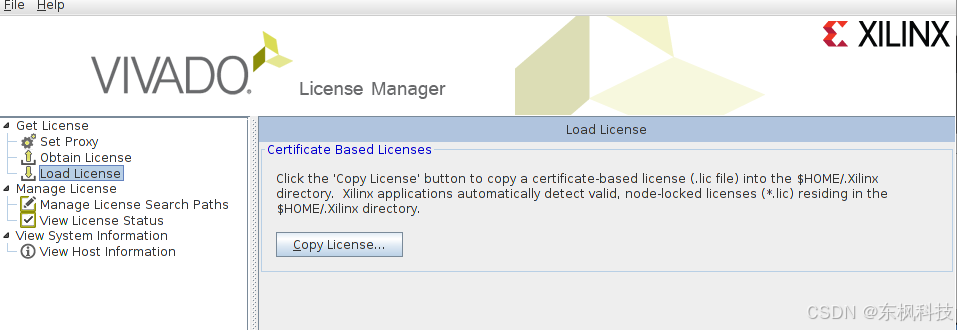
安装序列号

完成安装。
安装 vivado 补丁
拷贝补丁到patches下
sudo cp -r AR76780_Vivado_2021_1_preliminary_rev1 /opt/Xilinx/Vivado/2021.1/patches/
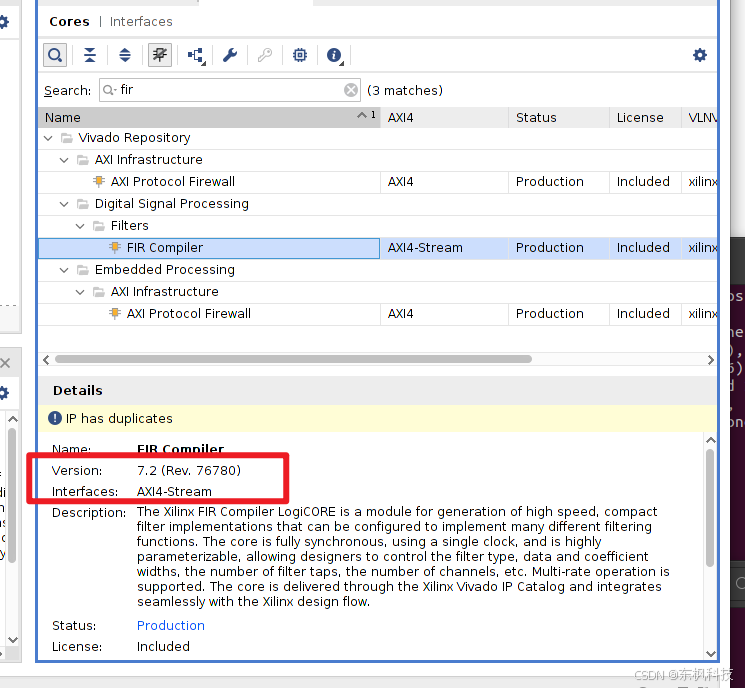
验证ip核
安装 UHD
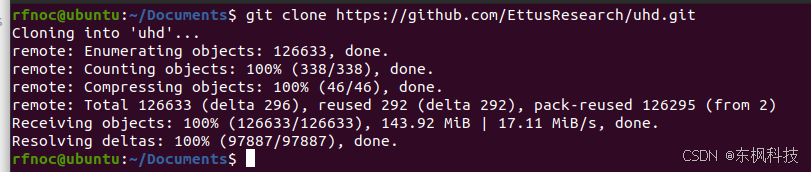
git clone https://github.com/EttusResearch/uhd.git
cd uhd
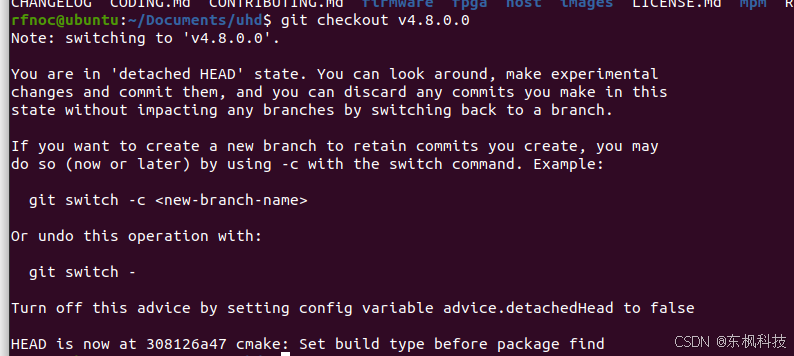
切换版本
git checkout v4.8.0.0
cd host
mkdir build
cd build
cmake -DENABLE_TESTS=ON  -DENABLE_C_API=ON  -DENABLE_PYTHON_API=ON -DENABLE_MANUAL=ON  ..
make -j$(nproc)
sudo make install
sudo ldconfig
安装镜像文件,验证安装
sudo /usr/local/lib/uhd/utils/uhd_images_downloader.py
//镜像下载
sudo uhd_images_downloader
//查找设备
sudo uhd_find_devices
//查看设备信息
sudo uhd_usrp_probe
Python 库索引
cd /usr/lib/python3/dist-packages
sudo vim uhd.pth
文件内容
/usr/local/lib/python3.8/site-packages/
/home/rfnoc/.local/lib/python3.8/site-packages/
保存该文件。
测试python3
python3
import uhd
如果没有报错,那么恭喜你搞定安装了!
安装 gnu radio
sudo add-apt-repository ppa:gnuradio/gnuradio-releases
sudo apt-get update
sudo apt-get install gnuradio python3-packaging
讲解 rfnoc_image_builder 编译工具
optional arguments:-h, --help show this help message and exit-y YAML_CONFIG, --yaml-config YAML_CONFIGPath to yml configuration file-r GRC_CONFIG, --grc-config GRC_CONFIGPath to grc file to generate config from-C BASE_DIR, --base-dir BASE_DIRPath to the base directory. Defaults to the current directory.-F FPGA_DIR, --fpga-dir FPGA_DIRPath to directory for the FPGA source tree. Defaults to the FPGA source tree of the current repo.-B BUILD_DIR, --build-dir BUILD_DIRPath to directory where the image core and and build artifacts will be generated. Defaults to "build-<image-core-name>"in the base directory.-O BUILD_OUTPUT_DIR, --build-output-dir BUILD_OUTPUT_DIRPath to directory for final FPGA build outputs. Defaults to "build" in the base directory.-E BUILD_IP_DIR, --build-ip-dir BUILD_IP_DIRPath to directory for IP build artifacts. Defaults to "build-ip" in the base directory.-o IMAGE_CORE_OUTPUT, --image-core-output IMAGE_CORE_OUTPUTDEPRECATED! This has been replaced by --build-dir.-x ROUTER_HEX_OUTPUT, --router-hex-output ROUTER_HEX_OUTPUTDEPRECATED! This option will be ignored.-I INCLUDE_DIR, --include-dir INCLUDE_DIRPath to directory of the RFNoC Out-of-Tree module-b GRC_BLOCKS, --grc-blocks GRC_BLOCKSPath to directory of GRC block descriptions (needed for --grc-config only)-l LOG_LEVEL, --log-level LOG_LEVELAdjust log level-R, --reuse Reuse existing files (do not regenerate image core).-G, --generate-only Just generate files without building the FPGA-W, --ignore-warningsRun build even when there are warnings in the build process-S SECURE_CORE, --secure-core SECURE_COREBuild a secure image core instead of a bitfile. This argument provides the name of the generated YAML.-K SECURE_KEY, --secure-key SECURE_KEYPath to encryption key file to use for secure core.-d DEVICE, --device DEVICEDevice to be programmed [x300, x310, e310, e320, n300, n310, n320, x410, x440]. Needs to be specified either here, orin the configuration file.-n IMAGE_CORE_NAME, --image-core-name IMAGE_CORE_NAME, --image_core_name IMAGE_CORE_NAMEName to use for the RFNoC image core. Defaults to name of the image core YML file, without the extension.-t TARGET, --target TARGETBuild target (e.g. X310_HG, N320_XG, ...). Needs to be specified either here, on the configuration file.-g, --GUI Open Vivado GUI during the FPGA building process-Y, --SYNTH Stop the FPGA build process after Synthesis--CHECK Run elaboration only to check HDL syntax-s, --save-project Save Vivado project to disk-P, --ip-only Build only the required IPs-j JOBS, --jobs JOBS Number of parallel jobs to use with make-c, --clean-all Cleans the IP before a new build-p VIVADO_PATH, --vivado-path VIVADO_PATHPath to the base install for Xilinx Vivado if not in default location (e.g., /tools/Xilinx/Vivado).-H, --no-hash Do not include source YAML hash in the generated source code.-D, --no-date Do not include date or time in the generated source code.--color {never,auto,always}Enable colorful output. When set to 'auto' will only show color output in TTY environments (e.g., interactive shells)
| 参数 | 说明 |
|---|---|
-h, --help | 显示帮助信息并退出 |
-y YAML_CONFIG, --yaml-config YAML_CONFIG | 指定 YAML 配置文件的路径 |
-r GRC_CONFIG, --grc-config GRC_CONFIG | 指定 GRC 文件路径(用于自动生成配置) |
-C BASE_DIR, --base-dir BASE_DIR | 设置基础目录路径,默认使用当前目录 |
-F FPGA_DIR, --fpga-dir FPGA_DIR | 设置 FPGA 源码路径,默认使用当前仓库中的源码目录 |
-B BUILD_DIR, --build-dir BUILD_DIR | 设置构建目录,镜像核心和构建文件将保存在此处。默认是“base目录下的 build-<镜像名称>” |
-O BUILD_OUTPUT_DIR, --build-output-dir BUILD_OUTPUT_DIR | 设置最终 bit 文件等输出的路径,默认是“base目录下的 build” |
-E BUILD_IP_DIR, --build-ip-dir BUILD_IP_DIR | 指定 IP 构建中间文件的保存路径,默认是“base目录下的 build-ip” |
-o IMAGE_CORE_OUTPUT | 已废弃!已被 --build-dir 替代 |
-x ROUTER_HEX_OUTPUT | 已废弃!此选项将被忽略 |
-I INCLUDE_DIR, --include-dir INCLUDE_DIR | 指定 RFNoC 自定义模块的头文件路径(Out-of-Tree Module) |
-b GRC_BLOCKS, --grc-blocks GRC_BLOCKS | GRC 模块描述路径(仅当使用 --grc-config 时需要) |
-l LOG_LEVEL, --log-level LOG_LEVEL | 设置日志输出等级(如 DEBUG、INFO 等) |
-R, --reuse | 重用已有文件,不重新生成 image core |
-G, --generate-only | 只生成中间文件,不构建 FPGA(不调用 Vivado) |
-W, --ignore-warnings | 即使出现警告也继续构建 |
-S SECURE_CORE, --secure-core SECURE_CORE | 构建“安全核心”镜像(而非普通 bit 文件),此参数为 YAML 输出名称 |
-K SECURE_KEY, --secure-key SECURE_KEY | 指定加密所用的密钥文件路径 |
-d DEVICE, --device DEVICE | 指定目标设备:[x300, x310, e310, e320, n300, n310, n320, x410, x440],必须在命令或配置文件中指定 |
-n IMAGE_CORE_NAME, --image-core-name | RFNoC 镜像的名称,默认使用 YAML 文件名(去除扩展名) |
-t TARGET, --target TARGET | 构建目标(如 X310_HG, N320_XG 等),必须指定(命令或 YAML 文件中) |
-g, --GUI | 构建过程中打开 Vivado GUI |
-Y, --SYNTH | 在综合(Synthesis)后中止 FPGA 构建流程 |
--CHECK | 仅执行 elaboration(结构展开)检查 HDL 语法,不生成 bit 文件 |
-s, --save-project | 保存 Vivado 项目到磁盘(用于后续手动打开) |
-P, --ip-only | 只构建所需的 IP 核,不生成完整工程 |
-j JOBS, --jobs JOBS | 设置并行构建使用的线程数 |
-c, --clean-all | 清理 IP 构建缓存,重新构建 |
-p VIVADO_PATH, --vivado-path VIVADO_PATH | 指定 Vivado 安装路径(如 /tools/Xilinx/Vivado/2021.1) |
-H, --no-hash | 不在生成代码中包含 YAML 配置的 hash 值 |
-D, --no-date | 不在生成代码中包含时间戳 |
--color {never,auto,always} | 控制终端输出是否使用颜色:auto 表示仅在交互终端中启用颜色 |
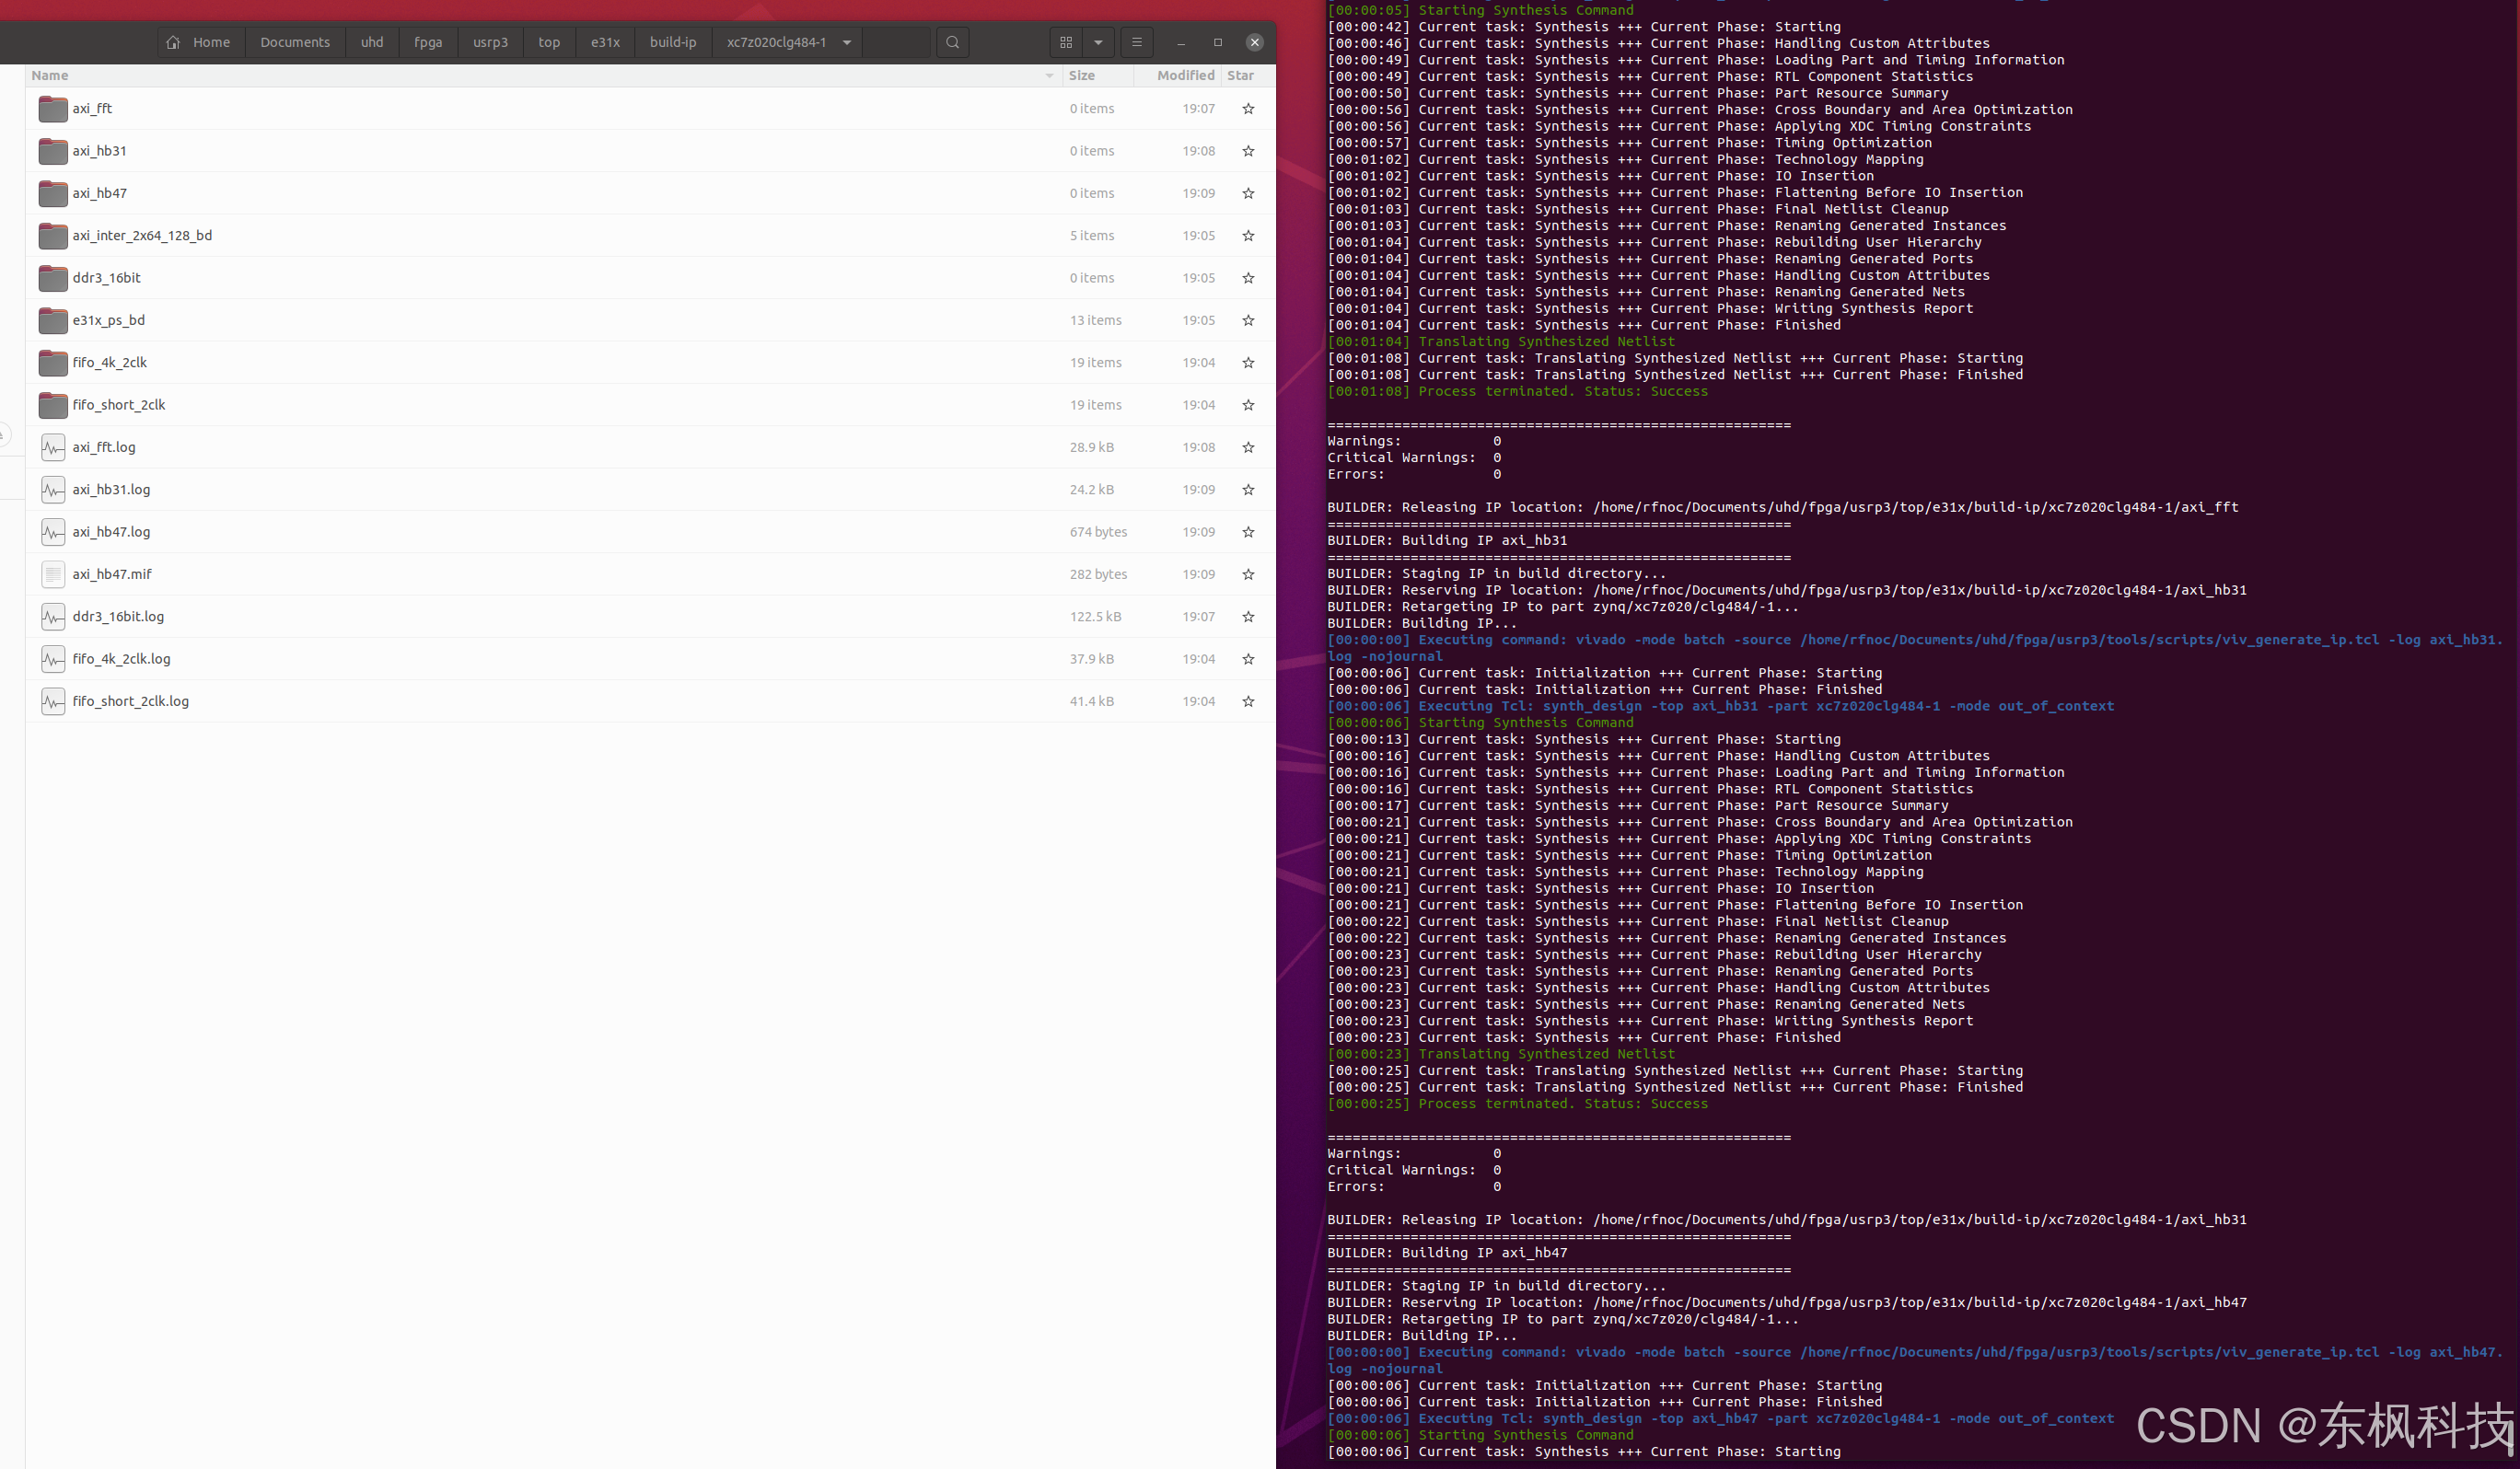
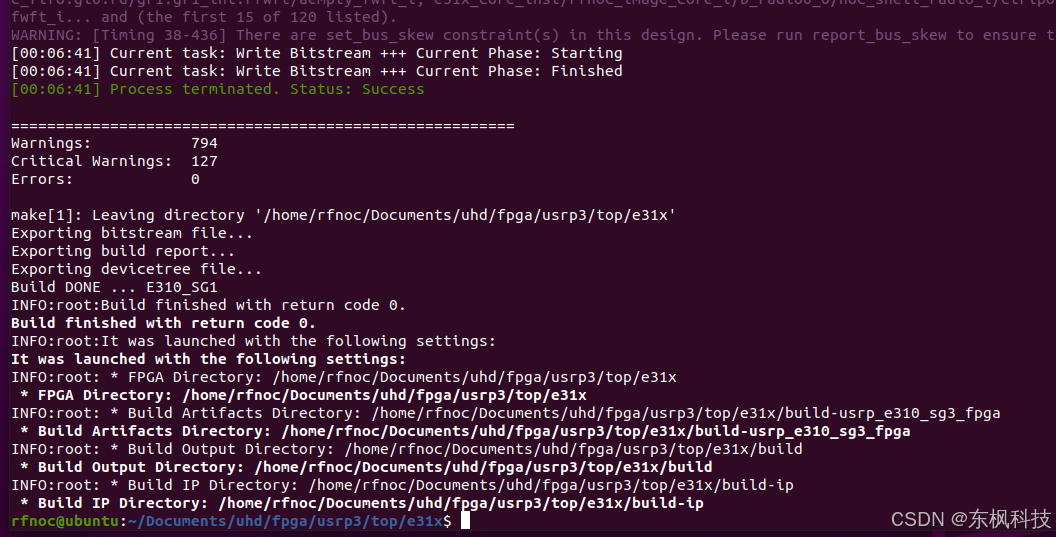
编译 e310镜像
cd ~/Documents/uhd/fpga/usrp3/top/e31x
source ./setupenv.sh
make E310_SG1_IP
编译库文件
编译镜像
rfnoc_image_builder -y e310_rfnoc_image_core.yml -t E310_SG1 -j$(nproc)
编译e320镜像
编译 x310镜像
预编译
cd ~/Documents/uhd/fpga/usrp3/top/x300
source ./setupenv.sh
make -j$(nproc) X310_IP
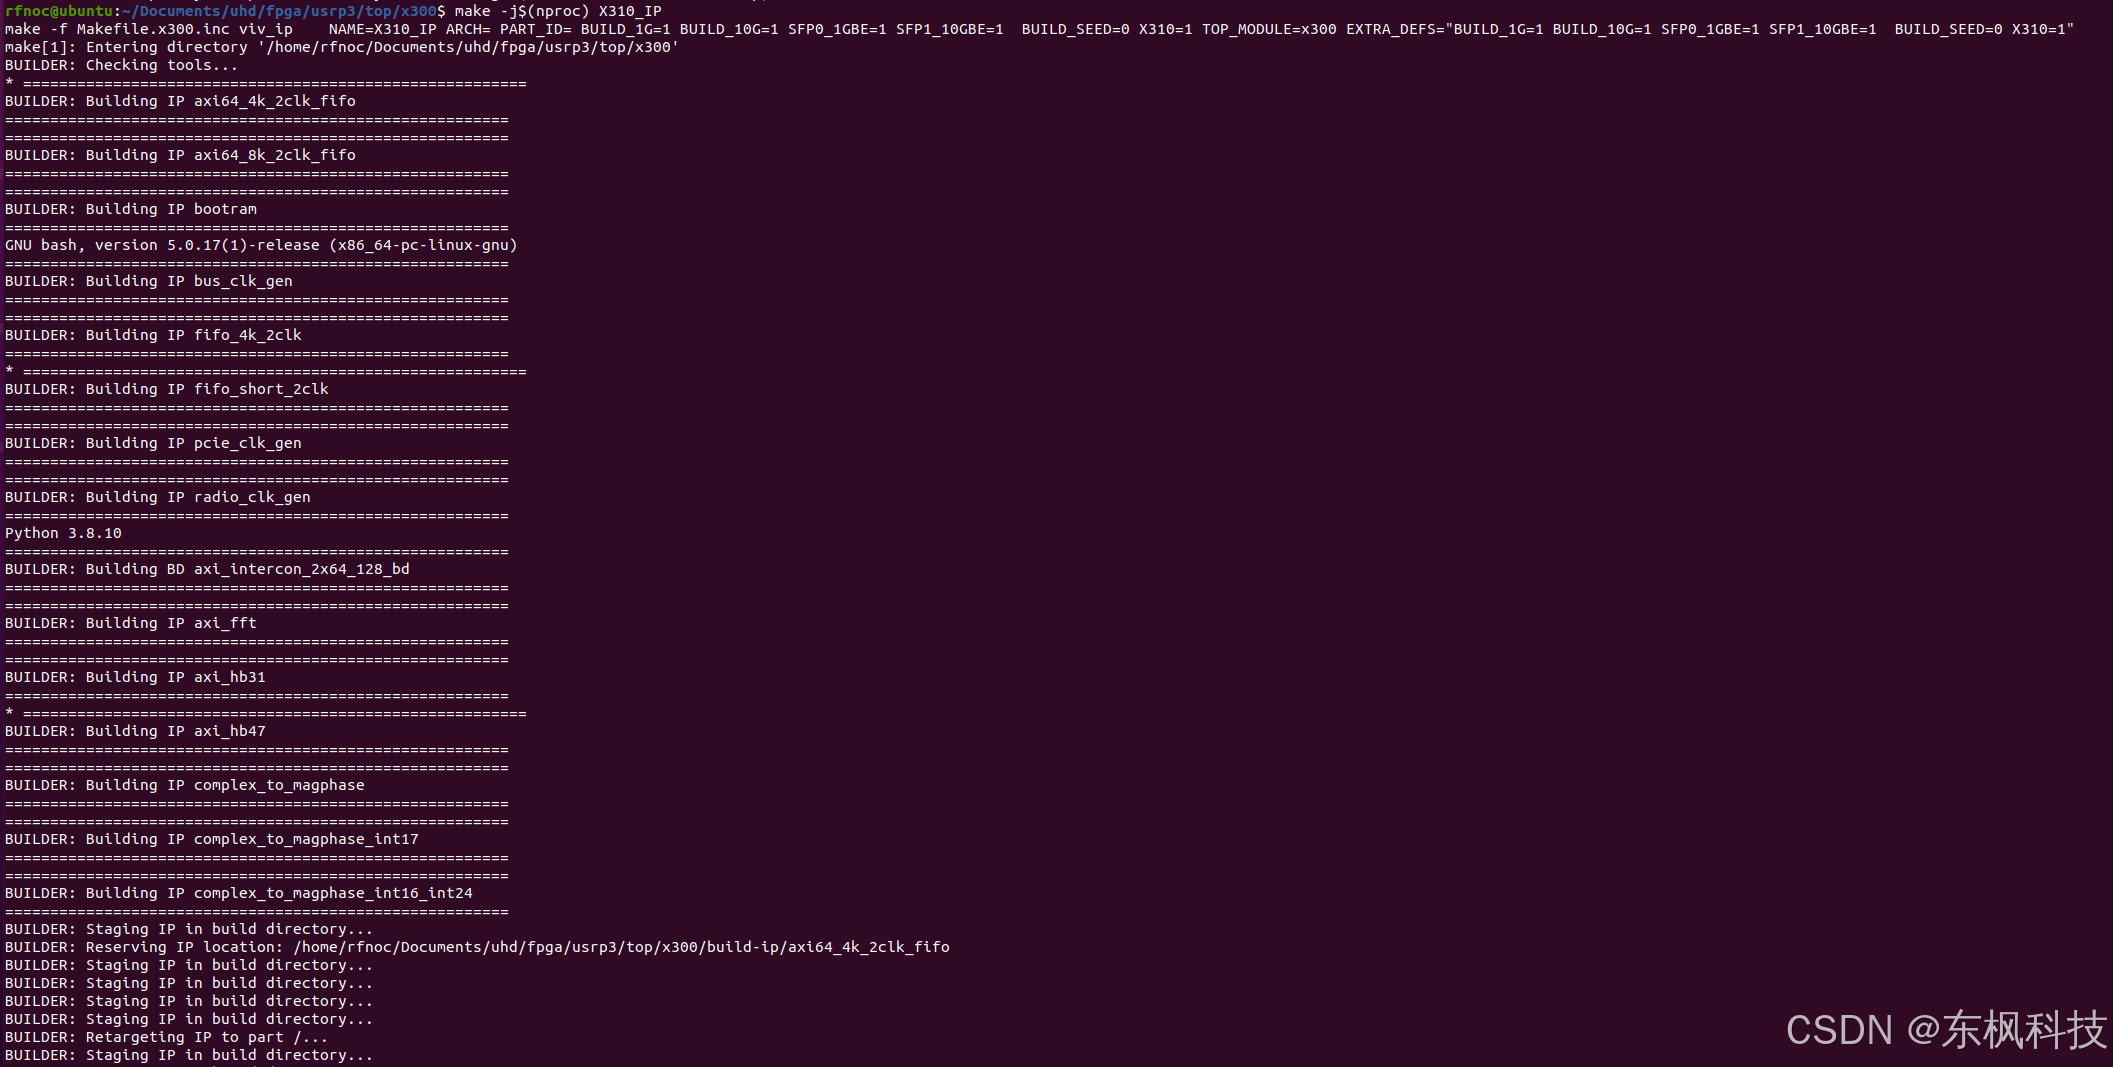
编译
在这里插入代码片