鸿蒙NEXT开发动画案例8
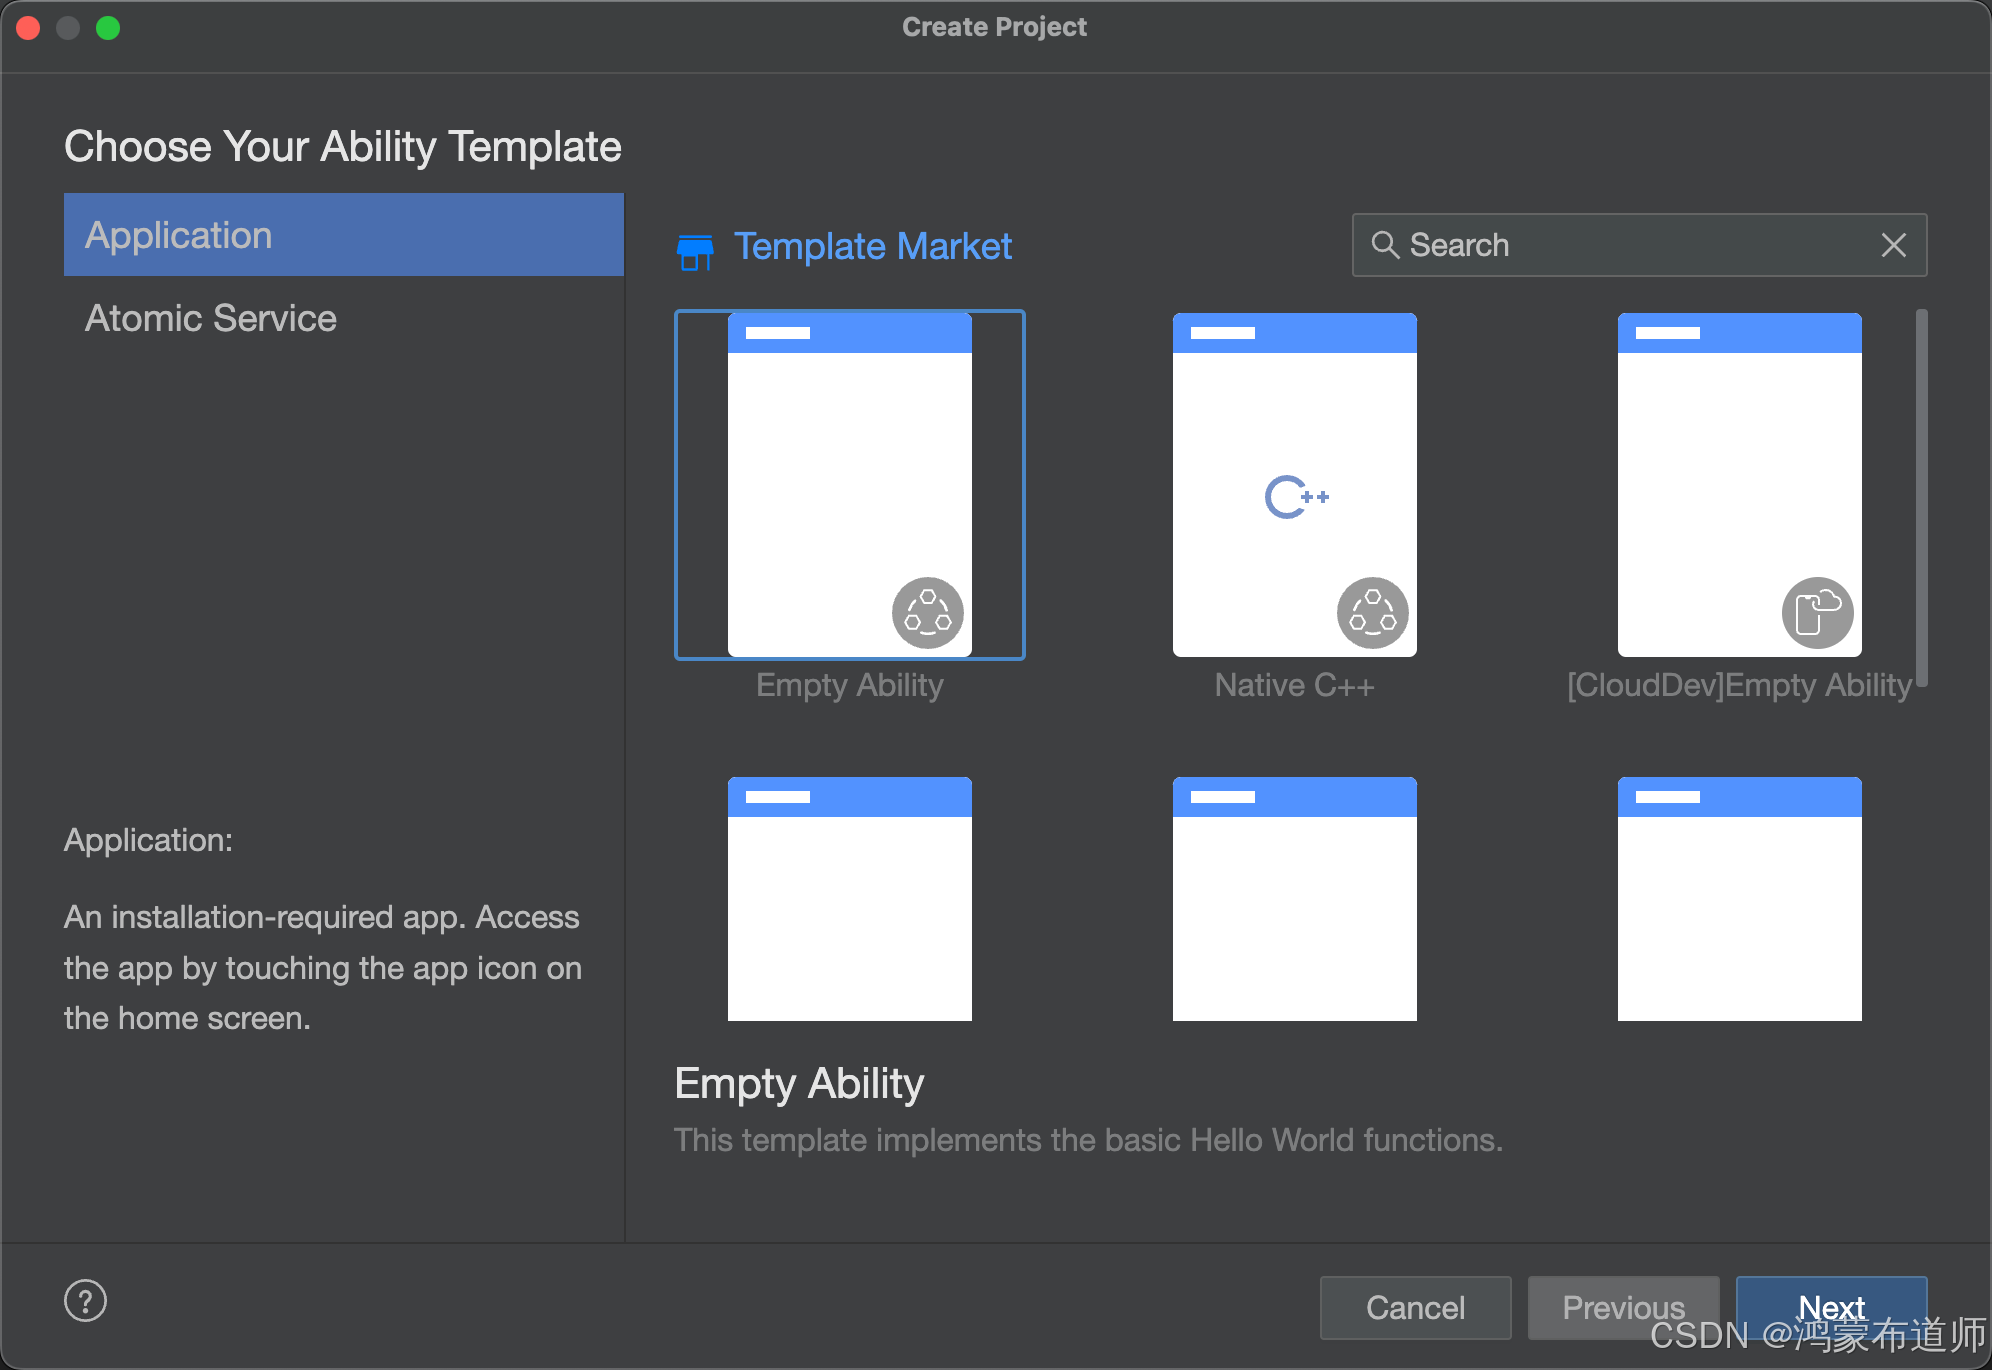
1.创建空白项目

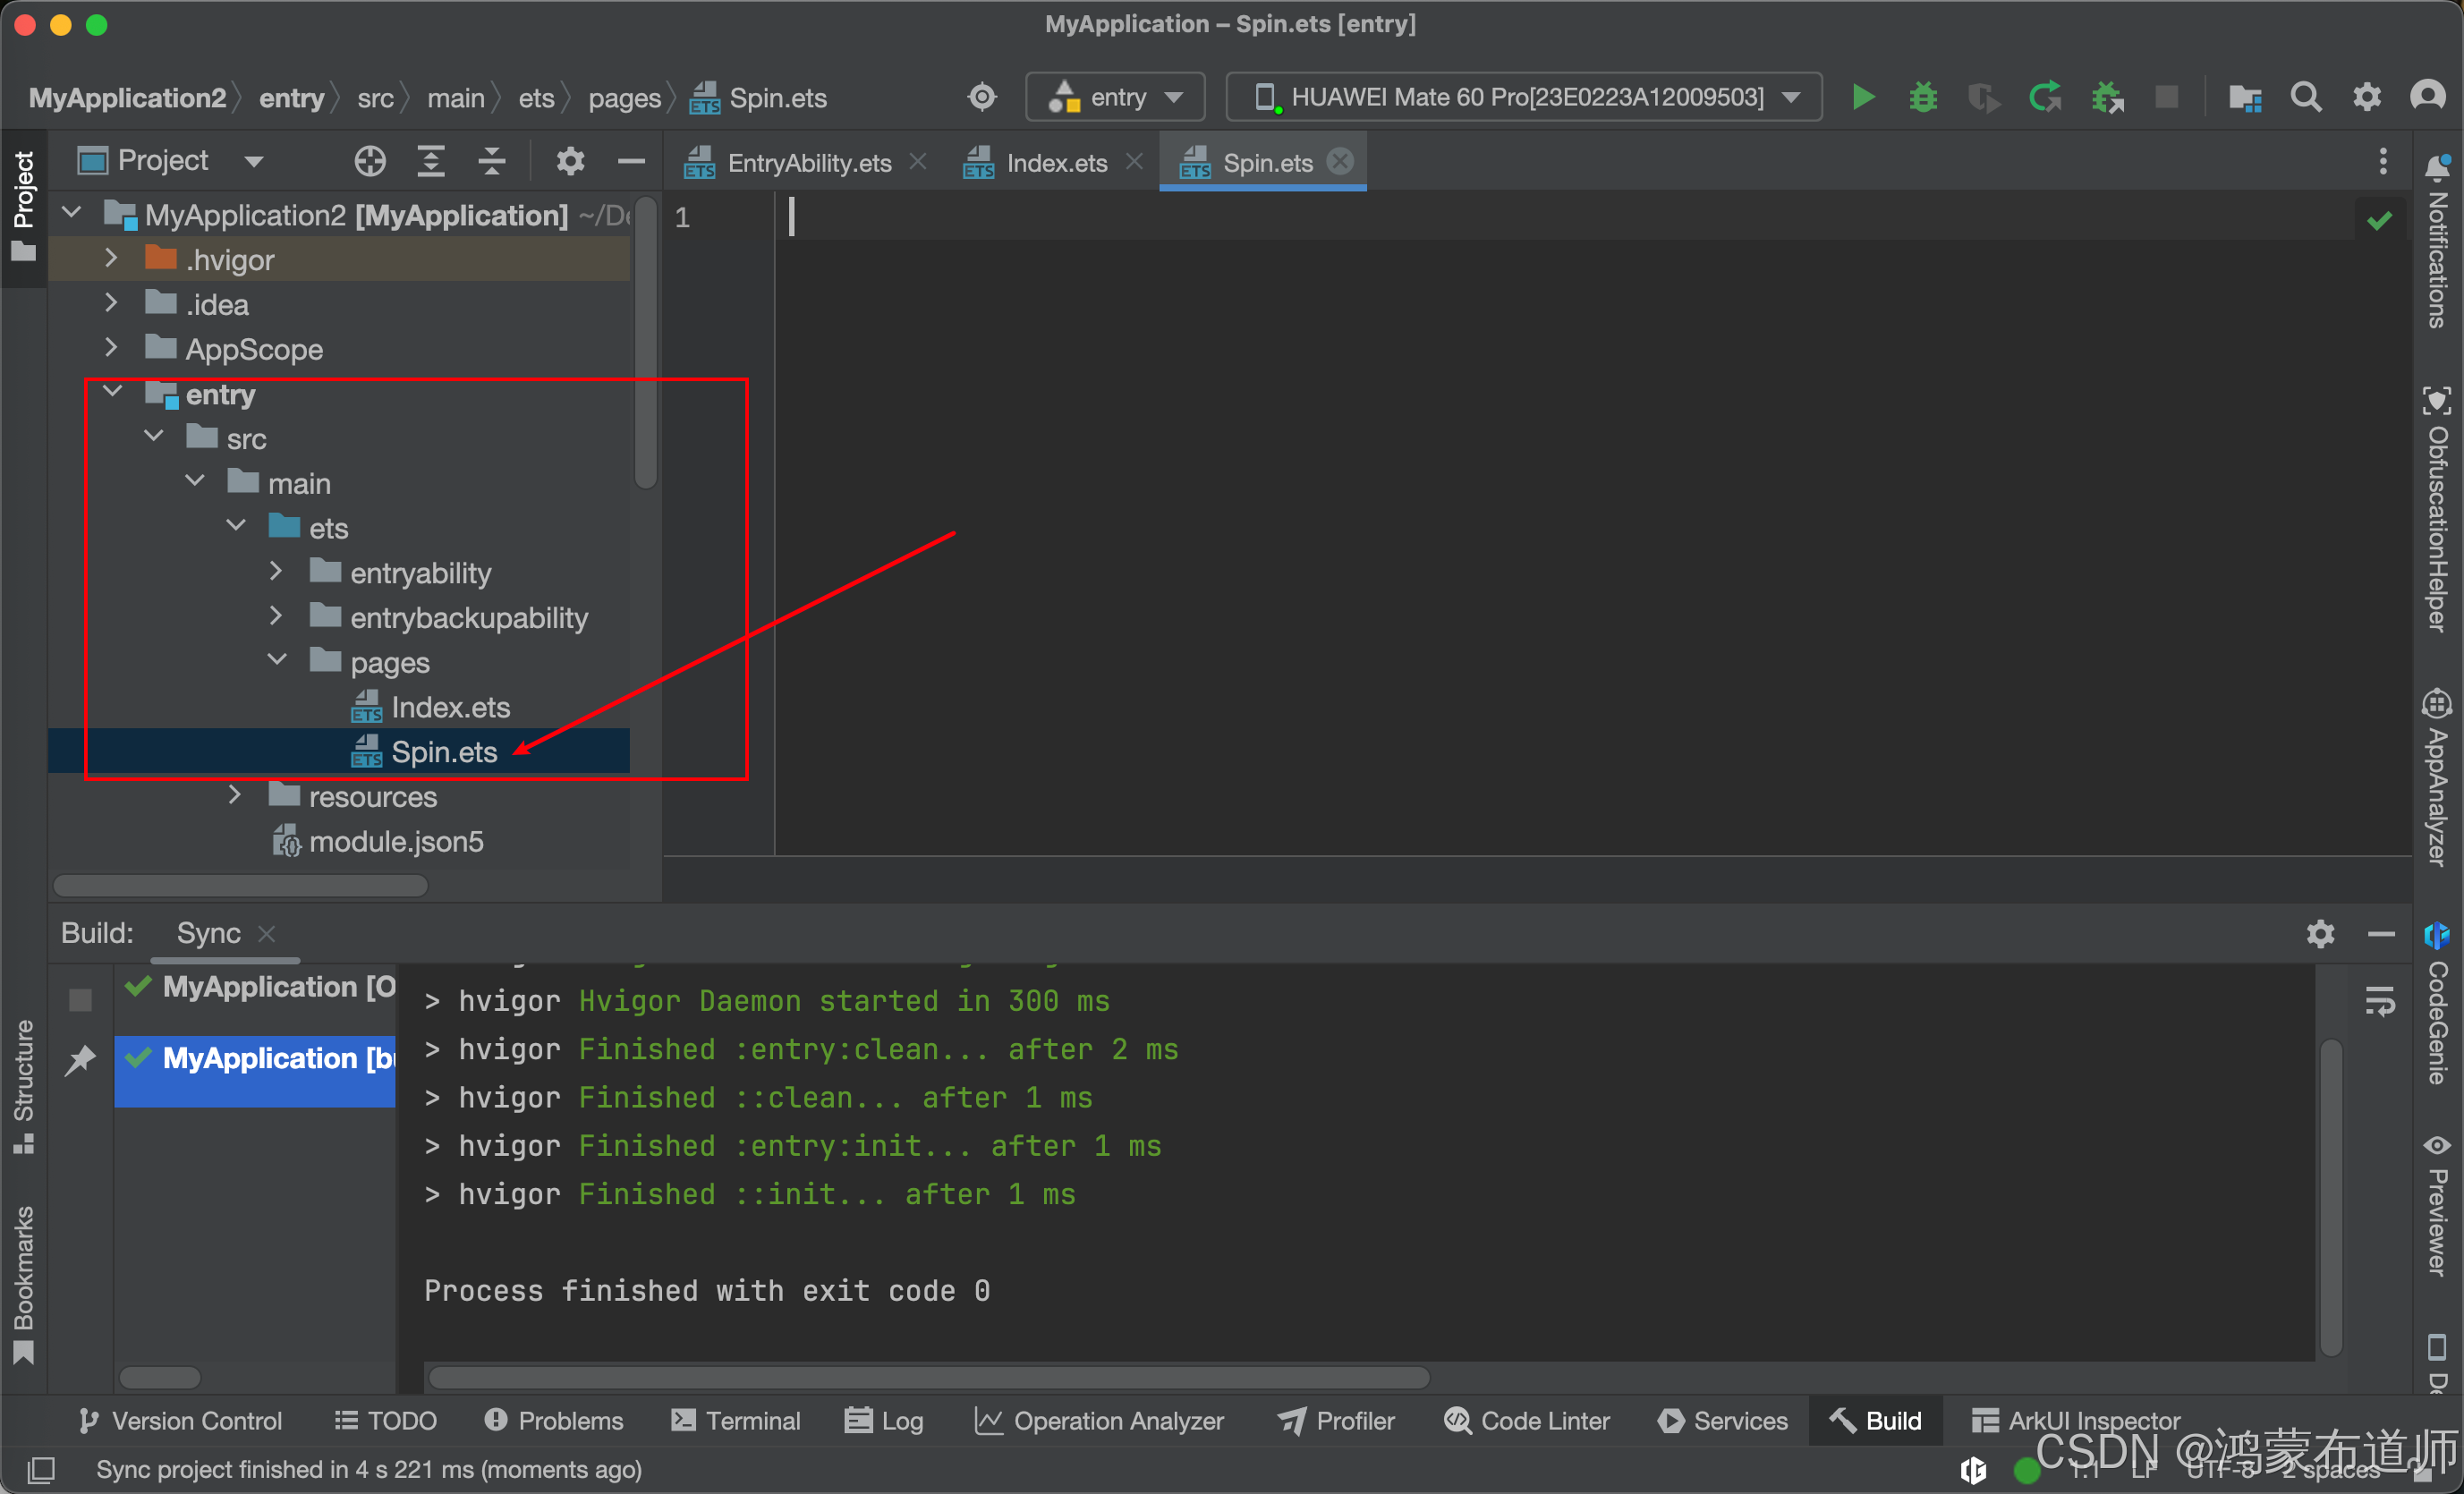
2.Page文件夹下面新建Spin.ets文件,代码如下:
/*** SpinKit动画组件 (重构版)* author: CSDN-鸿蒙布道师* since: 2025/05/14*/interface AnimationGroup {indexes: number[];delay: number;
}@ComponentV2
export struct SpinEight {@Require @Param spinSize: number;@Require @Param spinColor: ResourceColor;// 使用数组管理 scale 状态@Local scales: number[] = [1, 1, 1, 1, 1, 1, 1, 1, 1];build() {Grid() {// 使用循环构建9个CanvasForEach([0, 1, 2, 3, 4, 5, 6, 7, 8], (index: number) => {GridItem() {Canvas().chunkStyle();}.scale({ x: this.scales[index], y: this.scales[index], z: 1 });});}.rowsTemplate('1fr 1fr 1fr').columnsTemplate('1fr 1fr 1fr').renderFit(RenderFit.CENTER).width(this.spinSize).height(this.spinSize).onAppear(() => {// 动画分组配置const animationGroups: AnimationGroup[] = [{ indexes: [6], delay: 0 },{ indexes: [3, 7], delay: 100 },{ indexes: [0, 4, 8], delay: 200 },{ indexes: [1, 5], delay: 300 },{ indexes: [2], delay: 400 }];// 遍历每个动画组并启动动画animationGroups.forEach((group: AnimationGroup) => {this.startAnimation(group.indexes, group.delay);});});}/*** 开始指定索引集合的动画,并设置延迟* @param indexes - 要进行动画的索引集合* @param delay - 动画开始前的延迟时间*/private startAnimation(indexes: number[], delay: number) {let keyframes: Array<KeyframeState> = [{duration: 500,curve: Curve.EaseInOut,event: () => this.updateScales(indexes, 0),},{duration: 500,curve: Curve.Linear,event: () => this.updateScales(indexes, 1),},{duration: 400,curve: Curve.Linear,event: () => {},},];this.getUIContext().keyframeAnimateTo({ iterations: -1, delay: delay },keyframes);}/*** 更新指定索引集合的缩放比例* @param indexes - 缩放比例需要更新的索引集合* @param value - 新的缩放值*/private updateScales(indexes: number[], value: number) {indexes.forEach(index => {this.scales[index] = value;});}// 样式封装成函数@StyleschunkStyle() {.width(this.spinSize / 3).height(this.spinSize / 3).backgroundColor(this.spinColor).shadow(ShadowStyle.OUTER_DEFAULT_XS)}
}
代码如下:
/*** SpinKit动画组件 (重构版)* author: CSDN-鸿蒙布道师* since: 2025/05/14*/interface AnimationGroup {indexes: number[];delay: number;
}@ComponentV2
export struct SpinEight {@Require @Param spinSize: number;@Require @Param spinColor: ResourceColor;// 使用数组管理 scale 状态@Local scales: number[] = [1, 1, 1, 1, 1, 1, 1, 1, 1];build() {Grid() {// 使用循环构建9个CanvasForEach([0, 1, 2, 3, 4, 5, 6, 7, 8], (index: number) => {GridItem() {Canvas().chunkStyle();}.scale({ x: this.scales[index], y: this.scales[index], z: 1 });});}.rowsTemplate('1fr 1fr 1fr').columnsTemplate('1fr 1fr 1fr').renderFit(RenderFit.CENTER).width(this.spinSize).height(this.spinSize).onAppear(() => {// 动画分组配置const animationGroups: AnimationGroup[] = [{ indexes: [6], delay: 0 },{ indexes: [3, 7], delay: 100 },{ indexes: [0, 4, 8], delay: 200 },{ indexes: [1, 5], delay: 300 },{ indexes: [2], delay: 400 }];// 遍历每个动画组并启动动画animationGroups.forEach((group: AnimationGroup) => {this.startAnimation(group.indexes, group.delay);});});}/*** 开始指定索引集合的动画,并设置延迟* @param indexes - 要进行动画的索引集合* @param delay - 动画开始前的延迟时间*/private startAnimation(indexes: number[], delay: number) {let keyframes: Array<KeyframeState> = [{duration: 500,curve: Curve.EaseInOut,event: () => this.updateScales(indexes, 0),},{duration: 500,curve: Curve.Linear,event: () => this.updateScales(indexes, 1),},{duration: 400,curve: Curve.Linear,event: () => {},},];this.getUIContext().keyframeAnimateTo({ iterations: -1, delay: delay },keyframes);}/*** 更新指定索引集合的缩放比例* @param indexes - 缩放比例需要更新的索引集合* @param value - 新的缩放值*/private updateScales(indexes: number[], value: number) {indexes.forEach(index => {this.scales[index] = value;});}// 样式封装成函数@StyleschunkStyle() {.width(this.spinSize / 3).height(this.spinSize / 3).backgroundColor(this.spinColor).shadow(ShadowStyle.OUTER_DEFAULT_XS)}
}
3.修改Index.ets文件,代码如下:
import { SpinEight } from './Spin';@Entry
@Component
struct Index {@State message: string = 'Hello World';build() {Column() {SpinEight({spinSize: 60,spinColor: '#FF0000'})}.alignItems(HorizontalAlign.Center).justifyContent(FlexAlign.Center).height('100%').width('100%')}
}
代码如下:
import { SpinEight } from './Spin';@Entry
@Component
struct Index {@State message: string = 'Hello World';build() {Column() {SpinEight({spinSize: 60,spinColor: '#FF0000'})}.alignItems(HorizontalAlign.Center).justifyContent(FlexAlign.Center).height('100%').width('100%')}
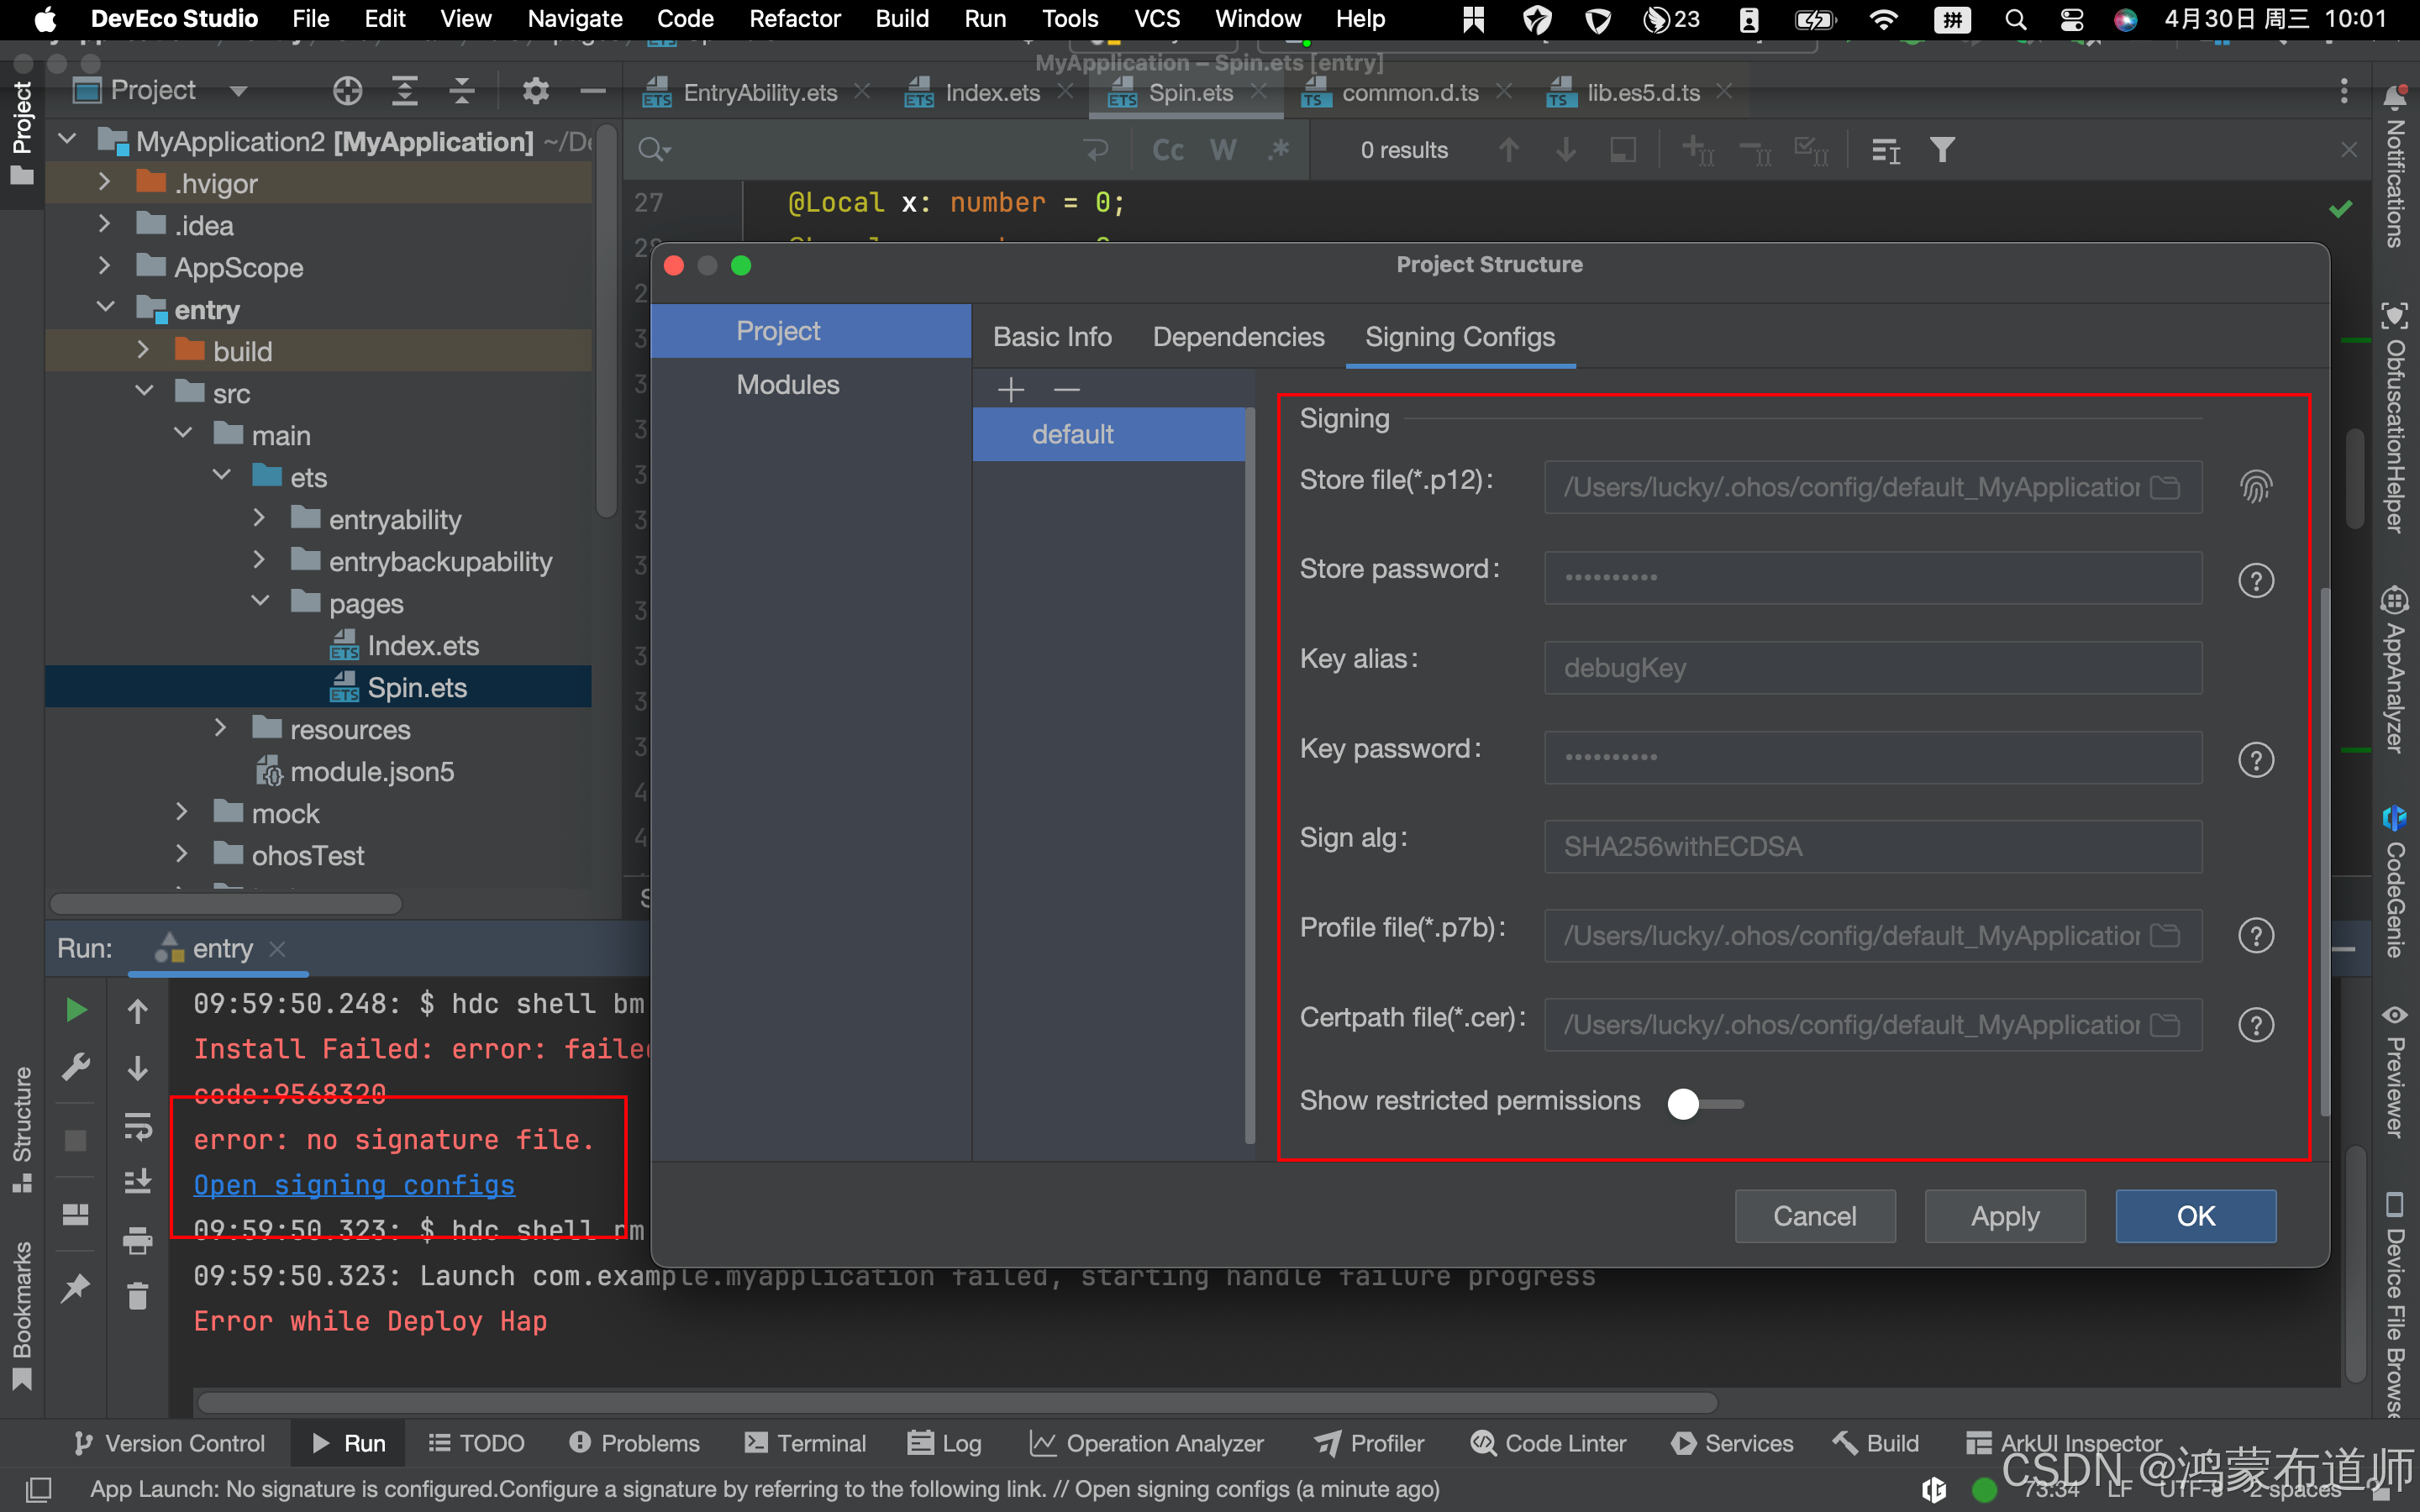
}4.运行项目,登录华为账号,需进行签名
5.动画效果如下: