【验证码】⭐️集成图形验证码实现安全校验
💥💥✈️✈️欢迎阅读本文章❤️❤️💥💥
🏆本篇文章阅读大约耗时5分钟。
⛳️motto:不积跬步、无以千里
📋📋📋本文目录如下:🎁🎁🎁
目录
前言
集成
1、添加依赖
2、控制层
3、静态页面
测试
章末

![]()
前言
小伙伴们大家好,上篇文章在本地模拟了谷歌 TOTP 实现的 MFA 多因素认证,文章链接如下:
【MFA】✈️集成谷歌TOTP实现MFA多因素认证
MFA 多因素认证,是针对普通账号密码登录的加强校验,用户需要先通过手机绑定认证工具,通过工具获取当前时间的校验码才能通过认证, 针对一些账号安全级别比较高的系统可以采用这种方式实现;普通的验证实现方式也有很多,比如图形验证码(可以防刷接口),这篇文章来本地模拟下图形验证码的简易登录实现
![]()
集成
注:以下模拟基于 springboot 和 redis 实现
1、添加依赖
验证码图片的生成个可以借助 hutool 工具生成,使用很方便,首先引入 sdk ,版本可以自行选择(本地使用的管理工具是 maven ,刷新后自动下载依赖的包)
<dependency><groupId>cn.hutool</groupId><artifactId>hutool-all</artifactId><version>5.8.16</version> </dependency>2、控制层
这里就使用登录作为使用图形验证码的方式,提供两个接口,一个是获取验证码,另外一个就是校验验证码。
使用 hutool 工具生成验证码之后,需要使用唯一标签与该验证码绑定,并且将标签返回给前端,前端调用校验接口的时候,需要携带该标签和用户输入的结果,后端通过唯一标签校验是否正确,正确的话继续业务操作...,不正确也要给出相应的提示(验证码过期或者验证码错误)
2.1 获取验证码
既然需要用到唯一标签,可以使用 UUID 生成一个字符串,然后根据业务要求放到缓存中,并设置对应的过期时间,然后将验证码和绑定的唯一标签返回,代码如下:
2.2 校验验证码
通过前端传递的唯一标签和用户输入参数,可以判断该验证码是过期还是输入错误,该唯一标签不存在的时候,可以提示“验证码过期”;当唯一标签的缓存值与用户输入不相等时,可以提示“验证码错误”;校验通过后,需要将缓存清除,代码如下:
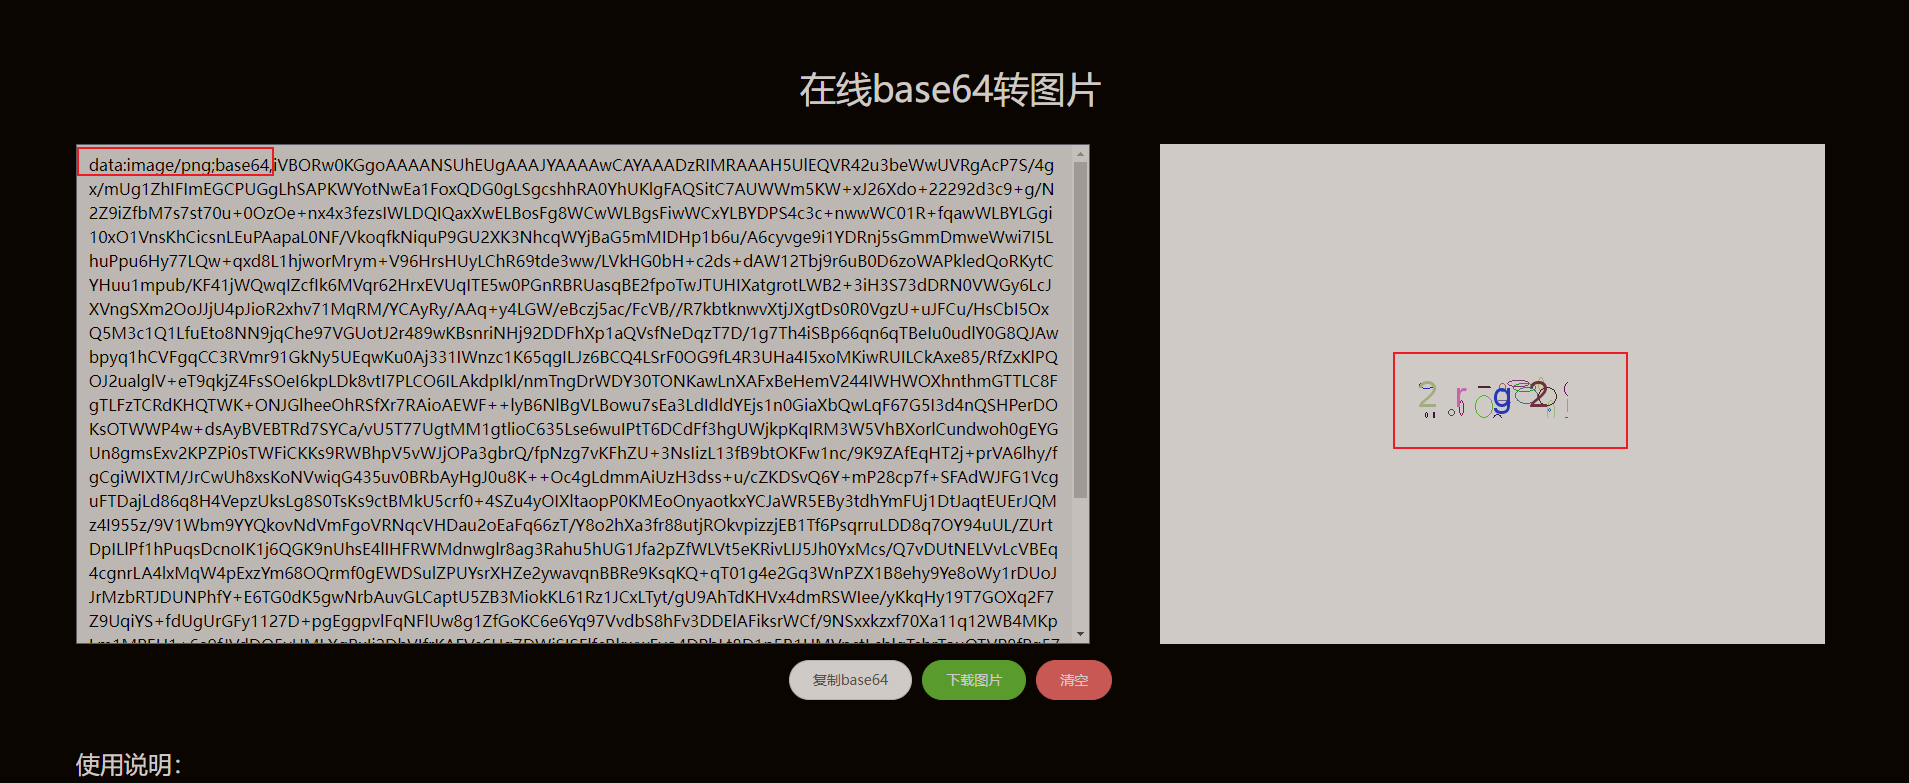
这里返回给前端的验证码图片是 base64 格式的,需要处理下格式,加上 data:image/png;base64, 方便浏览器识别,并且设置过期时间为五分钟
不处理 base64 的话,浏览器不清楚要怎么处理这个数据,加上标识后,如下,可以从 base64 转换为图片
图片转base64,base64转图片,在线图片转base64
import cn.hutool.captcha.CaptchaUtil;
import cn.hutool.captcha.CircleCaptcha;
import org.springframework.beans.factory.annotation.Autowired;
import org.springframework.data.redis.core.RedisTemplate;
import org.springframework.web.bind.annotation.PostMapping;
import org.springframework.web.bind.annotation.RequestMapping;
import org.springframework.web.bind.annotation.RequestParam;
import org.springframework.web.bind.annotation.RestController;import java.util.UUID;
import java.util.concurrent.TimeUnit;/*** @author benbenhuang* @date 2025年05月10日 17:29*/
@RestController
@RequestMapping("/testQrCode")
public class QrController {@Autowiredprivate RedisTemplate redisTemplate;private final String CODE_KEY = "user:code";@PostMapping("/generateCode")public ValidateCodResp getCode(){CircleCaptcha circleCaptcha = CaptchaUtil.createCircleCaptcha(150, 48, 4, 20);String code = circleCaptcha.getCode();String imageBase64 = "data:image/png;base64," + circleCaptcha.getImageBase64();String codeKey = UUID.randomUUID().toString().replaceAll("-","");redisTemplate.opsForValue().set(CODE_KEY + codeKey, code, 5, TimeUnit.MINUTES);ValidateCodResp validateCodResp = new ValidateCodResp(codeKey, imageBase64);return validateCodResp;}@PostMapping("/verifyCode")public Boolean checkCode(@RequestParam("codeKey") String codeKey, @RequestParam("captcha") String captcha){Object captchaObj = redisTemplate.opsForValue().get(CODE_KEY + codeKey);if(captchaObj == null){throw new RuntimeException("验证码已过期,请刷新重试");}if(!String.valueOf(captchaObj).equalsIgnoreCase(captcha)){throw new RuntimeException("验证码错误");}redisTemplate.delete(CODE_KEY + codeKey);return true;}
}
import lombok.AllArgsConstructor;
import lombok.Data;
import lombok.NoArgsConstructor;@Data
@NoArgsConstructor
@AllArgsConstructor
public class ValidateCodResp {private String codeKey ; // keyprivate String codeValue ; // 图片验证字符串数据 base64}3、静态页面
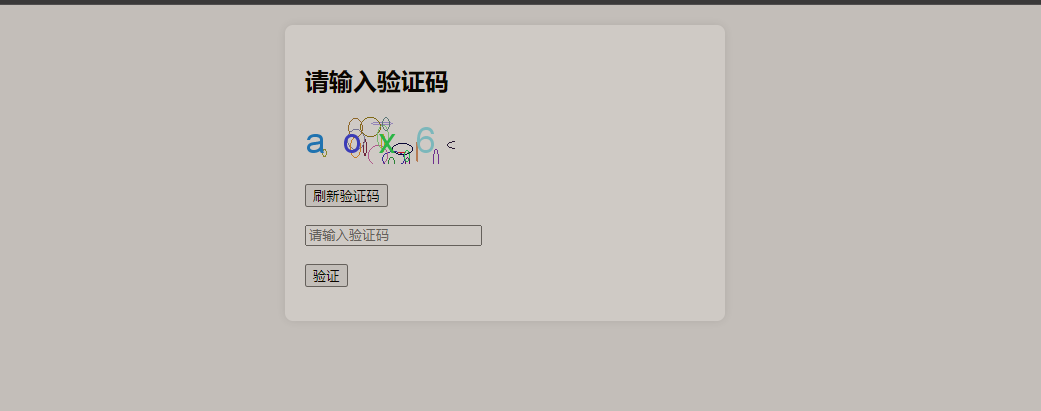
接口很简单,接下来搭建一个简易页面来测试下,页面如下
<!DOCTYPE html>
<html lang="en">
<head><meta charset="UTF-8"><meta name="viewport" content="width=device-width, initial-scale=1.0"><title>验证码验证</title><style>body {font-family: Arial, sans-serif;margin: 0;padding: 20px;background-color: #f0f0f0;}.container {max-width: 400px;margin: 0 auto;background-color: white;padding: 20px;border-radius: 8px;box-shadow: 0 0 10px rgba(0, 0, 0, 0.1);}.captcha-img {display: block;margin-bottom: 20px;width: 100%;max-width: 150px;}.message {color: green;font-size: 14px;margin-top: 10px;}.error {color: red;font-size: 14px;margin-top: 10px;}</style>
</head>
<body><div class="container"><h2>请输入验证码</h2><form id="captchaForm"><div><img id="captchaImage" class="captcha-img" src="" alt="验证码"></div><button type="button" id="refreshCaptcha">刷新验证码</button><br><br><input type="text" id="captchaInput" placeholder="请输入验证码" required><br><br><button type="submit">验证</button></form><p class="message" id="message"></p><p class="error" id="error"></p>
</div><script>let codeKey; // 全局声明 codeKeyfunction getCaptcha() {fetch('http://127.0.0.1:8890/testQrCode/generateCode', {method: 'POST',}).then(response => response.json()).then(data => {codeKey = data.codeKey;// 确保拼接格式正确document.getElementById('captchaImage').src = data.codeValue;document.getElementById('error').textContent = '';}).catch(error => {console.error('Error fetching captcha:', error);document.getElementById('error').textContent = '获取验证码失败,请重试!';});}function checkCaptcha() {const captcha = document.getElementById('captchaInput').value;fetch(`http://127.0.0.1:8890/testQrCode/verifyCode?codeKey=${codeKey}&captcha=${captcha}`, {method: 'POST',}).then(async response => {const contentType = response.headers.get('content-type');let data;if (contentType && contentType.includes('application/json')) {data = await response.json();} else {// 处理非 JSON 响应(如文本或 HTML)const text = await response.text();throw new Error(text || '未知错误');}if (response.ok) {document.getElementById('message').textContent = '验证码校验通过!';document.getElementById('error').textContent = '';} else {document.getElementById('error').textContent = data.message || '验证码错误!';document.getElementById('message').textContent = '';}}).catch(error => {// 显示具体错误信息(避免“验证失败”笼统提示)document.getElementById('error').textContent = error.message;console.error('验证失败:', error);});}// 刷新验证码document.getElementById('refreshCaptcha').addEventListener('click', () => {getCaptcha();});// 提交表单进行校验document.getElementById('captchaForm').addEventListener('submit', (event) => {event.preventDefault();checkCaptcha();});// 初始加载验证码getCaptcha();</script></body>
</html>![]()
测试
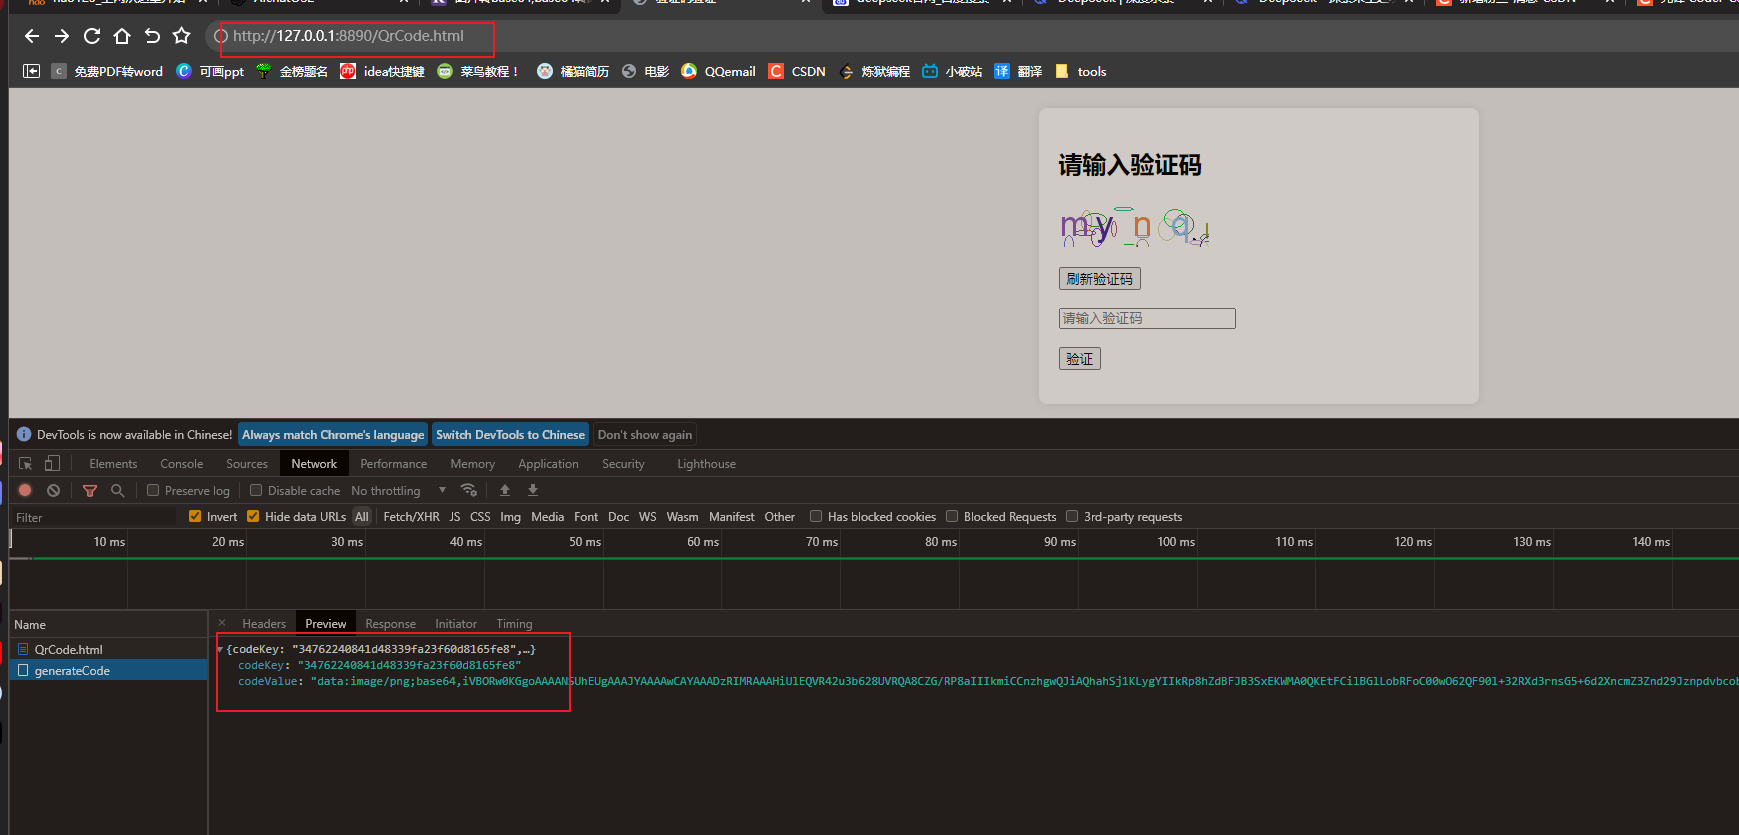
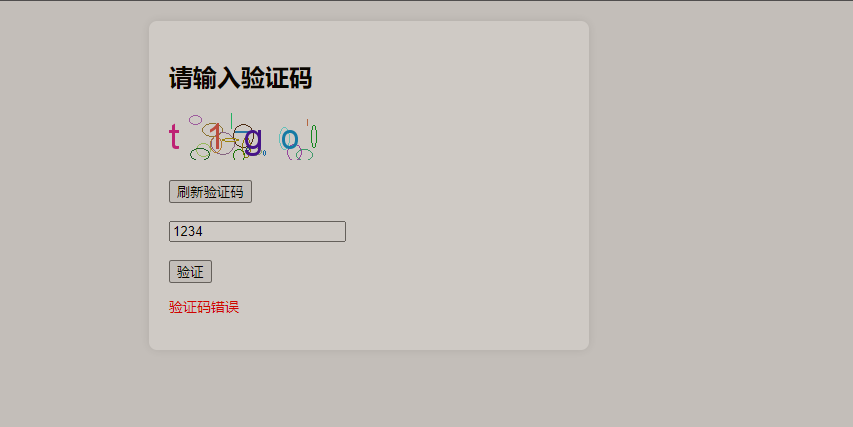
1、启动项目,浏览器访问静态资源,可以看到调用接口成功,并且回显了图片验证码
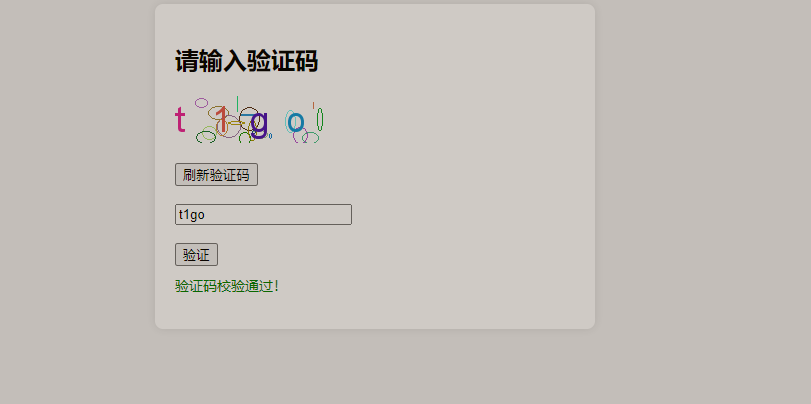
2、输入正确验证码,校验通过
3、输入错误验证码,提示验证码错误
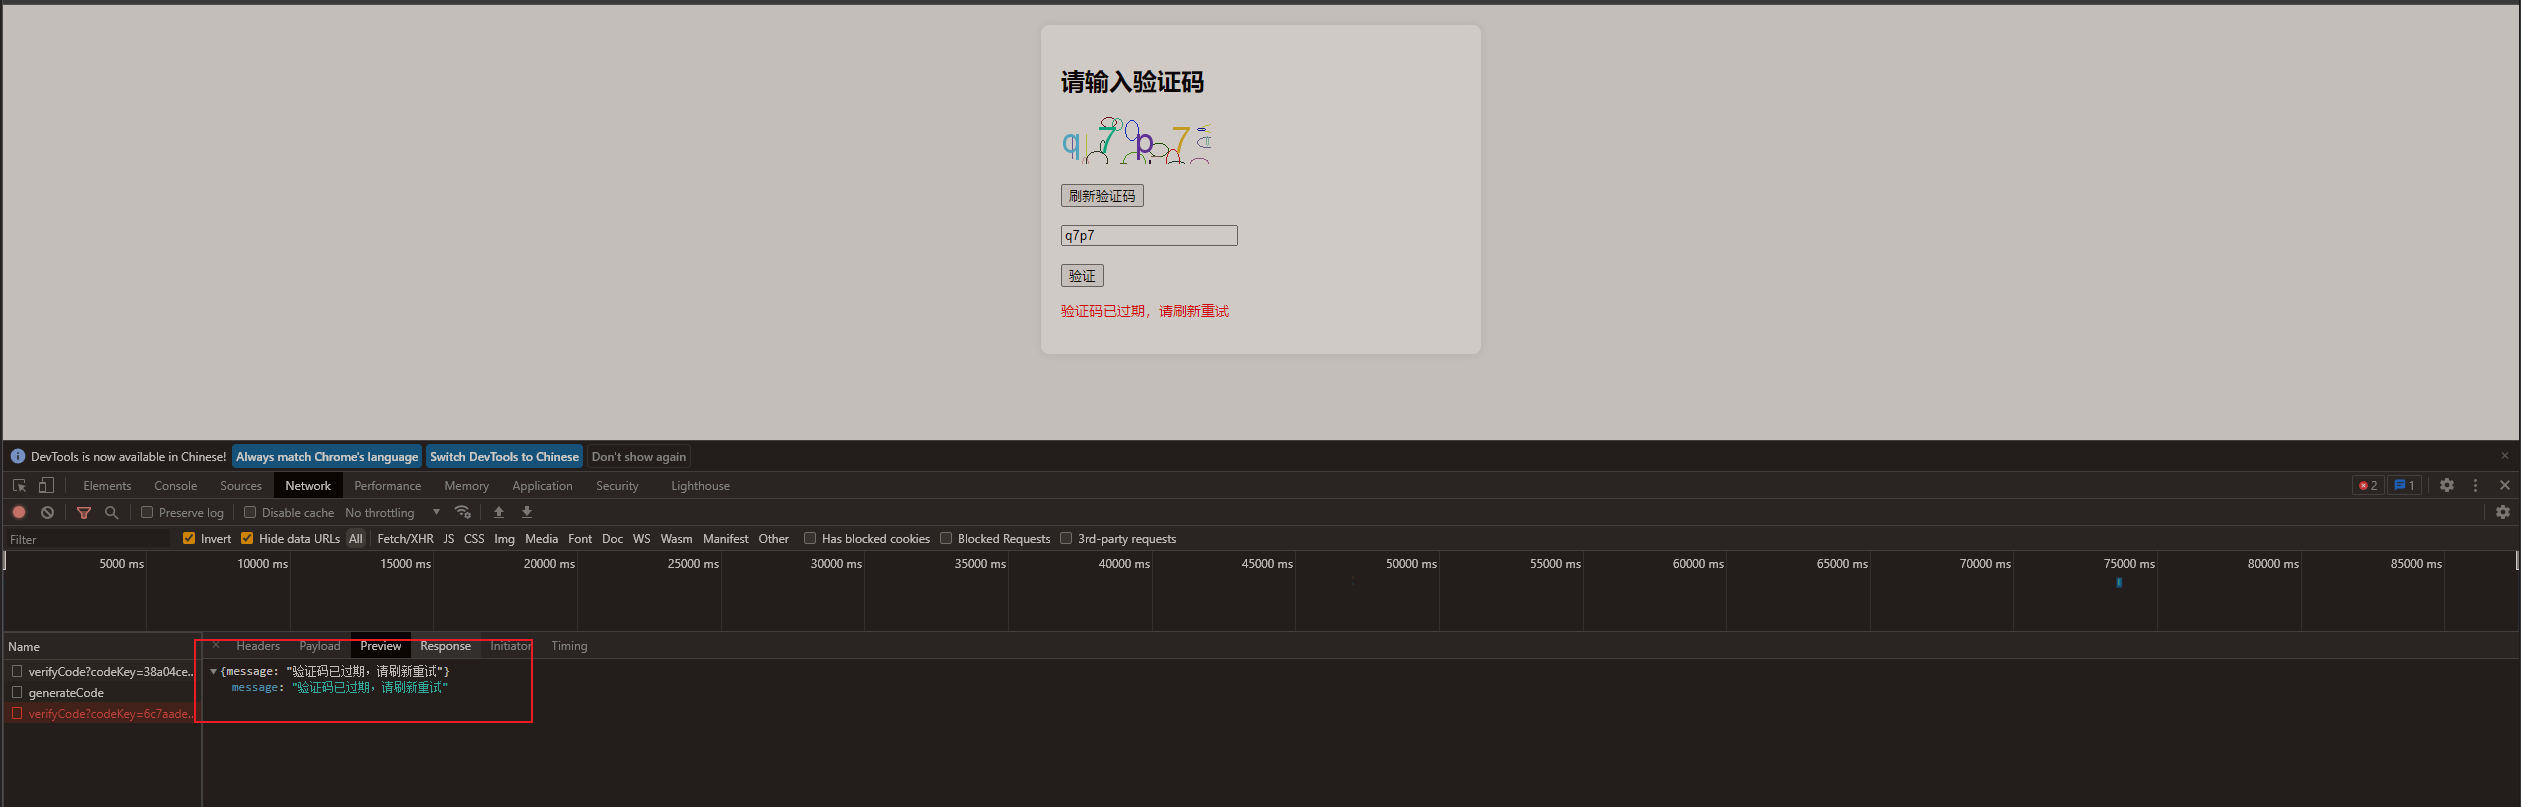
4、输入过期验证码,提示刷新
![]()
章末
以上就是图形验证码的简单实现了,这种方式校验可以用来防刷接口,人机校验等
文章到这里就结束了~

往期推荐 > > >
【服务器搭建】✈️用自己电脑搭建一个服务器!
【IDEA】✈️自定义模板,自动生成类和方法注释
【日志链路】⭐️SpringBoot 整合 TraceId 日志链路追踪!