14.Spring Boot 3.1.5 集成 Spring Security 进行访问控制
14.Spring Boot 3.1.5 集成 Spring Security 进行访问控制
Spring Security 是一个强大且高度可定制的认证和访问控制框架,专为基于 Spring 的应用程序设计。它为基于 Java EE 的企业应用程序提供了全面的安全解决方案,包括 Web 应用程序安全和方法级安全性。
Spring Security 的工作流程通常包括以下几个步骤:
拦截请求:通过过滤器链拦截所有进入应用程序的请求。
认证用户:如果请求需要认证,Spring Security 会引导用户到登录页面,并验证用户提供的凭据。
授权访问:认证成功后,Spring Security 检查用户是否有权访问请求的资源。
处理请求:如果用户有权限,请求将被处理;否则,用户将被拒绝访问。
1. 创建 Spring Boot 项目
- 新建项目:
- 打开 IntelliJ IDEA,选择
File → New → Project。 - 选择
Maven,填写项目名称(如demo),选择合适的 JDK 版本(建议 17),点击Next。 - 输入
GroupId(如com.example)和ArtifactId(如demo),选择打包方式为jar,点击Next。 - 点击
Finish完成项目创建。
- 打开 IntelliJ IDEA,选择
2. 配置 pom.xml
在 pom.xml 中添加 Spring Boot 3.1.5 父依赖和 Spring Security 依赖:
在 pom.xml 中引入 Spring Security 依赖后,默认情况下会拦截所有请求,但 Spring Security 提供了一些默认配置和机制来处理这些请求。以下是默认行为的详细说明:
默认拦截行为
拦截所有请求:Spring Security 默认会拦截所有进入应用的 HTTP 请求,要求用户进行认证后才能访问受保护的资源。
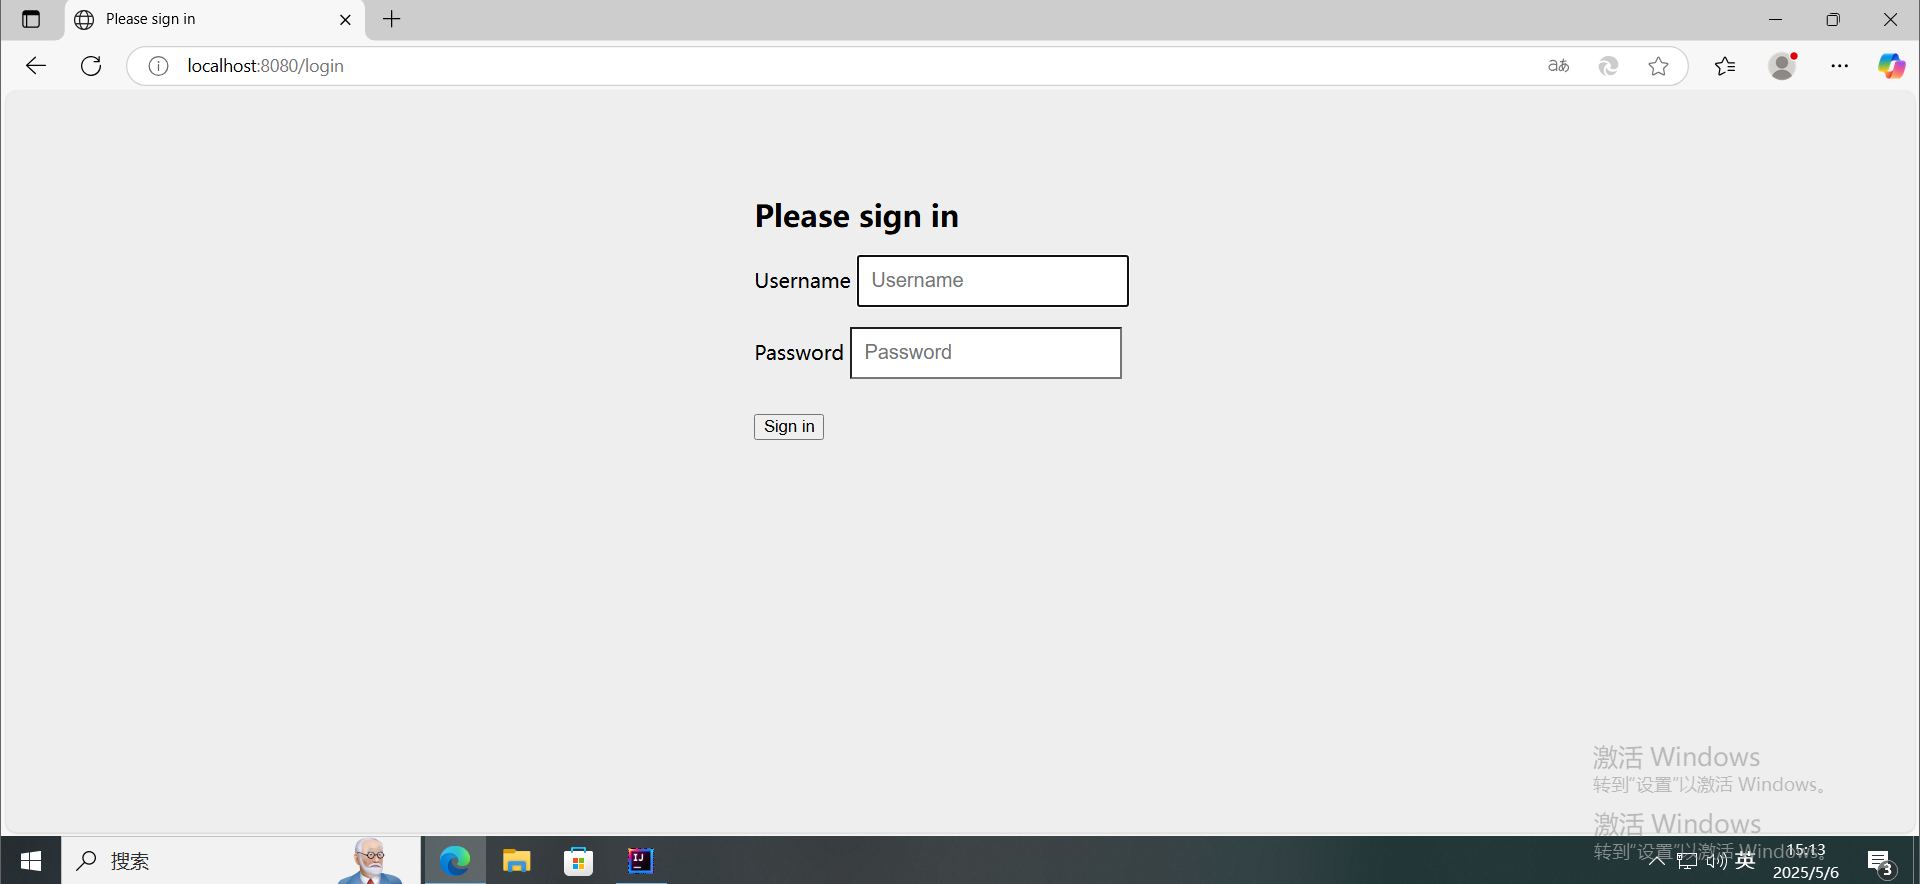
默认登录页面:如果用户未登录而尝试访问受保护的资源,Spring Security 会自动重定向到默认的登录页面(路径为 /login)。
默认用户名和密码:首次启动应用时,Spring Security 会生成一个默认的用户名(user)和一个随机密码,并在控制台输出这些信息。
<?xml version="1.0" encoding="UTF-8"?>
<project xmlns="http://maven.apache.org/POM/4.0.0" xmlns:xsi="http://www.w3.org/2001/XMLSchema-instance"xsi:schemaLocation="http://maven.apache.org/POM/4.0.0 https://maven.apache.org/xsd/maven-4.0.0.xsd"><modelVersion>4.0.0</modelVersion><groupId>com.example</groupId><artifactId>demo</artifactId><version>0.0.1-SNAPSHOT</version><name>demo</name><description>Demo project for Spring Boot with Spring Security</description><!-- Spring Boot 3.1.5 父依赖 --><parent><groupId>org.springframework.boot</groupId><artifactId>spring-boot-starter-parent</artifactId><version>3.1.5</version><relativePath/> <!-- lookup parent from repository --></parent><properties><java.version>17</java.version> <!-- Spring Boot 3.x 需要 Java 17 --></properties><dependencies><!-- Spring Web 依赖 --><dependency><groupId>org.springframework.boot</groupId><artifactId>spring-boot-starter-web</artifactId></dependency><!-- Spring Security 依赖 --><dependency><groupId>org.springframework.boot</groupId><artifactId>spring-boot-starter-security</artifactId></dependency></dependencies><build><plugins><!-- Spring Boot Maven 插件 --><plugin><groupId>org.springframework.boot</groupId><artifactId>spring-boot-maven-plugin</artifactId></plugin></plugins></build></project>
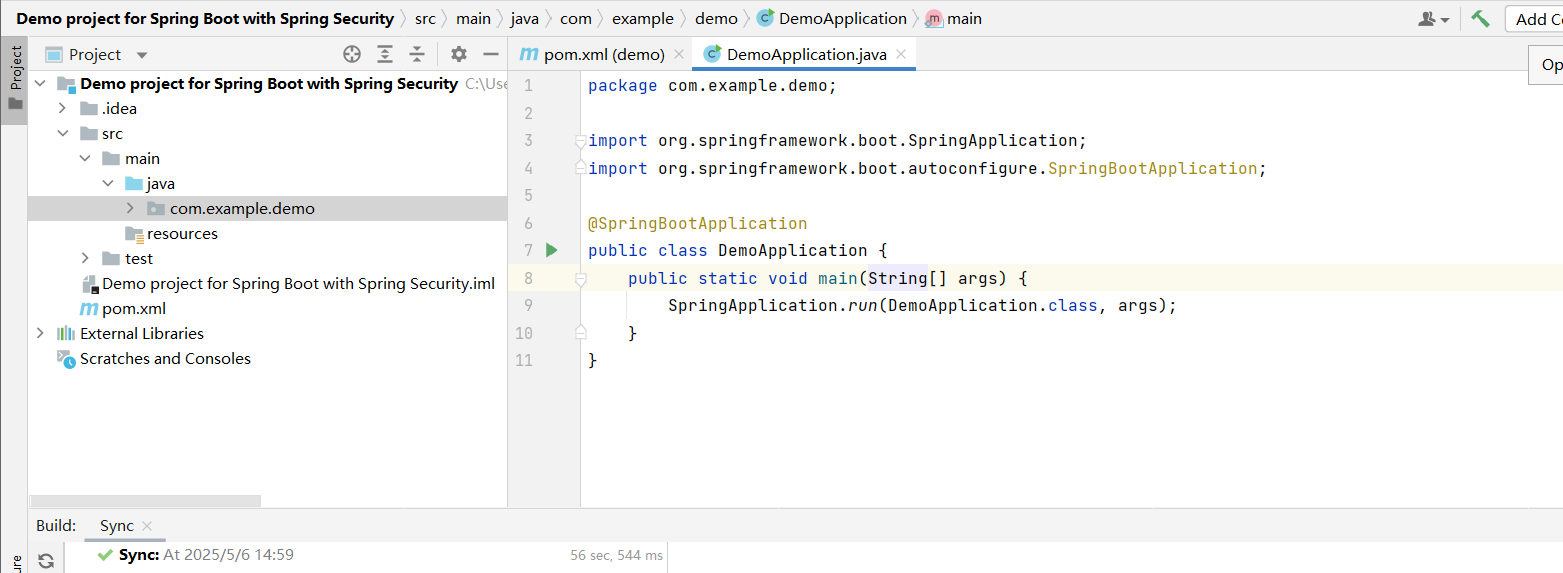
3. 创建 Spring Boot 启动类
在 src/main/java 下创建包(如 com.example.demo),并创建 DemoApplication.java:
package com.example.demo;import org.springframework.boot.SpringApplication;
import org.springframework.boot.autoconfigure.SpringBootApplication;@SpringBootApplication
public class DemoApplication {public static void main(String[] args) {SpringApplication.run(DemoApplication.class, args);}
}
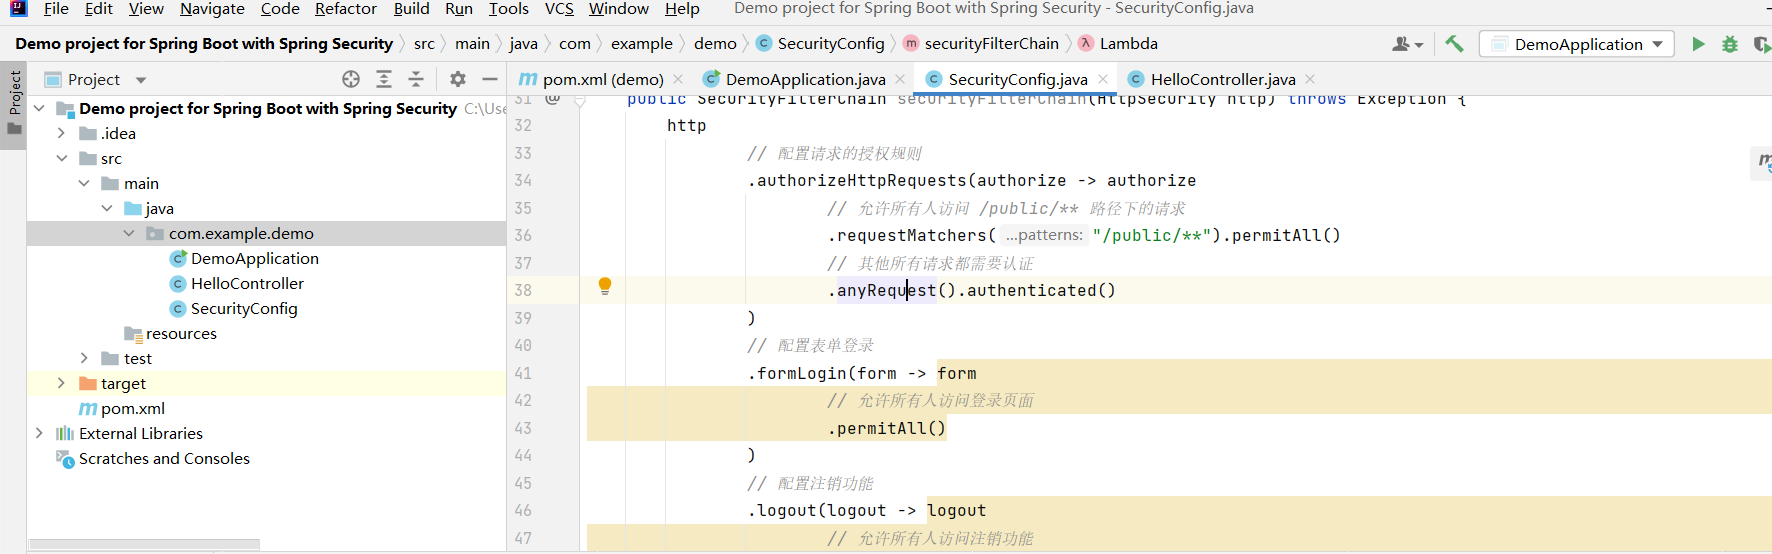
4. 创建 Security 配置类
在相同的包下创建 SecurityConfig.java,用于配置 Spring Security:
package com.example.demo;import org.springframework.context.annotation.Bean;
import org.springframework.context.annotation.Configuration;
import org.springframework.security.config.annotation.web.builders.HttpSecurity;
import org.springframework.security.config.annotation.web.configuration.EnableWebSecurity;
import org.springframework.security.core.userdetails.User;
import org.springframework.security.core.userdetails.UserDetails;
import org.springframework.security.core.userdetails.UserDetailsService;
import org.springframework.security.crypto.bcrypt.BCryptPasswordEncoder;
import org.springframework.security.crypto.password.PasswordEncoder;
import org.springframework.security.provisioning.InMemoryUserDetailsManager;
import org.springframework.security.web.SecurityFilterChain;/*** Spring Security 配置类* 该类用于配置 Spring Security 的安全规则、用户认证和授权。*/
@Configuration
@EnableWebSecurity
public class SecurityConfig {/*** 配置安全过滤器链,定义请求的安全规则。** @param http HttpSecurity 对象,用于配置 HTTP 请求的安全规则。* @return 配置好的 SecurityFilterChain 对象。* @throws Exception 如果配置过程中出现错误。*/@Beanpublic SecurityFilterChain securityFilterChain(HttpSecurity http) throws Exception {http// 配置请求的授权规则.authorizeHttpRequests(authorize -> authorize// 允许所有人访问 /public/** 路径下的请求.requestMatchers("/public/**").permitAll()// 其他所有请求都需要认证.anyRequest().authenticated())// 配置表单登录.formLogin(form -> form// 允许所有人访问登录页面.permitAll())// 配置注销功能.logout(logout -> logout// 允许所有人访问注销功能.permitAll());// 返回构建好的 SecurityFilterChainreturn http.build();}/*** 配置用户详细信息服务,用于提供用户认证的信息。* 这里使用内存中的用户存储,实际应用中可以替换为数据库或其他用户存储。** @return 配置好的 UserDetailsService 对象。*/@Beanpublic UserDetailsService userDetailsService() {// 创建一个内存中的用户UserDetails user = User.builder()// 设置用户名.username("user")// 设置密码,使用 PasswordEncoder 对密码进行加密.password(passwordEncoder().encode("password"))// 设置用户角色.roles("USER")// 构建用户对象.build();// 返回内存用户管理器,用于管理用户信息return new InMemoryUserDetailsManager(user);}/*** 配置密码编码器,用于对用户密码进行加密和解密。** @return 配置好的 PasswordEncoder 对象。*/@Beanpublic PasswordEncoder passwordEncoder() {// 返回 BCrypt 密码编码器return new BCryptPasswordEncoder();}
}
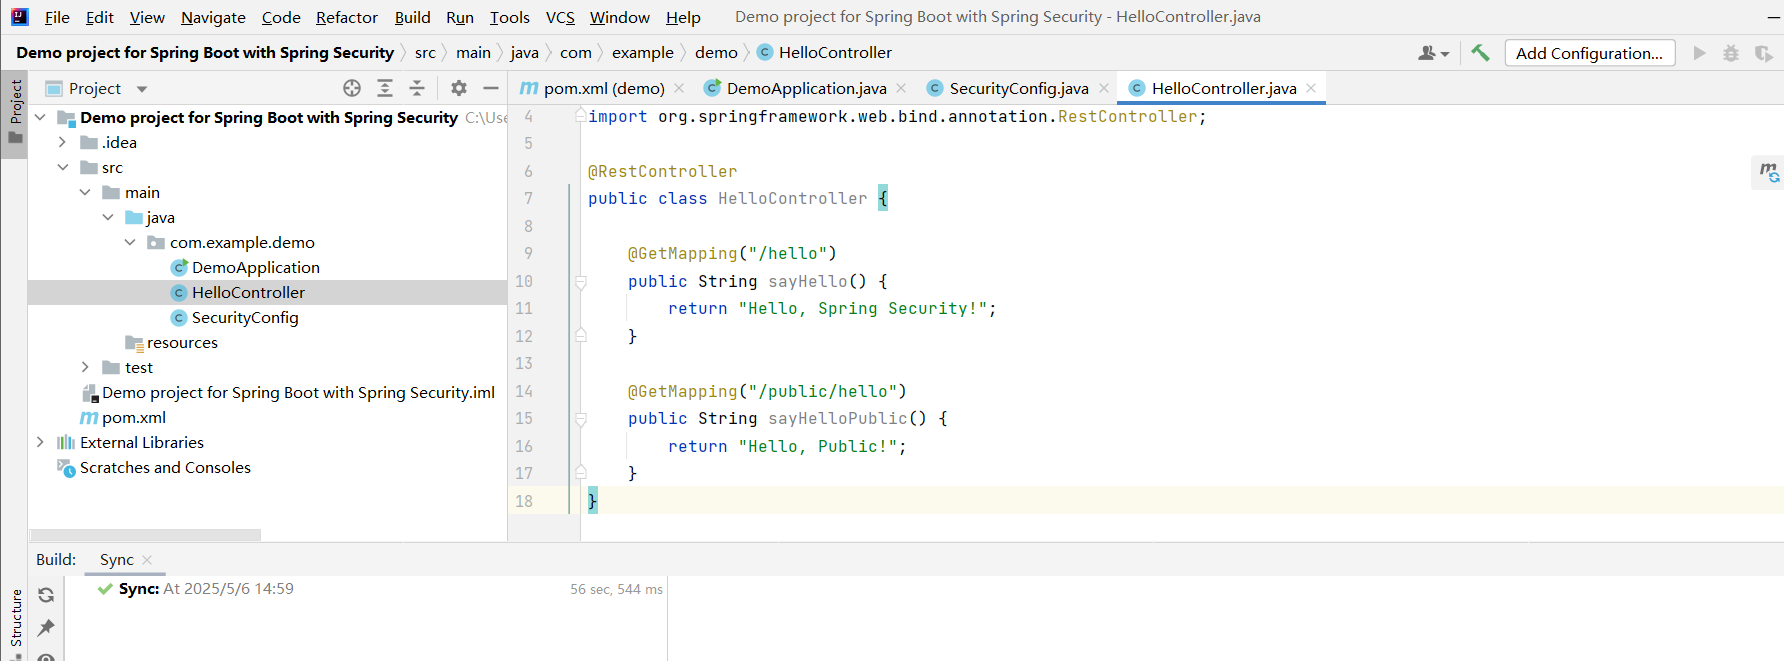
5. 创建控制器
在相同的包下创建 HelloController.java,提供一个简单的受保护端点:
package com.example.demo;import org.springframework.web.bind.annotation.GetMapping;
import org.springframework.web.bind.annotation.RestController;@RestController
public class HelloController {@GetMapping("/hello")public String sayHello() {return "Hello, Spring Security!";}@GetMapping("/public/hello")public String sayHelloPublic() {return "Hello, Public!";}
}
6. 运行和测试
- 启动应用:
- 右键点击
DemoApplication.java,选择Run,或点击类名旁边的绿色箭头。
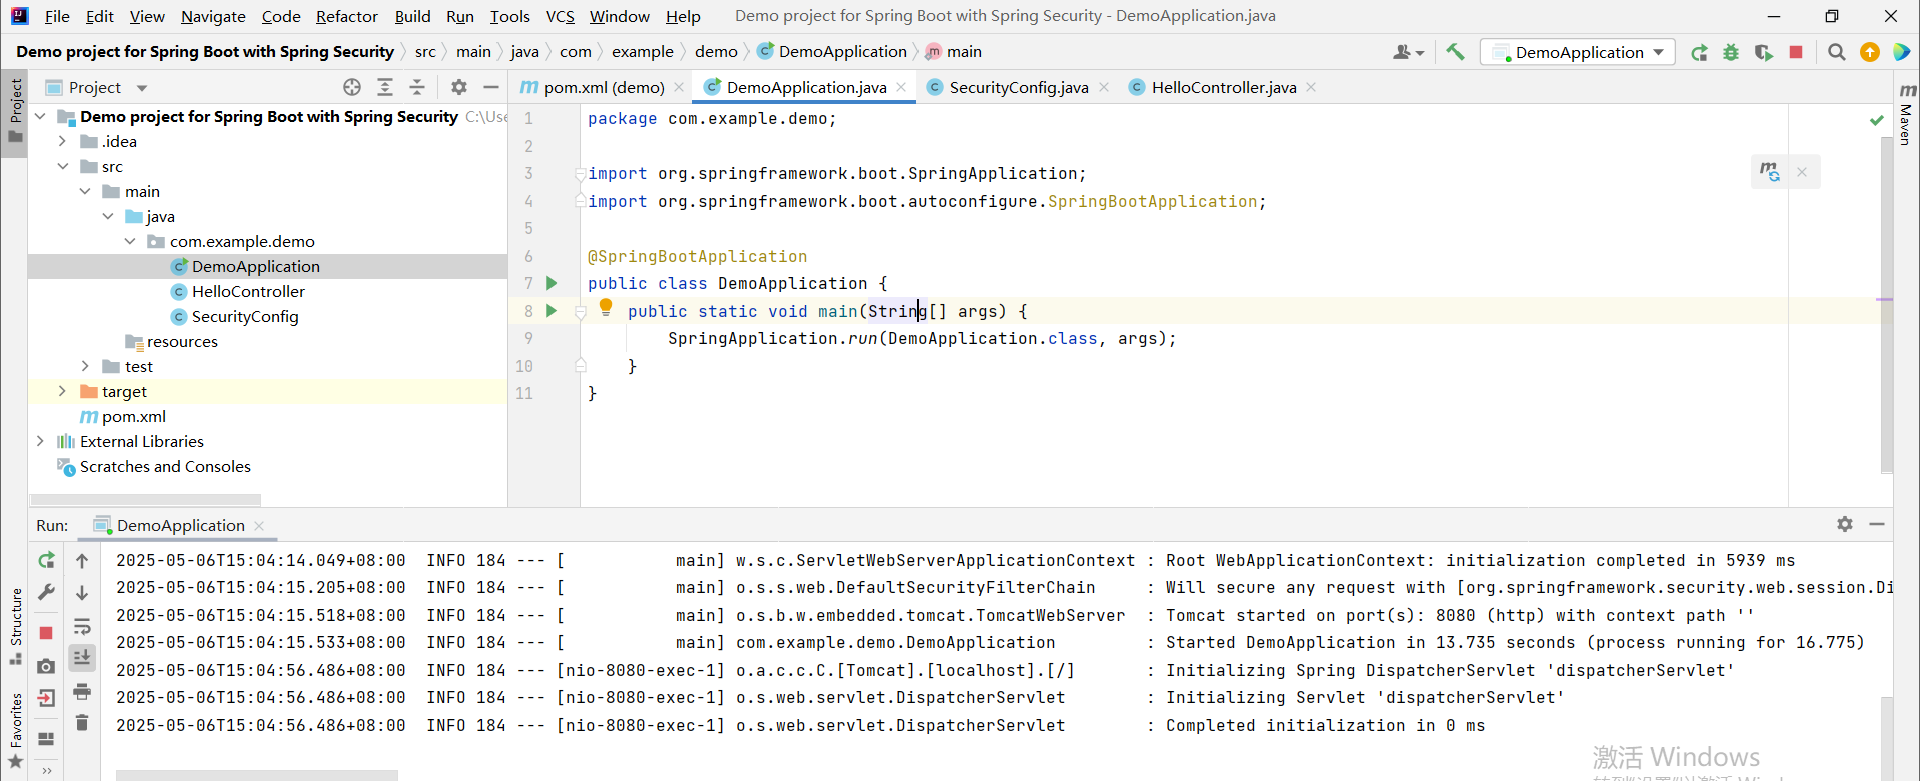
- 右键点击
- 测试接口:
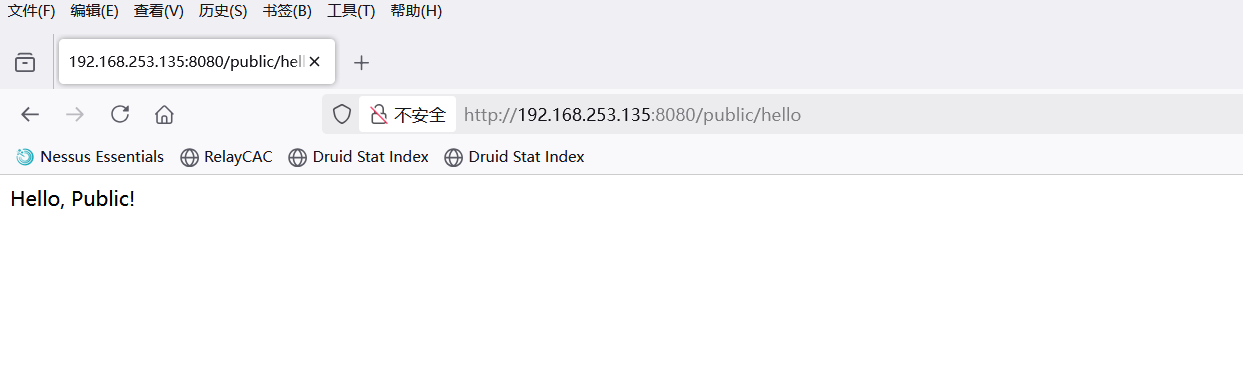
- 打开浏览器,访问
http://localhost:8080/public/hello,页面应返回Hello, Public!。
- 访问
http://localhost:8080/hello,将会被重定向到登录页面。
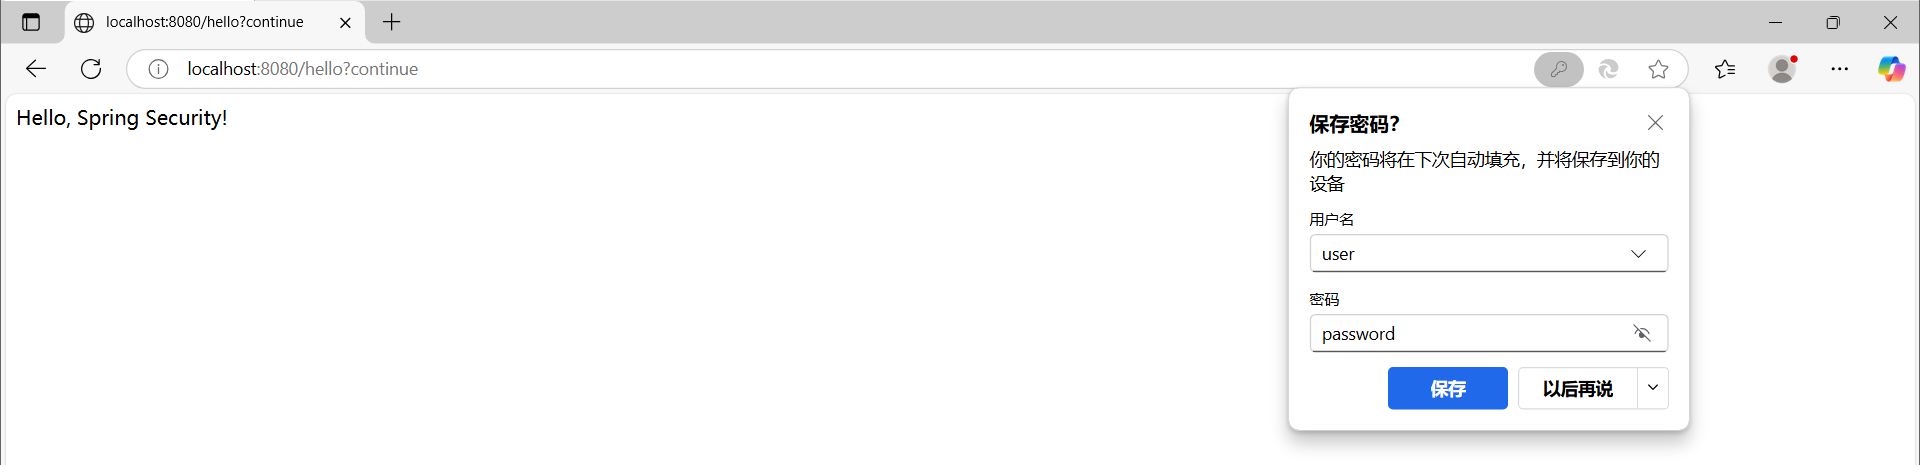
- 使用用户名
user和密码password登录,登录成功后,访问http://localhost:8080/hello,页面应返回Hello, Spring Security!。
- 打开浏览器,访问
总结
通过以上步骤,已经成功创建了一个简单的 Spring Boot 应用,并集成了 Spring Security 进行基本的认证和授权。此示例中,创建了一个受保护的端点 /hello 和一个公共端点 /public/hello。Spring Security 确保只有经过身份验证的用户才能访问受保护的端点。