(11)Vue-Router路由的详细使用
本系列教程目录:Vue3+Element Plus全套学习笔记-目录大纲
文章目录
- 第2章 路由 Vue-Router
- 2.1 Vue路由快速入门
- 2.1.1 创建项目
- 2.1.2 路由运行流程
- 2.2 传递参数-useRoute
- 2.2.1 路径参数-params
- 1)普通传参
- 2)传递多个参数
- 3)对象方式传参
- 2.2.2 查询参数-query
- 1)普通传参
- 2)对象方式传参
- 2.3 嵌套路由
- 2.4 路由跳转-useRouter
- 2.5 Vue导航守卫
- 2.5.1 全局守卫
- 2.5.2 路由守卫
- 2.5.3 组件内守卫
第2章 路由 Vue-Router
传统的页面应用,是用一些超链接来实现页面切换和跳转的。Vue创建的项目是单页面应用,如果想要在项目中模拟出来类似于页面跳转的效果,就要使用路由。在vue-router单页面应用中,切换页面是路径之间的切换,实际上就是组件的切换。路由就是SPA(单页应用)的路径管理器。
vue的单页面应用是基于路由和组件的,路由用于设定访问路径,并将路径和组件映射起来。
2.1 Vue路由快速入门
2.1.1 创建项目
首先创建一个Vite工程:
npm create vite
进入Vtie工程,安装vite依赖:
npm install
安装vue-router组件:
npm install vue-router
2.1.2 路由运行流程
在src/components下定义index.vue、demo01.vue、demo02.vue,在src目录下新建router目录(该目录名任意),在该目录下新建一个index.js,下面是路由的具体配置信息:
// 导入VueRouter中的createRouter和createWebHashHistory函数
import {createRouter, createWebHashHistory} from 'vue-router'
// 导入index组件
import index from '../components/index.vue'// 定义路由表
const routes = [// path: 组件访问的路径,component: 对应的组件{path: '/index', component: index},// 快捷写法{path: '/demo01', component: () => import('../components/demo01.vue')},{path: '/demo02', component: () => import('../components/demo02.vue')}
]// 创建路由实例
const router = createRouter({history: createWebHashHistory(),routes: routes
})// 导出路由
export default router
在main.js中修改Vue实例,将路由注册到Vue实例中让其生效:
import { createApp } from 'vue'
import './style.css'
import App from './App.vue'// 导入路由
import router from "./router/index.js";// 创建Vue实例
let app = createApp(App);// 注册路由
app.use(router)// 挂载容器
app.mount('#app')
App.vue:
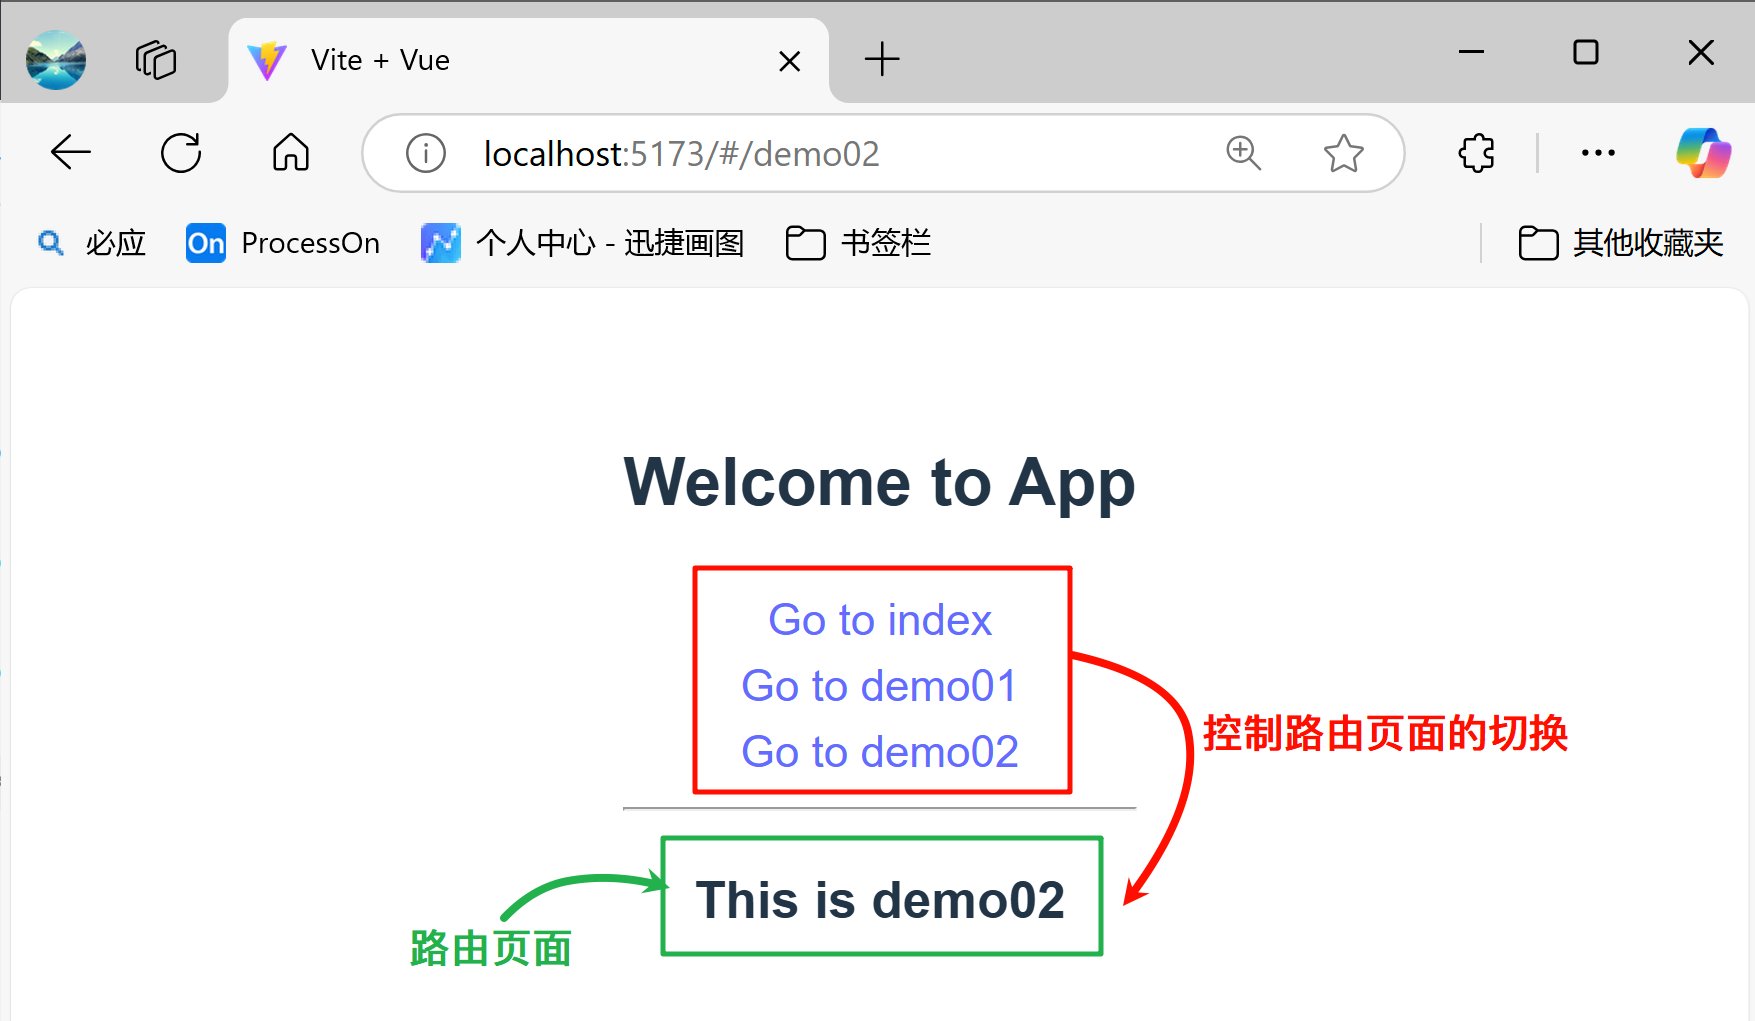
<template><div><h1>Welcome to App</h1><!-- 配置路由跳转 --><router-link to="/index">Go to index</router-link><br><router-link to="/demo01">Go to demo01</router-link><br><router-link to="/demo02">Go to demo02</router-link><hr><!-- 路由视图占位符 --><router-view /></div></template>效果如下:
2.2 传递参数-useRoute
vue 路由传参的使用场景一般都是应用在父路由跳转到子路由时,携带参数跳转。传参方式可划分为 params 传参和 query 传参,而 params 传参又可分为在 url 中显示参数和不显示参数两种方式,这就是vue路由传参的三种方式。
2.2.1 路径参数-params
路径参数是params传参的一种方式,类似于SpringMVC中的@PathVariable注解,即将参数传递的参数放在路径的一部分。
1)普通传参
定义一个article组件:
<script setup>
// 导入useRoute对象
import {useRoute} from "vue-router";// 获取route对象
let route = useRoute();console.log('route对象:', route);
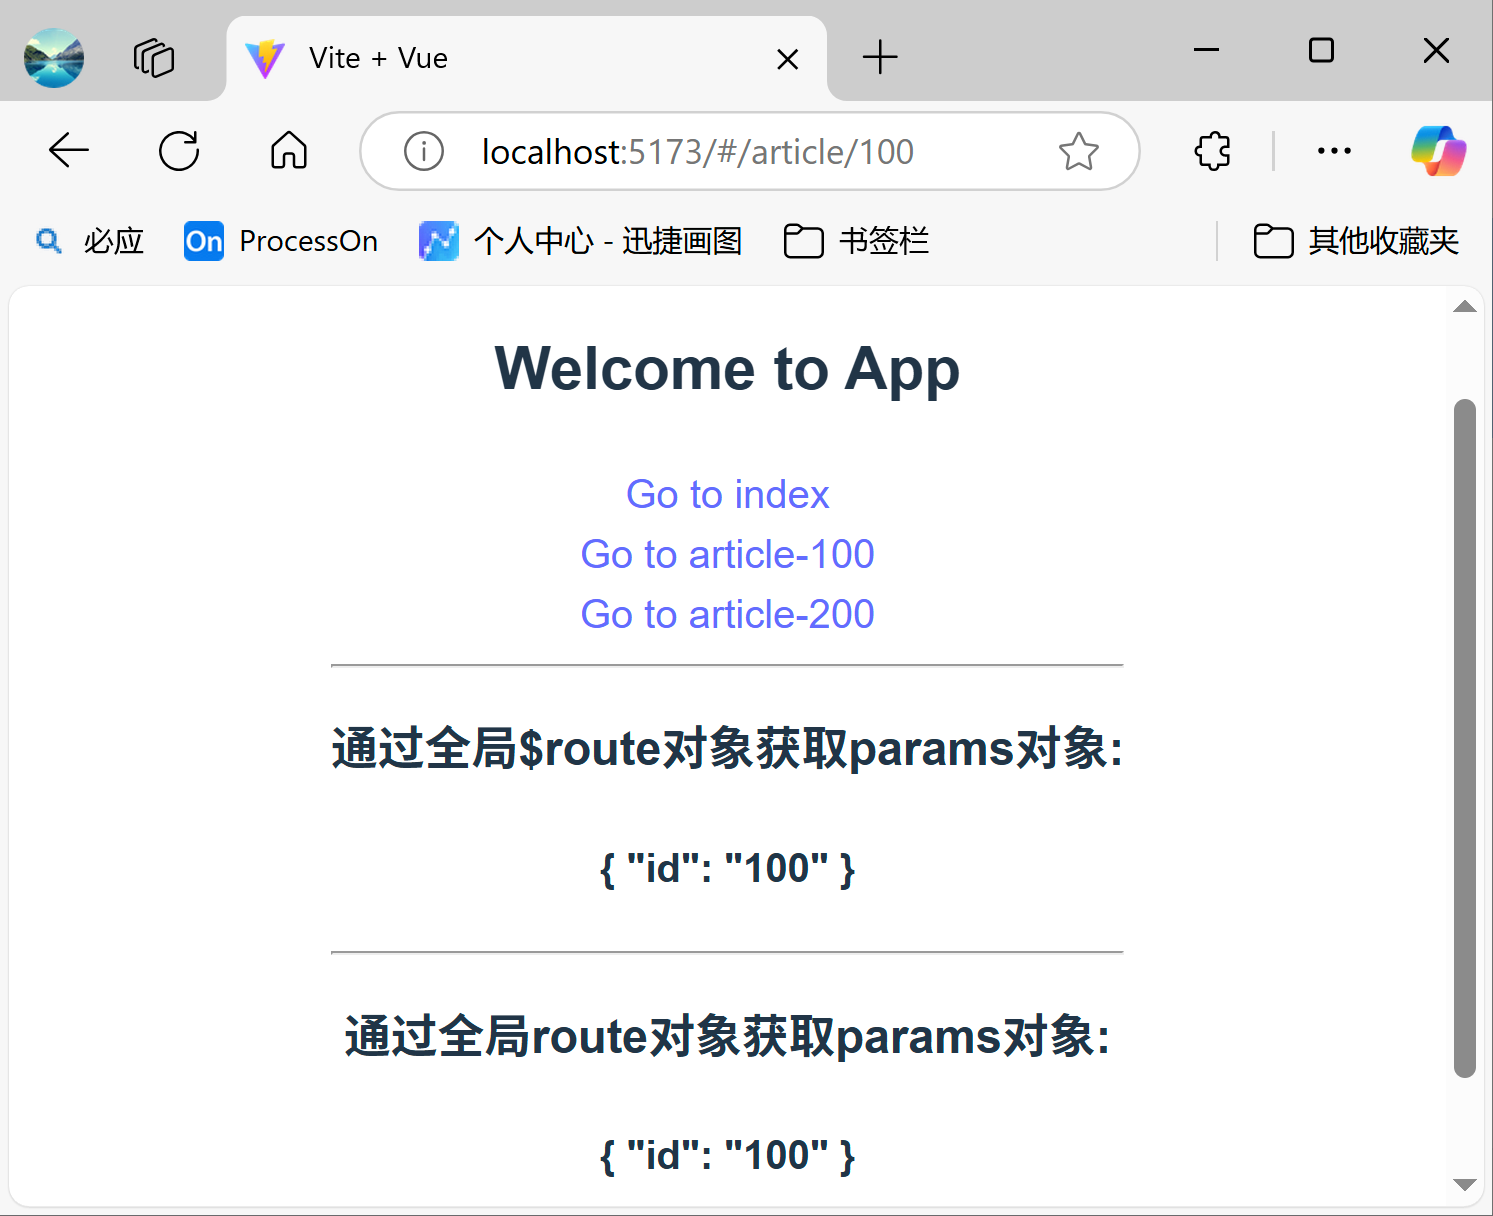
</script><template><div><!-- 通过全局$route对象获取参数 --><h3>通过全局$route对象获取params对象:</h3><h4> {{ $route.params }}</h4><hr><!-- 通过route对象获取参数 --><h3>通过全局route对象获取params对象: </h3><h4> {{ route.params }}</h4></div></template>定义路由:
{path: '/article/:id', component: () => import('../components/test01/article.vue')}
在App.vue添加链接路径:
<template><div><h2>Welcome to App</h2><!-- 配置路由跳转 --><router-link to="/index">Go to index</router-link><br><router-link to="/article/100">Go to article-100</router-link><br><router-link to="/article/200">Go to article-200</router-link><hr><!-- 路由视图占位符 --><router-view /></div></template>效果如下:
2)传递多个参数
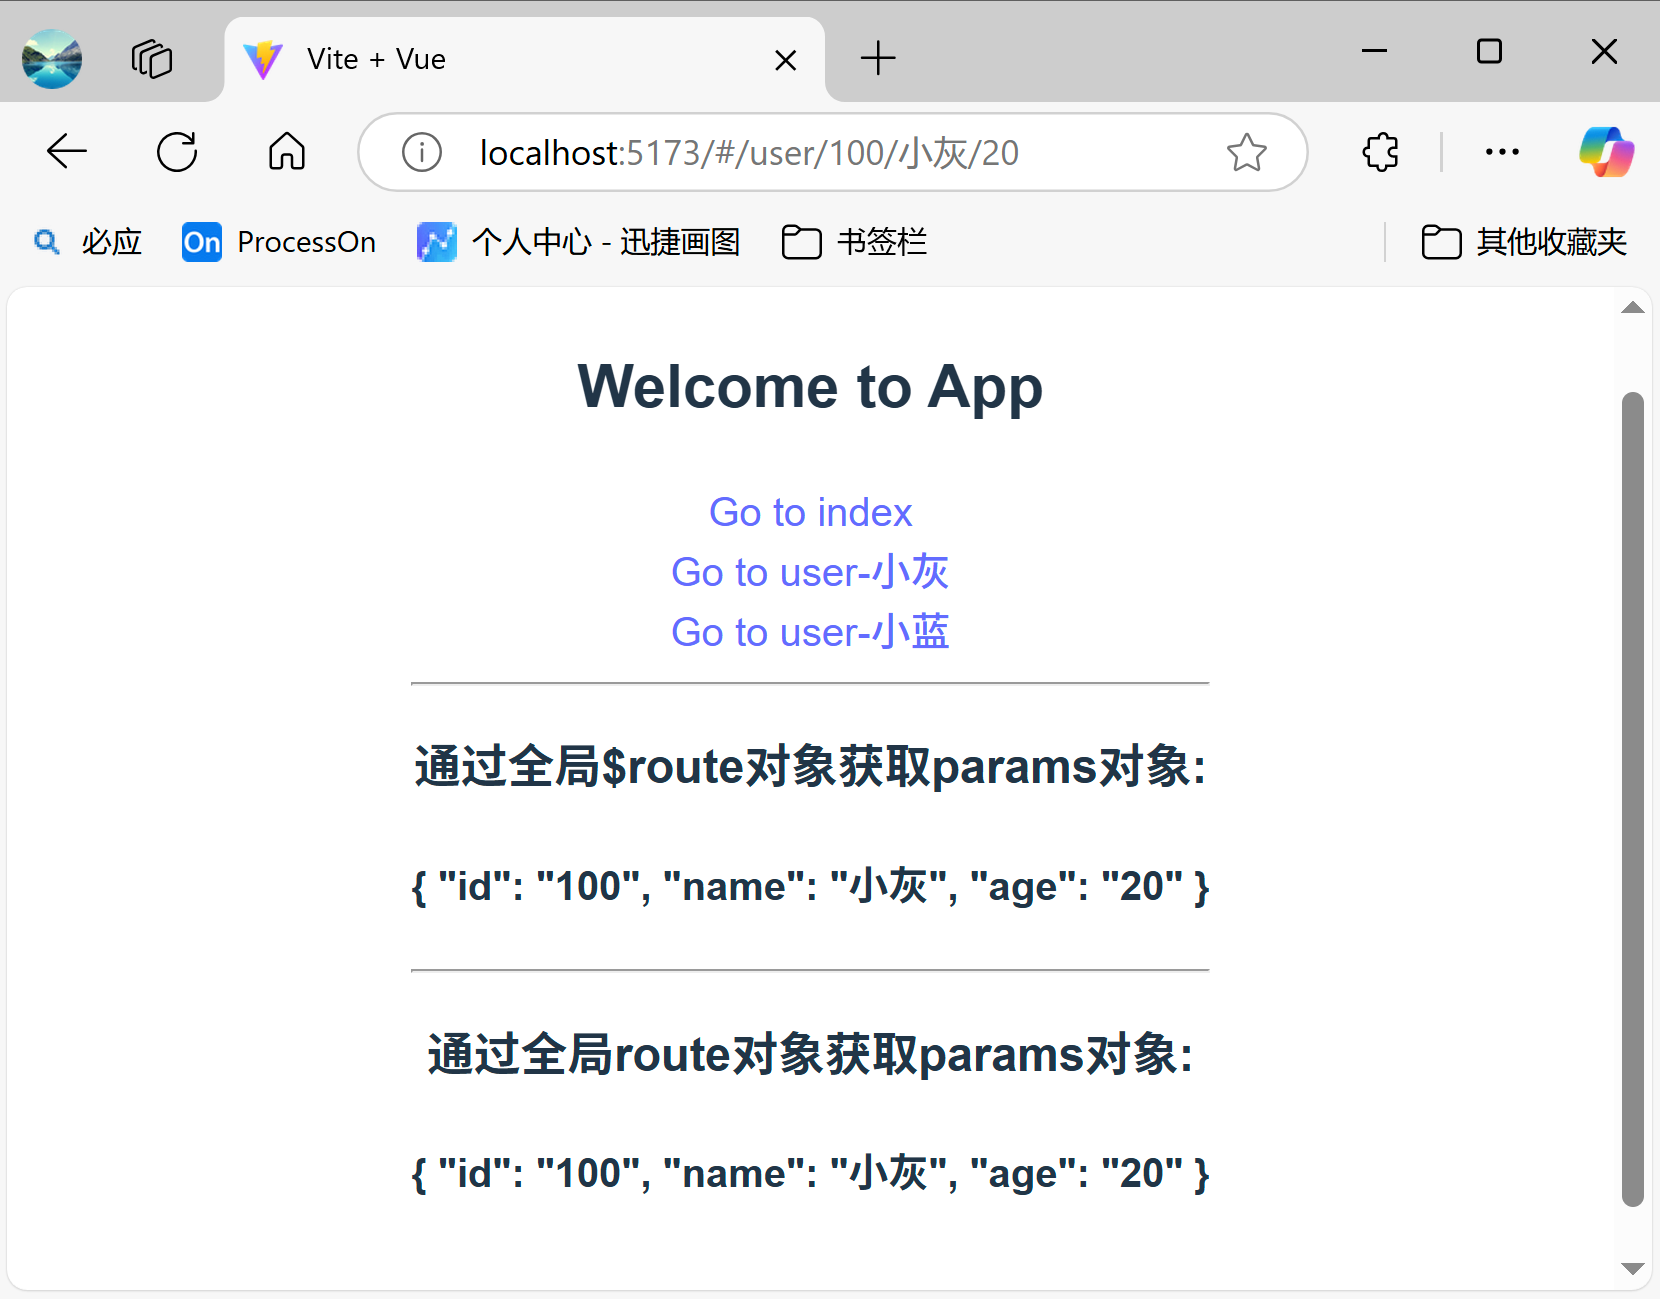
使用路径传参想要传递多个参数只要在路径上写上多个参数即可。
定义路由:
{path: '/user/:id/:name/:age', component: () => import('../components/test01/user.vue')},
在App.vue添加链接路径:
<template><div><h2>Welcome to App</h2><!-- 配置路由跳转 --><router-link to="/index">Go to index</router-link><br><router-link to="/user/100/小灰/20">Go to user-小灰</router-link><br><router-link to="/user/200/小蓝/25">Go to user-小蓝</router-link><hr><!-- 路由视图占位符 --><router-view /></div></template>效果如下:
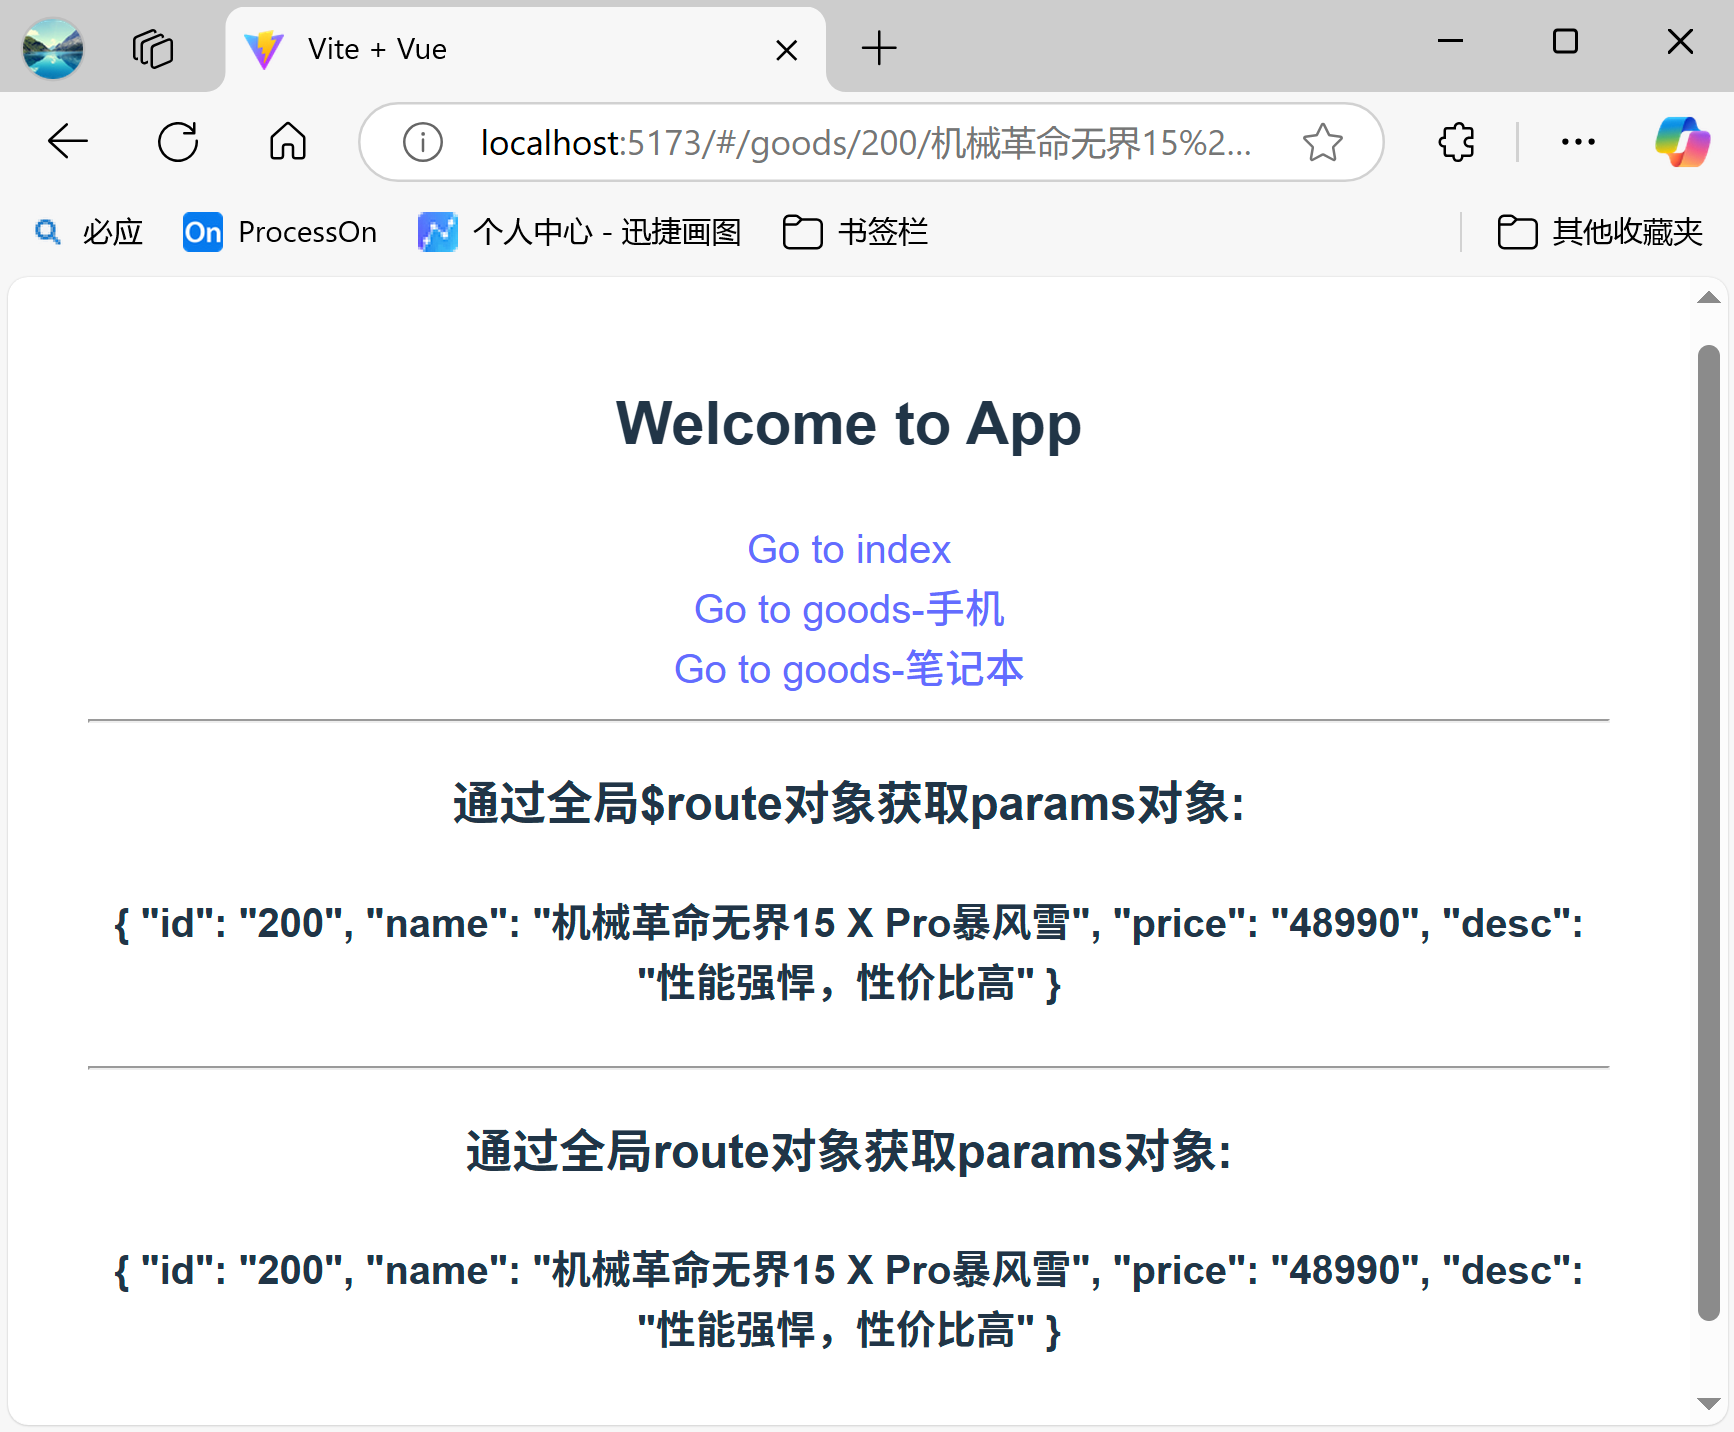
3)对象方式传参
对象传参允许我们在link标签处传递类似于JSON对象形式的参数。
Tips:在使用对象方式传参时是借助组件的名称进行跳转,因此在定义路由时一定要为组件命名。
定义路由:
// 对象传参一定要有name属性
{name: "goods", path: '/goods/:id/:name/:price/:desc', component: () => import('../components/test01/goods.vue')
},
在App.vue添加链接路径:
<template><div><h2>Welcome to App</h2><!-- 配置路由跳转 --><router-link to="/index">Go to index</router-link><br><router-link :to="{name: 'goods',params: {id: 100,name: '小米10至尊纪念版',price: 5899.00,desc:'性能超级强悍'}}">Go to goods-手机</router-link><br><router-link :to="{name: 'goods',params: {id: 200,name: '机械革命无界15 X Pro暴风雪',price: 48990.00,desc:'性能强悍,性价比高'}}">Go to goods-笔记本</router-link><hr><!-- 路由视图占位符 --><router-view/></div></template>效果如下:
2.2.2 查询参数-query
query传参方式会把参数以问号拼接到路由上面;类似于我们直接在URL地址栏上输入的参数。
1)普通传参
定义组件:
<script setup>
// 导入useRoute对象
import {useRoute} from "vue-router";// 获取route对象
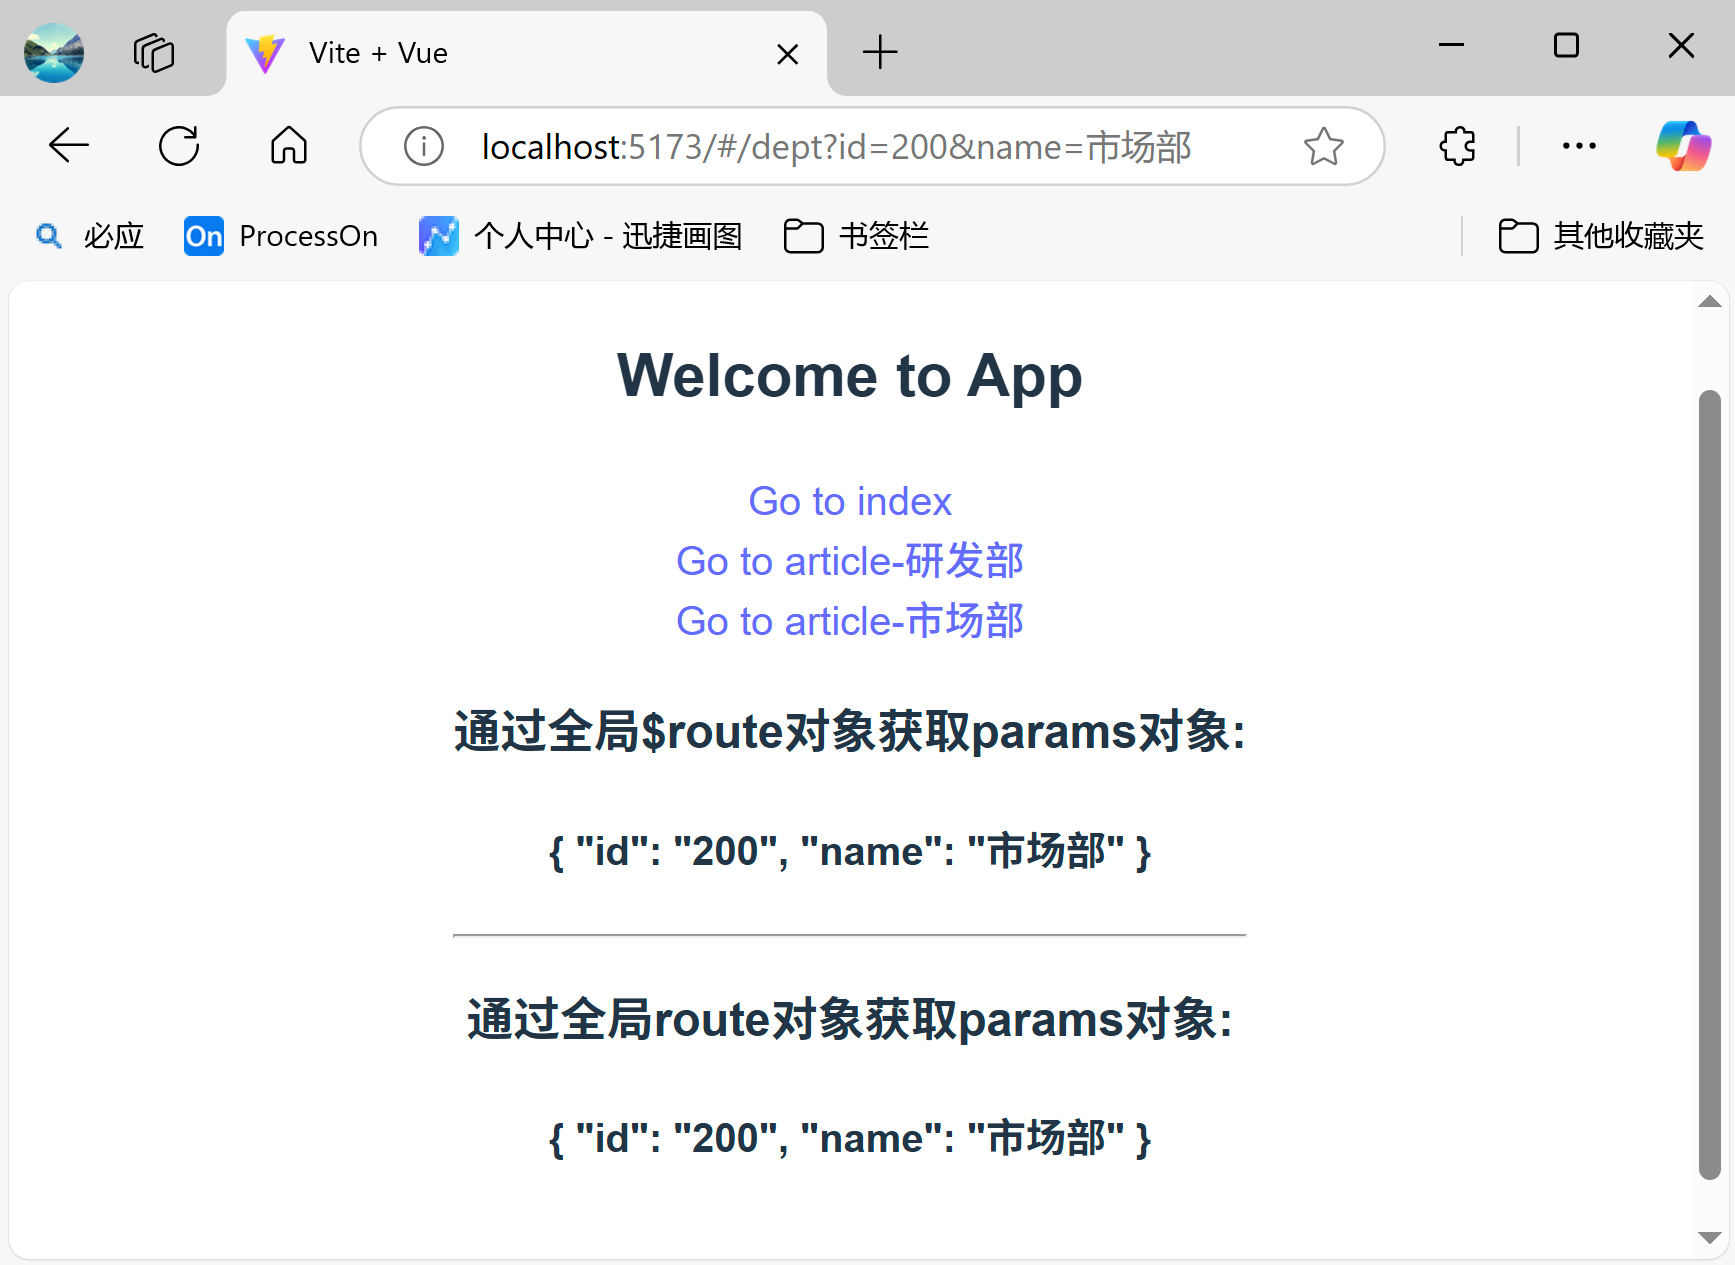
let route = useRoute();</script><template><div><!-- 通过全局$route对象获取参数 --><h3>通过全局$route对象获取params对象:</h3><!-- 注意:此时是通过query对象获取参数, 而非params对象 --><h4> {{ $route.query }}</h4><hr><!-- 通过route对象获取参数 --><h3>通过全局route对象获取params对象: </h3><!-- 注意:此时是通过query对象获取参数, 而非params对象 --><h4> {{ route.query }}</h4></div></template>定义路由:
{name: 'dept',path: '/dept', component: () => import('../components/test01/dept.vue')},
在App.vue添加链接路径:
<template><div><h2>Welcome to App</h2><!-- 配置路由跳转 --><router-link to="/index">Go to index</router-link><br><router-link to="/dept?id=100&name=研发部">Go to article-研发部</router-link><br><router-link to="/dept?id=200&name=市场部">Go to article-市场部</router-link><!-- 路由视图占位符 --><router-view/></div></template>效果如下:
2)对象方式传参
同样的,使用query方式传参也支持对象方式传递参数。
在App.vue添加链接路径:
<template><div><h2>Welcome to App</h2><router-link to="/index">Go to index</router-link><br><router-link :to="{// name和path都可以传递参数name: 'dept',query: {id: 100,name: '研发部'}}">Go to article-研发部</router-link><br><router-link :to="{// name和path都可以传递参数// name: 'dept',path: '/dept',query: {id: 200,name: '市场部'}}">Go to article-市场部</router-link><!-- 路由视图占位符 --><router-view/></div></template>2.3 嵌套路由
一些应用程序的 UI 由多层嵌套的组件组成。在这种情况下,URL 的片段通常对应于特定的嵌套组件结构,例如:
/user/profile                   		/user/posts
┌──────────────────┐                  ┌──────────────────┐
│ User             │                  │ User             │
│ ┌──────────────┐ │                  │ ┌──────────────┐ │
│ │ Profile      │ │  ●────────────▶  │ │ Posts        │ │
│ │              │ │                  │ │              │ │
│ └──────────────┘ │                  │ └──────────────┘ │
└──────────────────┘                  └──────────────────┘
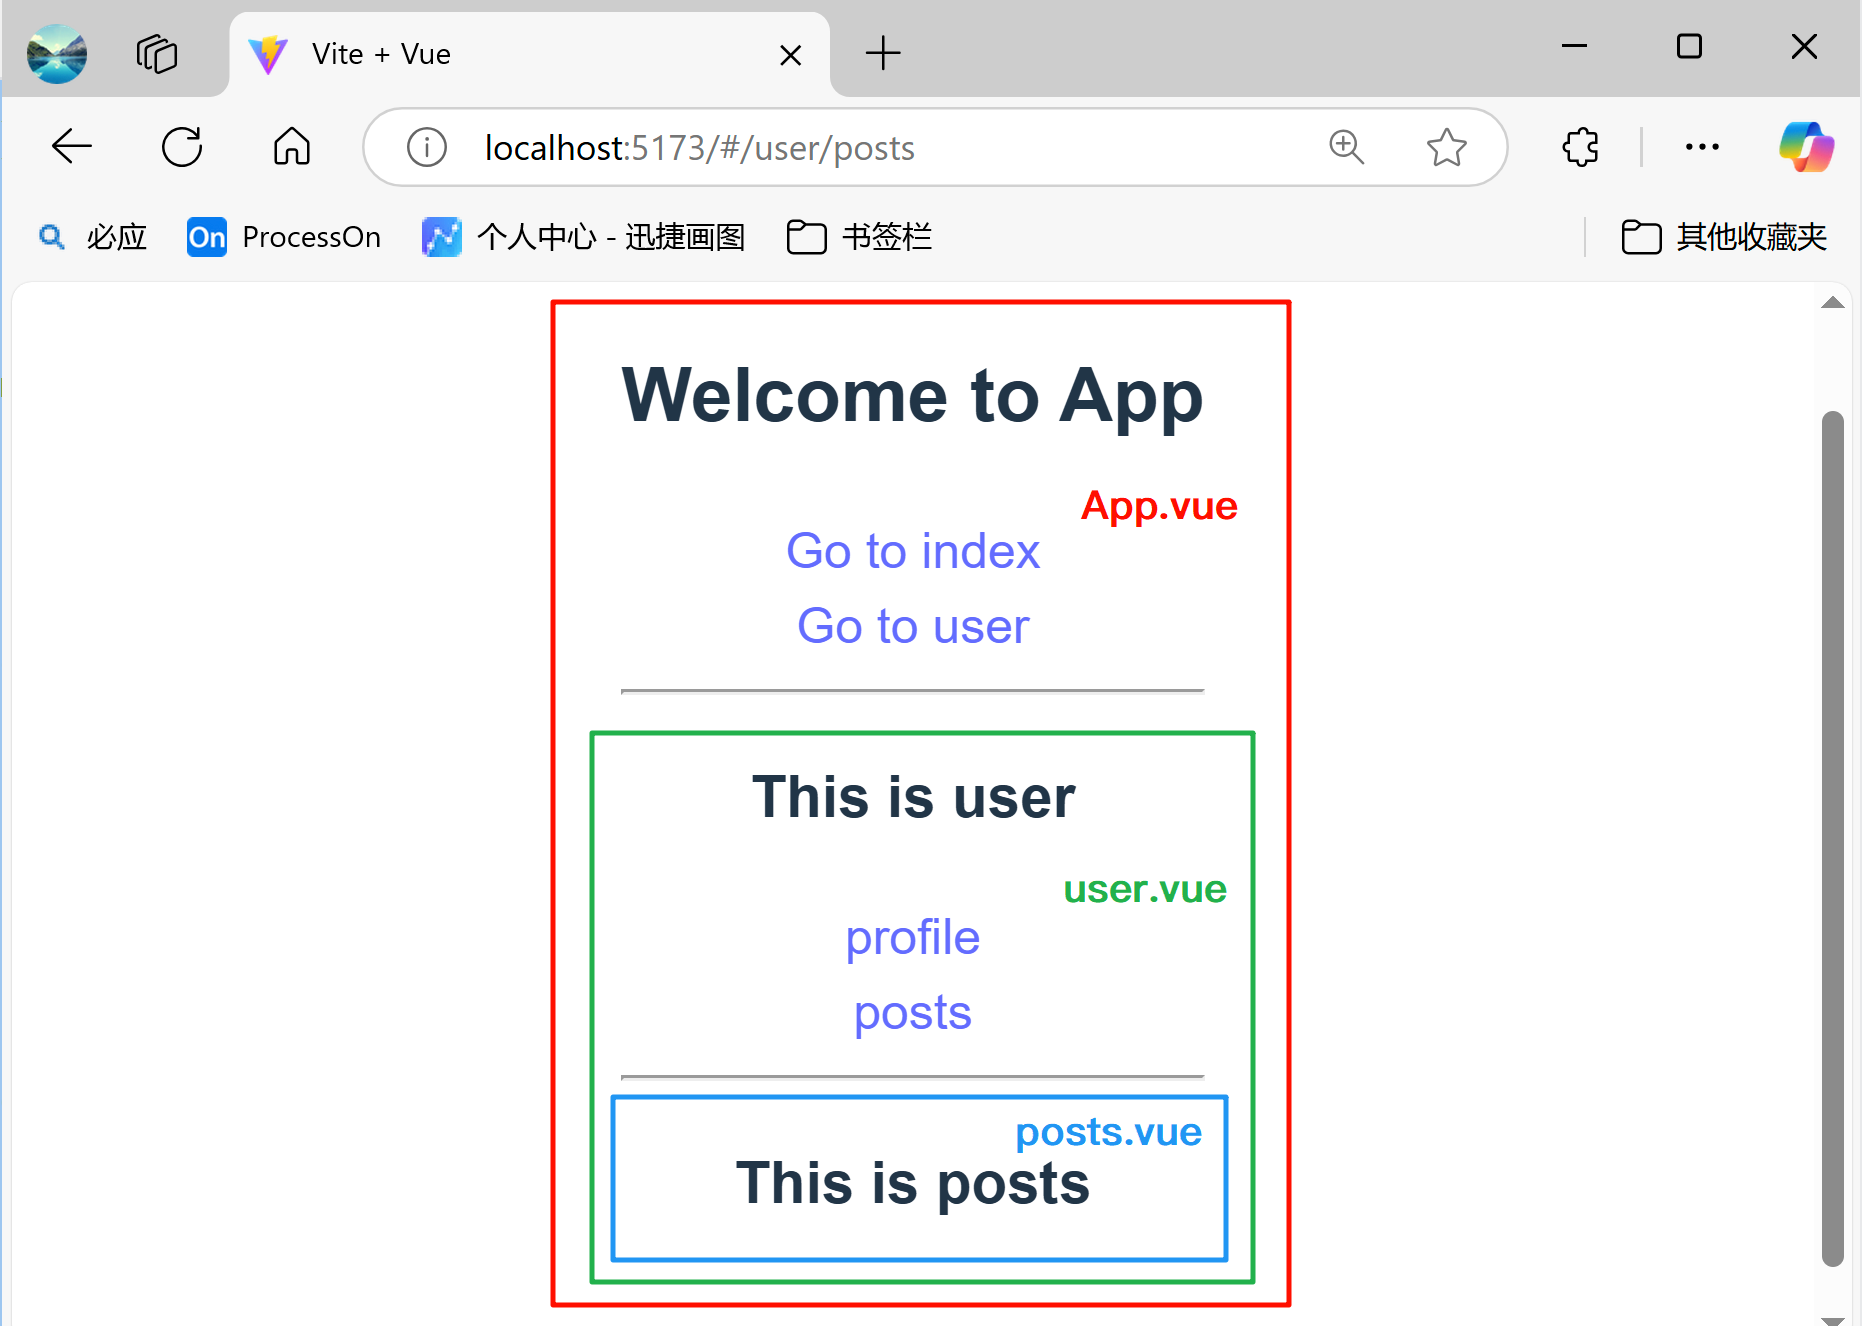
在嵌套路由中,一级路由下面还有路由,例如一级路由为user,但是在user下面还有profile、posts等子路由等。
App.vue:
<template><div><h2>Welcome to App</h2><!-- 配置路由跳转 --><router-link to="/">Go to index</router-link><br><router-link to="/user">Go to user</router-link><hr><!-- 路由视图占位符 --><router-view /></div></template>user.vue:
<template><div><h3>This is user</h3><router-link to="/user/profile">profile</router-link><br><router-link to="/user/posts">posts</router-link><hr><router-view></router-view></div></template>定义路由表:
// 定义路由表
const routes = [...{path: '/user', component: () => import('../views/user.vue'),children: [// 这里一定要写相对路径{path: 'profile', component: () => import('../views/user/profile.vue')},{path: 'posts', component: () => import('../views/user/posts.vue')}]}...
]
效果如下:
2.4 路由跳转-useRouter
客户端路由的作用是在单页应用 (SPA) 中将浏览器的 URL 和用户看到的内容绑定起来。当用户在应用中浏览不同页面时,URL 会随之更新,但页面不需要从服务器重新加载。
Vue Router 基于 Vue 的组件系统构建,我们可以通过配置路由来告诉 Vue Router 为每个 URL 路径显示哪些组件。
另外,我们可以使用vue-router中的useRouter对象来进行编程式路由,即通过代码的方式我们也可以进行路由的跳转。
路由表如下:
// 定义路由表
const routes = [{path: '/index', component: index},{name: 'dept', path: '/dept', component: () => import('../components/test01/dept.vue')},{path: '/user/:id/:name/:age', component: () => import('../components/test01/user.vue')},// 对象传参一定要有name属性{name: "goods", path: '/goods/:id/:name/:price/:desc', component: () => import('../components/test01/goods.vue')},{path: '/article/:id', component: () => import('../components/test01/article.vue')}
]
App.vue:
<template><div><h2>Welcome to App</h2><router-link to="/index">Go to index</router-link><br><button @click="toArticle">路径传参-单个参数-article</button><button @click="toUser">路径传参-多个参数-user</button><button @click="toGoods">路径传参-对象传参-goods</button><button @click="toDept_01">查询参数-普通传参-dept</button><button @click="toDept_02">查询参数-对象传参-dept</button><!--  路由视图占位符  --><router-view/></div></template><script setup>
// 导入useRouter
import { useRouter } from 'vue-router'
// 创建路由实例
let router = useRouter();function toArticle(){router.push("/article/100");
}function toUser(){router.push("/user/100/小灰/20");
}function toGoods(){router.push({name: 'goods',params: {id: 100,name: '小米10至尊纪念版',price: 5899.00,desc:'性能超级强悍'}});
}function toDept_01(){router.push("/dept?id=100&name=研发部");
}function toDept_02(){router.push({name: 'dept',query: {id: 200,name: '市场部'}});
}
</script>
使用Router也可以进行回退,例如我们在某个子组件中添加如下代码:
<script setup>
// 导入useRouter对象
import {useRouter} from "vue-router";// 获取router对象
let router = useRouter();
function goBack() {// go代表前进,back代表后退// go传递-1代表后退一页,back传递-1代表前进一页router.go(-1);// router.back();
}
</script><template><div><h3>article page</h3><button @click="goBack">back</button></div></template>
2.5 Vue导航守卫
导航守卫允许在路由发生前、发生时、发生后执行自定义函数以完成某些特定功能,类似于拦截器的功能。导航守卫主要用于权限控制、数据预加载、页面访问限制等场景。
路由函数一般存在以下三个参数:
- to:即将要进入的目标路由对象;
- from:即将要离开的路由对象;
- next:涉及到next参数的路由函数,必须调用next()方法来继续路由,否则路由会中断在这,不会继续往下执行。
next('/login');					# 跳转到/login请求
next({name:'login'});			# 跳转到login组件
next({path:'/login'});			# 跳转到/login请求
- next():进行管道中的下一个函数。如果全部函数执行完了,则导航的状态就是confirmed(确认的)。
- next( false ):中断当前的导航。如果浏览器的 URL 改变了 (可能是用户手动或者浏览器后退按钮),那么 URL 地址会重置到from路由对应的地址。
- next('/'):当前的导航被中断,跳转到一个新的地址。next方法中可以传递组件名称或要跳转的页面路径,例如:
2.5.1 全局守卫
全局守卫是指路由实例上直接操作的函数,特点是所有路由配置的组件都会触发,即触发路由就会触发这些函数。
- beforeEach(to,from, next):在路由跳转前触发,这个钩子作用主要是用于登录验证,也就是路由还没跳转提前告知。
- beforeResolve(to,from, next): 这个和beforeEach类似,也是路由跳转前触发,区别是该方法在导航被路由前但组件已经被解析后调用(所有组件内守卫和异步路由组件被解析之后)。即在 beforeEach 和 组件内beforeRouteEnter 之后,afterEach之前调用。
- afterEach(to,from) : 和beforeEach相反,它是在路由跳转完成后触发,它发生在beforeEach和beforeResolve之后,beforeRouteEnter(组件内守卫)之前。这些钩子不会接受next函数也不会改变导航本身。
在index.js中定义全局守卫:
// 定义全局前置导航守卫
router.beforeEach((to, from,next) => {console.log("守卫to:", to)console.log("守卫from:", from)// 如果访问的是dept请求则判断是否已经登录if(to.path === '/dept'){let isLogin = false; //假设登录成功if(isLogin){next(); //继续路由(相当于放行dept请求)}else{router.push('/login'); //没有登录则跳转到登录页面}}// 如果访问的不是dept请求则继续路由next();
})
在进行路由跳转将会执行该函数,输出如下:

2.5.2 路由守卫
路由守卫是指在单个路由配置的时候也可以设置的函数
- beforeEnter(to,from, next):和beforeEach完全相同,如果两个都设置了,beforeEnter则在beforeEach之后紧随执行。在路由配置上直接定义beforeEnter守卫。
例如给index路由添加路由守卫,这样每次在访问index组件时都会经过该路由守卫:
{path: '/index', component: index, beforeEnter: (to, from, next) => {console.log("beforeEnter-守卫to:", to)console.log("beforeEnter-守卫from:", from)next();}
}
2.5.3 组件内守卫
组件内守卫是指在组件内执行的函数,类似于组件内的生命周期,相当于为配置路由的组件添加的路由函数。
- beforeRouteEnter(to,from, next):进入组件前
- beforeRouteUpdadte(to,from, next):路由改变但组件复用时
- beforeRouteLeave(to,from, next):离开组件前
例如在index.vue页面中添加组件内守卫:
<script setup>function beforeRouteEnter(to, from, next) {console.log("beforeRouteEnter-守卫to:", to)console.log("beforeRouteEnter-守卫from:", from)next();
}</script><template><div><h3>This is index</h3></div></template><style scoped>
</style>