x86架构-k8s设置openebs的hostpath作为默认存储类的部署记录
文章目录
- 前言
- 一、openebs是什么?
- 二、准备步骤
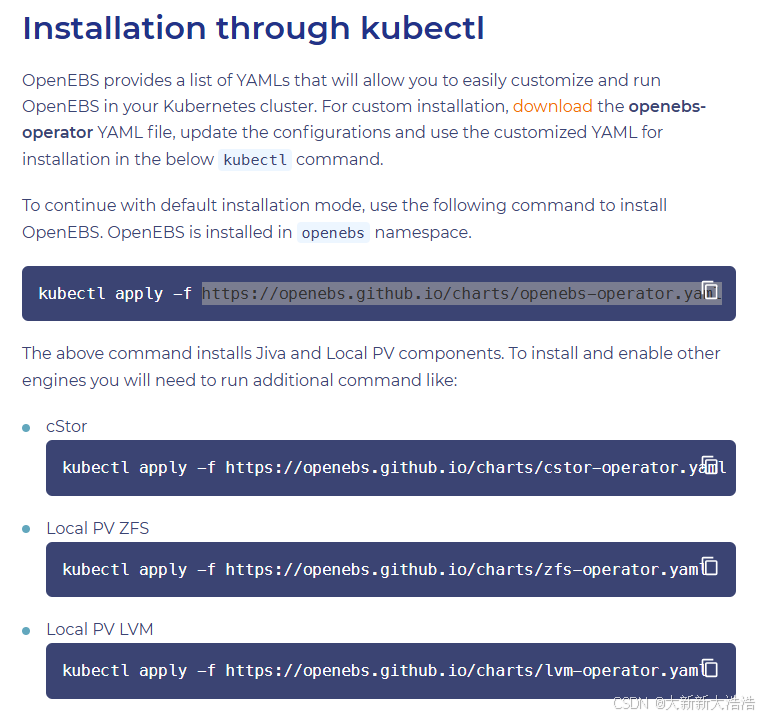
- 1.下载yaml文件
- 2.准备一个新的单点k8s用于测试
- 2.将openebs-operator.yaml中的镜像修改成使用国内加速源的
- 三、执行yaml
- 1.openebs-operator.yaml
- 2.local-hostpath-pvc.yaml和local-hostpath-pod.yaml
- 四、关于默认存储路径/var/openebs/local/修改的问题
- 五、设置默认存储类
- 总结
前言
x86架构上,k8s设置openebs的hostpath作为默认存储类的部署记录
甲方的一个环境,需要将k8s集群缩容由3节点缩小为1节点,因为之前使用的存储方案是rook-ceph,需要找一个替换方案。我就想到了openebs。这里记录一下相关的操作
一、openebs是什么?
OpenEBS turns any storage available to Kubernetes worker nodes into Local or Distributed Kubernetes Persistent Volumes.
官网地址: https://openebs.io/docs/3.3.x/user-guides/installation
Hostpath地址:https://openebs.io/docs/3.3.x/user-guides/localpv-hostpath
二、准备步骤
1.下载yaml文件
mkdir -p /data/openebs/
cd /data/openebs/
wget https://openebs.github.io/charts/openebs-operator.yaml
wget https://openebs.github.io/charts/examples/local-hostpath/local-hostpath-pod.yaml
wget https://openebs.github.io/charts/examples/local-hostpath/local-hostpath-pvc.yaml
2.准备一个新的单点k8s用于测试
kubectl get pod -A
NAMESPACE              NAME                                       READY   STATUS    RESTARTS   AGE
kube-system            calico-kube-controllers-676c86494f-jwfv5   1/1     Running   0          38m
kube-system            calico-node-v5vnq                          1/1     Running   0          38m
kube-system            coredns-757cd945b-5767j                    1/1     Running   0          38m
kube-system            coredns-757cd945b-k6rvk                    1/1     Running   0          38m
kube-system            kube-apiserver-clamav                      1/1     Running   0          38m
kube-system            kube-controller-manager-clamav             1/1     Running   0          38m
kube-system            kube-proxy-d8fq6                           1/1     Running   0          38m
kube-system            kube-scheduler-clamav                      1/1     Running   0          38m
kube-system            nodelocaldns-5wmhs                         1/1     Running   0          38m
kubernetes-dashboard   dashboard-metrics-scraper-9966c679-d877s   1/1     Running   0          36m
kubernetes-dashboard   kubernetes-dashboard-574df6df5f-2r89r      1/1     Running   0          36m
2.将openebs-operator.yaml中的镜像修改成使用国内加速源的
我用的是dockerpull.cn的国内源,一共涉及到下列5个镜像
openebs/node-disk-manager:2.1.0
openebs/node-disk-operator:2.1.0
openebs/node-disk-exporter:2.1.0
openebs/provisioner-localpv:3.4.0
openebs/linux-utils:3.5.0
pull 镜像
docker pull dockerpull.cn/openebs/node-disk-manager:2.1.0
docker pull dockerpull.cn/openebs/node-disk-operator:2.1.0
docker pull dockerpull.cn/openebs/node-disk-exporter:2.1.0
docker pull dockerpull.cn/openebs/provisioner-localpv:3.4.0
docker pull dockerpull.cn/openebs/linux-utils:3.5.0
替换openebs-operator.yaml中的镜像
这里使用的perl命令,没有使用sed命令,左斜杠转义太烦人,不如用#来当分隔符
perl -pi -e 's#openebs/node-disk-manager:2.1.0#dockerpull.cn/openebs/node-disk-manager:2.1.0#g' openebs-operator.yamlperl -pi -e 's#openebs/node-disk-operator:2.1.0#dockerpull.cn/openebs/node-disk-operator:2.1.0#g' openebs-operator.yamlperl -pi -e 's#openebs/node-disk-exporter:2.1.0#dockerpull.cn/openebs/node-disk-exporter:2.1.0#g' openebs-operator.yamlperl -pi -e 's#openebs/provisioner-localpv:3.4.0#dockerpull.cn/openebs/provisioner-localpv:3.4.0#g' openebs-operator.yamlperl -pi -e 's#openebs/linux-utils:3.5.0#dockerpull.cn/openebs/linux-utils:3.5.0#g' openebs-operator.yaml
三、执行yaml
1.openebs-operator.yaml
cd /data/openebs/
kubectl create -f openebs-operator.yaml
# 输出
namespace/openebs created
serviceaccount/openebs-maya-operator created
clusterrole.rbac.authorization.k8s.io/openebs-maya-operator created
clusterrolebinding.rbac.authorization.k8s.io/openebs-maya-operator created
customresourcedefinition.apiextensions.k8s.io/blockdevices.openebs.io created
customresourcedefinition.apiextensions.k8s.io/blockdeviceclaims.openebs.io created
configmap/openebs-ndm-config created
daemonset.apps/openebs-ndm created
deployment.apps/openebs-ndm-operator created
deployment.apps/openebs-ndm-cluster-exporter created
service/openebs-ndm-cluster-exporter-service created
daemonset.apps/openebs-ndm-node-exporter created
service/openebs-ndm-node-exporter-service created
deployment.apps/openebs-localpv-provisioner created
storageclass.storage.k8s.io/openebs-hostpath created
storageclass.storage.k8s.io/openebs-device created
等待pod进入运行状态
kubectl get pod -n openebs
# 输出
NAME                                           READY   STATUS    RESTARTS   AGE
openebs-localpv-provisioner-866f75fd74-hhm98   1/1     Running   0          32s
openebs-ndm-cluster-exporter-c9cdc6864-ml9jd   1/1     Running   0          32s
openebs-ndm-node-exporter-5zpl9                1/1     Running   0          32s
openebs-ndm-operator-6d58d6fdf7-wcb22          1/1     Running   0          32s
openebs-ndm-pdcbm                              1/1     Running   0          32s
查看存储类
kubectl get sc -n default
# 输出
NAME               PROVISIONER        RECLAIMPOLICY   VOLUMEBINDINGMODE      ALLOWVOLUMEEXPANSION   AGE
openebs-device     openebs.io/local   Delete          WaitForFirstConsumer   false                  7m14s
openebs-hostpath   openebs.io/local   Delete          WaitForFirstConsumer   false                  7m14s
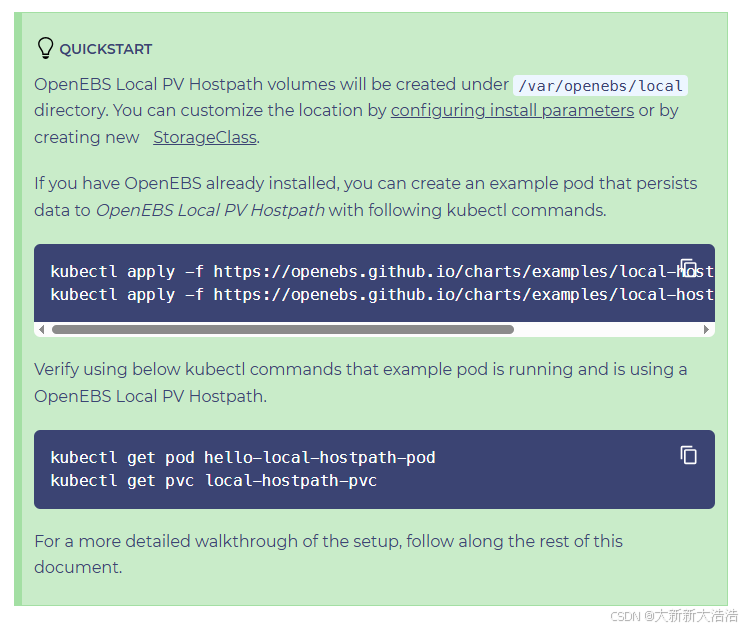
2.local-hostpath-pvc.yaml和local-hostpath-pod.yaml
docker pull dockerpull.cn/busybox
perl -pi -e  's#busybox#dockerpull.cn/busybox#g'  local-hostpath-pod.yaml
kubectl create -f local-hostpath-pvc.yaml
kubectl create -f local-hostpath-pod.yaml
查看测试的pv和pod
kubectl get pod -n default
# 输出
NAME                       READY   STATUS    RESTARTS   AGE
hello-local-hostpath-pod   1/1     Running   0          19skubectl get pvc -n default
# 输出
NAME                 STATUS   VOLUME                                     CAPACITY   ACCESS MODES   STORAGECLASS       AGE
local-hostpath-pvc   Bound    pvc-d2d776a1-656e-49e7-bfff-34ebaa26481a   5G         RWO            openebs-hostpath   5m18s
四、关于默认存储路径/var/openebs/local/修改的问题
默认的存储路径是/var/openebs/local/,在生产环境中最好是配置到一个高性能的有保障的目录下。
准备一个专属目录
mkdir -p /hdd_data/openebs_data/
修改存储类配置
apiVersion: storage.k8s.io/v1
kind: StorageClass
metadata:name: openebs-hostpath
...- name: BasePath#value: "/var/openebs/local/"value: "/hdd_data/openebs_data/"
创建
kubectl create -f openebs-operator.yaml
kubectl create -f local-hostpath-pvc.yaml
kubectl create -f local-hostpath-pod.yaml
kubectl get pvc
# 输出
NAME                 STATUS   VOLUME                                     CAPACITY   ACCESS MODES   STORAGECLASS       AGE
local-hostpath-pvc   Bound    pvc-300671fc-34b1-46dd-bc1c-eaa2feeee754   5G         RWO            openebs-hostpath   4m18s
查看卷是否创建到专属目录
ll /hdd_data/openebs_data/
total 0
drwxrwxrwx 2 root root 23 Apr 29 15:59 pvc-300671fc-34b1-46dd-bc1c-eaa2feeee754
五、设置默认存储类
kubectl patch storageclass openebs-hostpath -p '{"metadata": {"annotations":{"storageclass.kubernetes.io/is-default-class":"true"}}}'
总结
简单记录一下使用方式,