IntelliJ创建Springboot项目
文章目录
- 前言
- 创建步骤
- 设置UTF-8编码
- 配置数据库
- Controller
- Service
- 最后是Mapper类
- 运行程序
前言
本文讲在IntelliJ中创建一个spring boot项目即数据库连接等相关配置
创建步骤
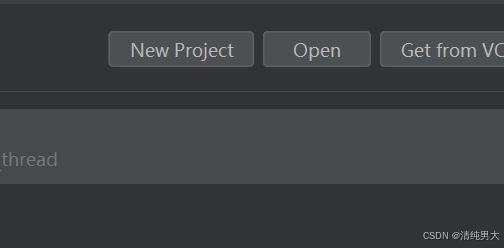
New Project
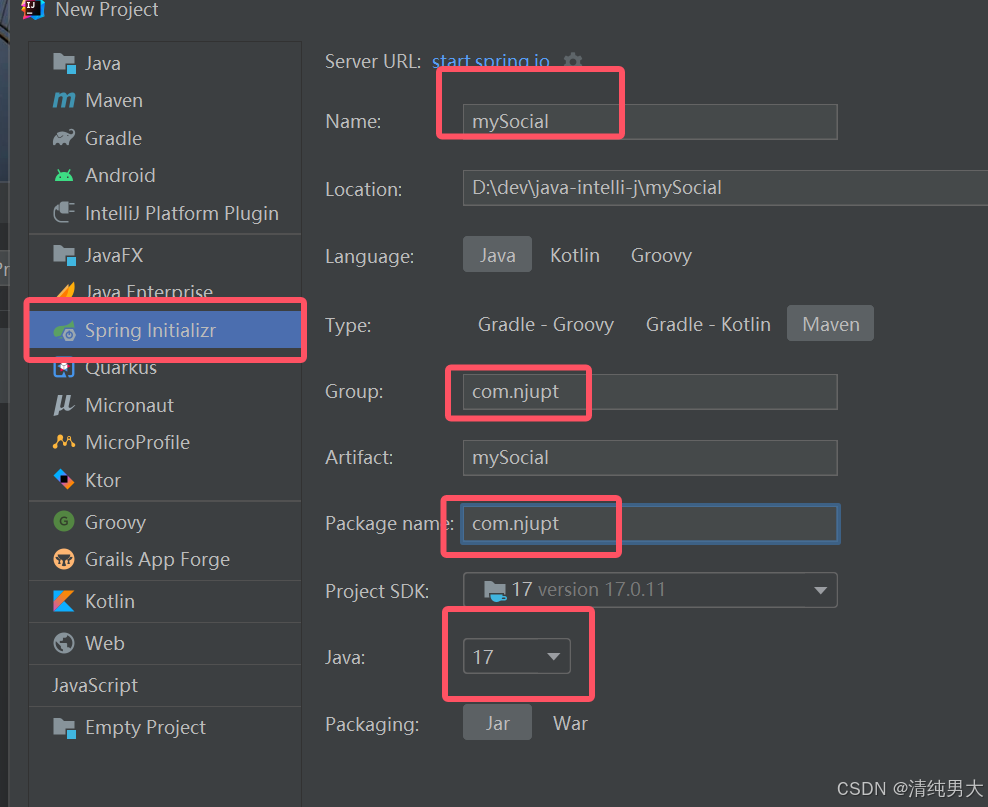
Spring Initializr -> 取工程名 -> 选择文件放在哪个文件夹,选择maven,Group名,PackageName和GroupName一样,选择对应版本的SDK
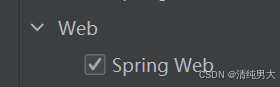
web里面选择Spring Web
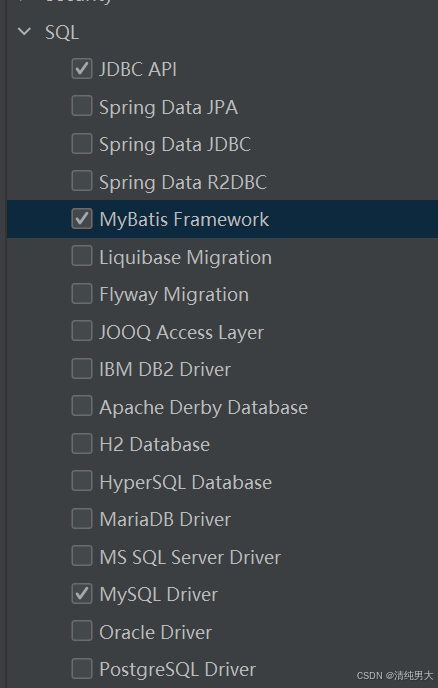
SQL里面选择 JDBC API MyBatis Framework MySQL Driver。
设置UTF-8编码
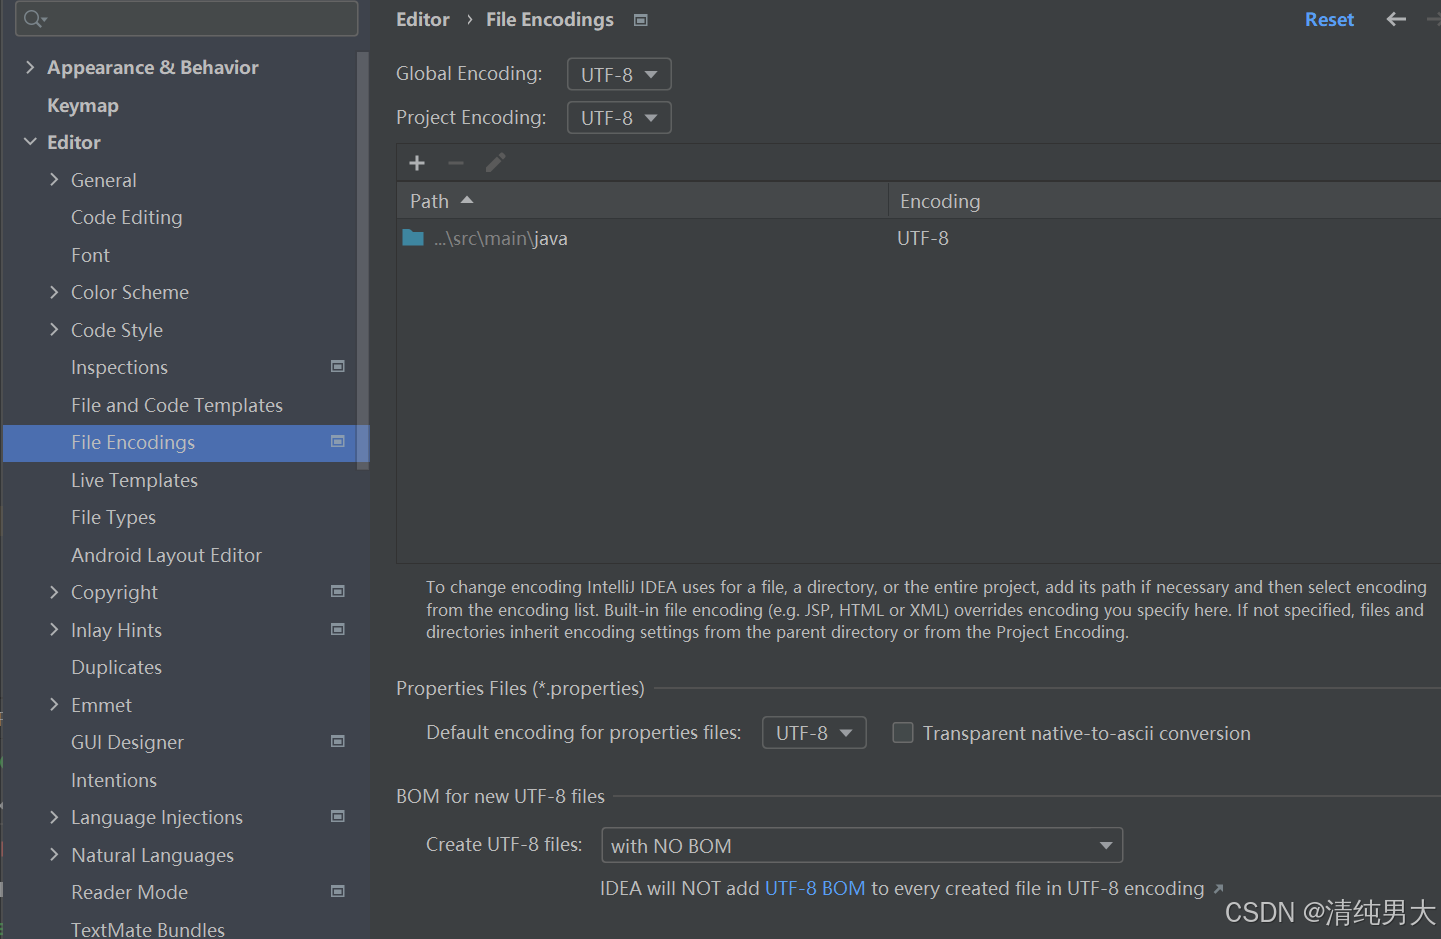
file -> settings -> file encoding 将Project Encoding 和 Defulat encoding 改为UTF-8。
配置数据库
找到src文件夹下resource里面的application
如下配置:
server:
  port: 8080
spring:
  datasource:
    driver-class-name: com.mysql.cj.jdbc.Driver
    url: jdbc:mysql://localhost:3306/studentsys?characterEncoding=UTF-8
    password:
    username: root


mybatis:
  type-aliases-package: com.njupt.po
  mapper-locations: classpath:mappers/*.xml
修改url连接的数据库,修改type-aliases-package的po类路径。
Controller
逐层写controller,类使用@RestController,实现类使用@Resource,方法使用@GetMapping(“url”)。
@RestController
public class StudentController {
    @Resource
    private StudentService studentService;

    @GetMapping("view")
    public List<Student> getAll(){
        return studentService.queryAllStudent();
    }
}
Service
类使用@Service注解,实现类采用@Resource,同样的有接口和实现类。
@Service
public class StudentServiceImpl implements StudentService
{
	@Resource
	private StudentMapper studentMapper;

	@Override
	public List<Student> queryAllStudent() {
		// TODO Auto-generated method stub
		return studentMapper.getAllStudent();
	}
}
最后是Mapper类
采用@Select注解,@Insert,@Delete,@Update等等。
public interface StudentMapper
{
	@Select("select * from student")
	public List<Student>  getAllStudent();
}
记得不要忘了po类,vo类和工具类,此处不做演示。
运行程序
点击IntelliJ上方的绿色三角形,然后在火狐浏览器输入url
localhost:8080/view
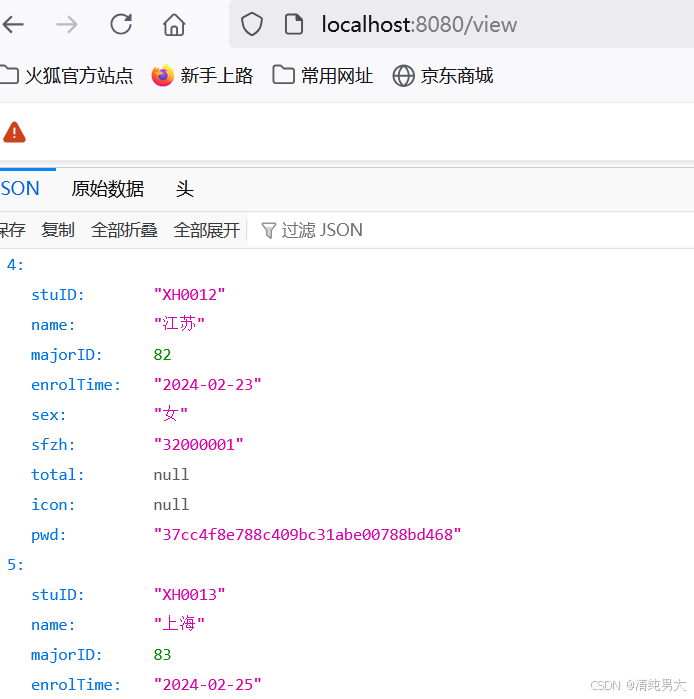
可以看到学生信息成功显示出来。