(二)yolov5——模型检测
一、使用pycharm打开yolov5-master
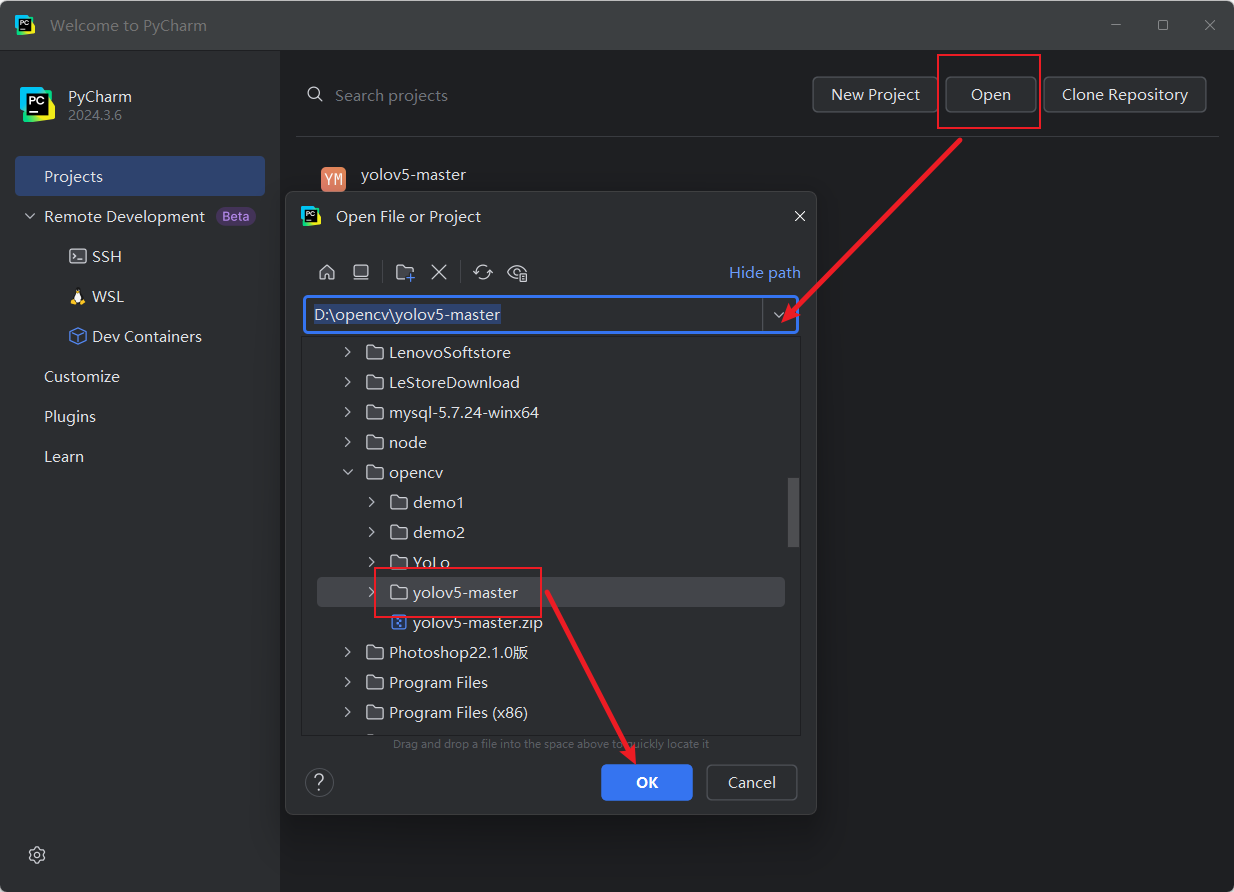
打开pycharm后,选择"open",找到yolov5-master的文件,点击"ok",进入文件
配置python解释器,点击"File",选中"setting",找到"Python interpreter"

下拉选择"show all"

点击左上角的"+"号,选择"select existing",类型选择"Conda",选择conda的路径,环境会自动显,之后点击ok
注意:这里有个bug,环境会自动显示,但是不能点击ok,需要点击上面的"Generate new",再切回"Select existing"就可以点击ok

添加成功后,点击""apply"再点击"ok"

二、测试运行
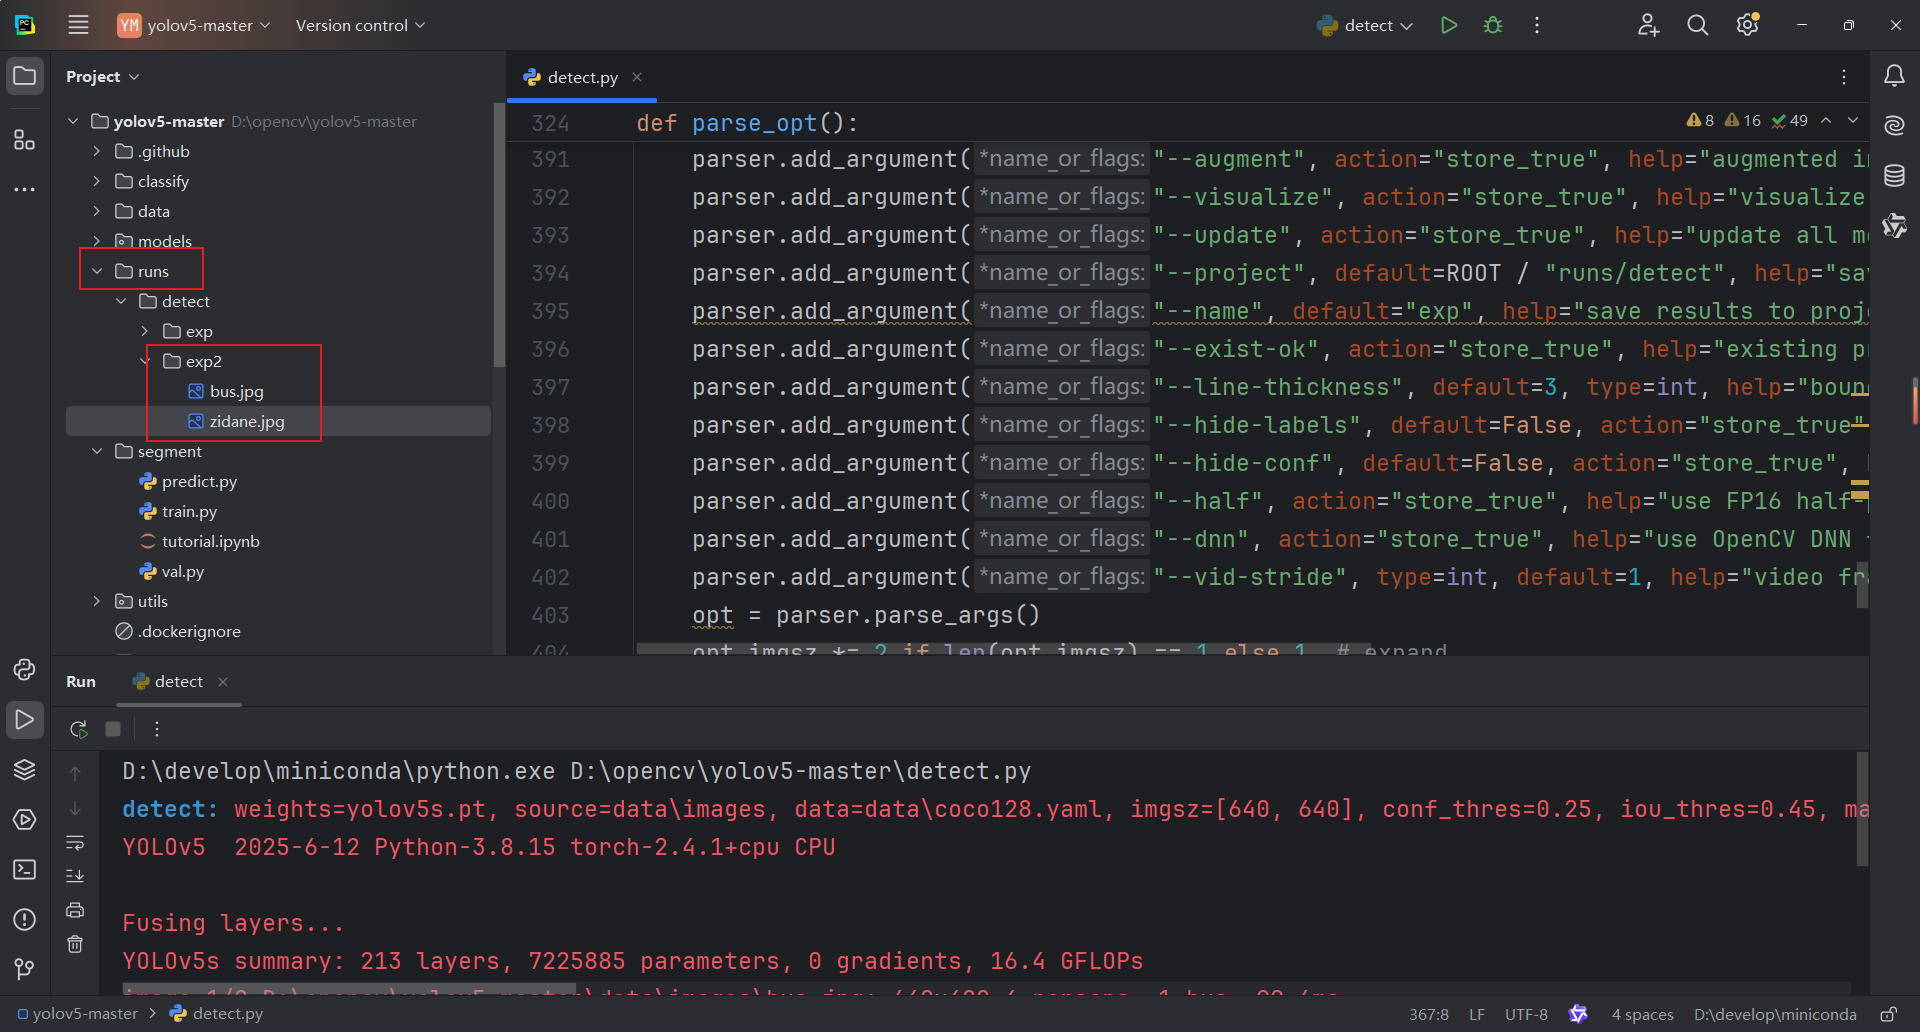
选择"detect.py"右键运行即可

再runs文件下查看结果
三、设置终端
在"Setting"界面,选择"Tools"下的"Terminal",在选择"cmd.exe",点击"Apply",在点击"ok"
点击"终端",就会进入Conda的环境中

输入代码进入yolov5中
conda activate yolov5四、参数设置
(1)图片设置
在data下images下加入一张图片:222.jpg
使用命令运行:
python detect.py --weights yolov5s.pt --source data/images/222.jpg
运行后的结果

(2)现有屏幕检测
安装包
pip install mss使用命令检测
python detect.py --weights yolov5s.pt --source screen运行结果:

(3)conf-thres
conf-thres:置信度阈值,越低框越多,越高框越少
使用命令检测:
python detect.py --weights yolov5s.pt --conf-thres 0.80分别测试了 conf-thres设置为0.25 0.8 0.05的情况

(4)iou-thres
iou-thres:IOU阈值,越低框越少,越高框越多
使用命令检测:
python detect.py --weights yolov5s.pt --iou-thres 0.8分别测试了iou-thres值为0.8 0.25 0.05的情况
