【springboot组件开发】三方中间件自定义自动装载(rabbitmq/rocketmq/cmq)
文章目录
- 需求背景
- 案例说明
- 实现方案
需求背景
由于目前公司项目是面向政企单位,所以项目部署方案采用了私有云模式,而每个地区的客户要求的中间件存在差异,为了实现基础框架和业务代码的复用,需要实现一套基础框架同时引入多个同类型的中间件,基于配置实现底层组件切换,并且禁用未开启组件的自启动
案例说明
这里以MQ为例,我们同时引入rabbitmq、rocketmq和cmq,基于配置framework.mq.rocketmq.type实现不同mq的切换,默认使用rabbitmq,切换时只有启用类型的mq才会触发自动装配连接和健康检查
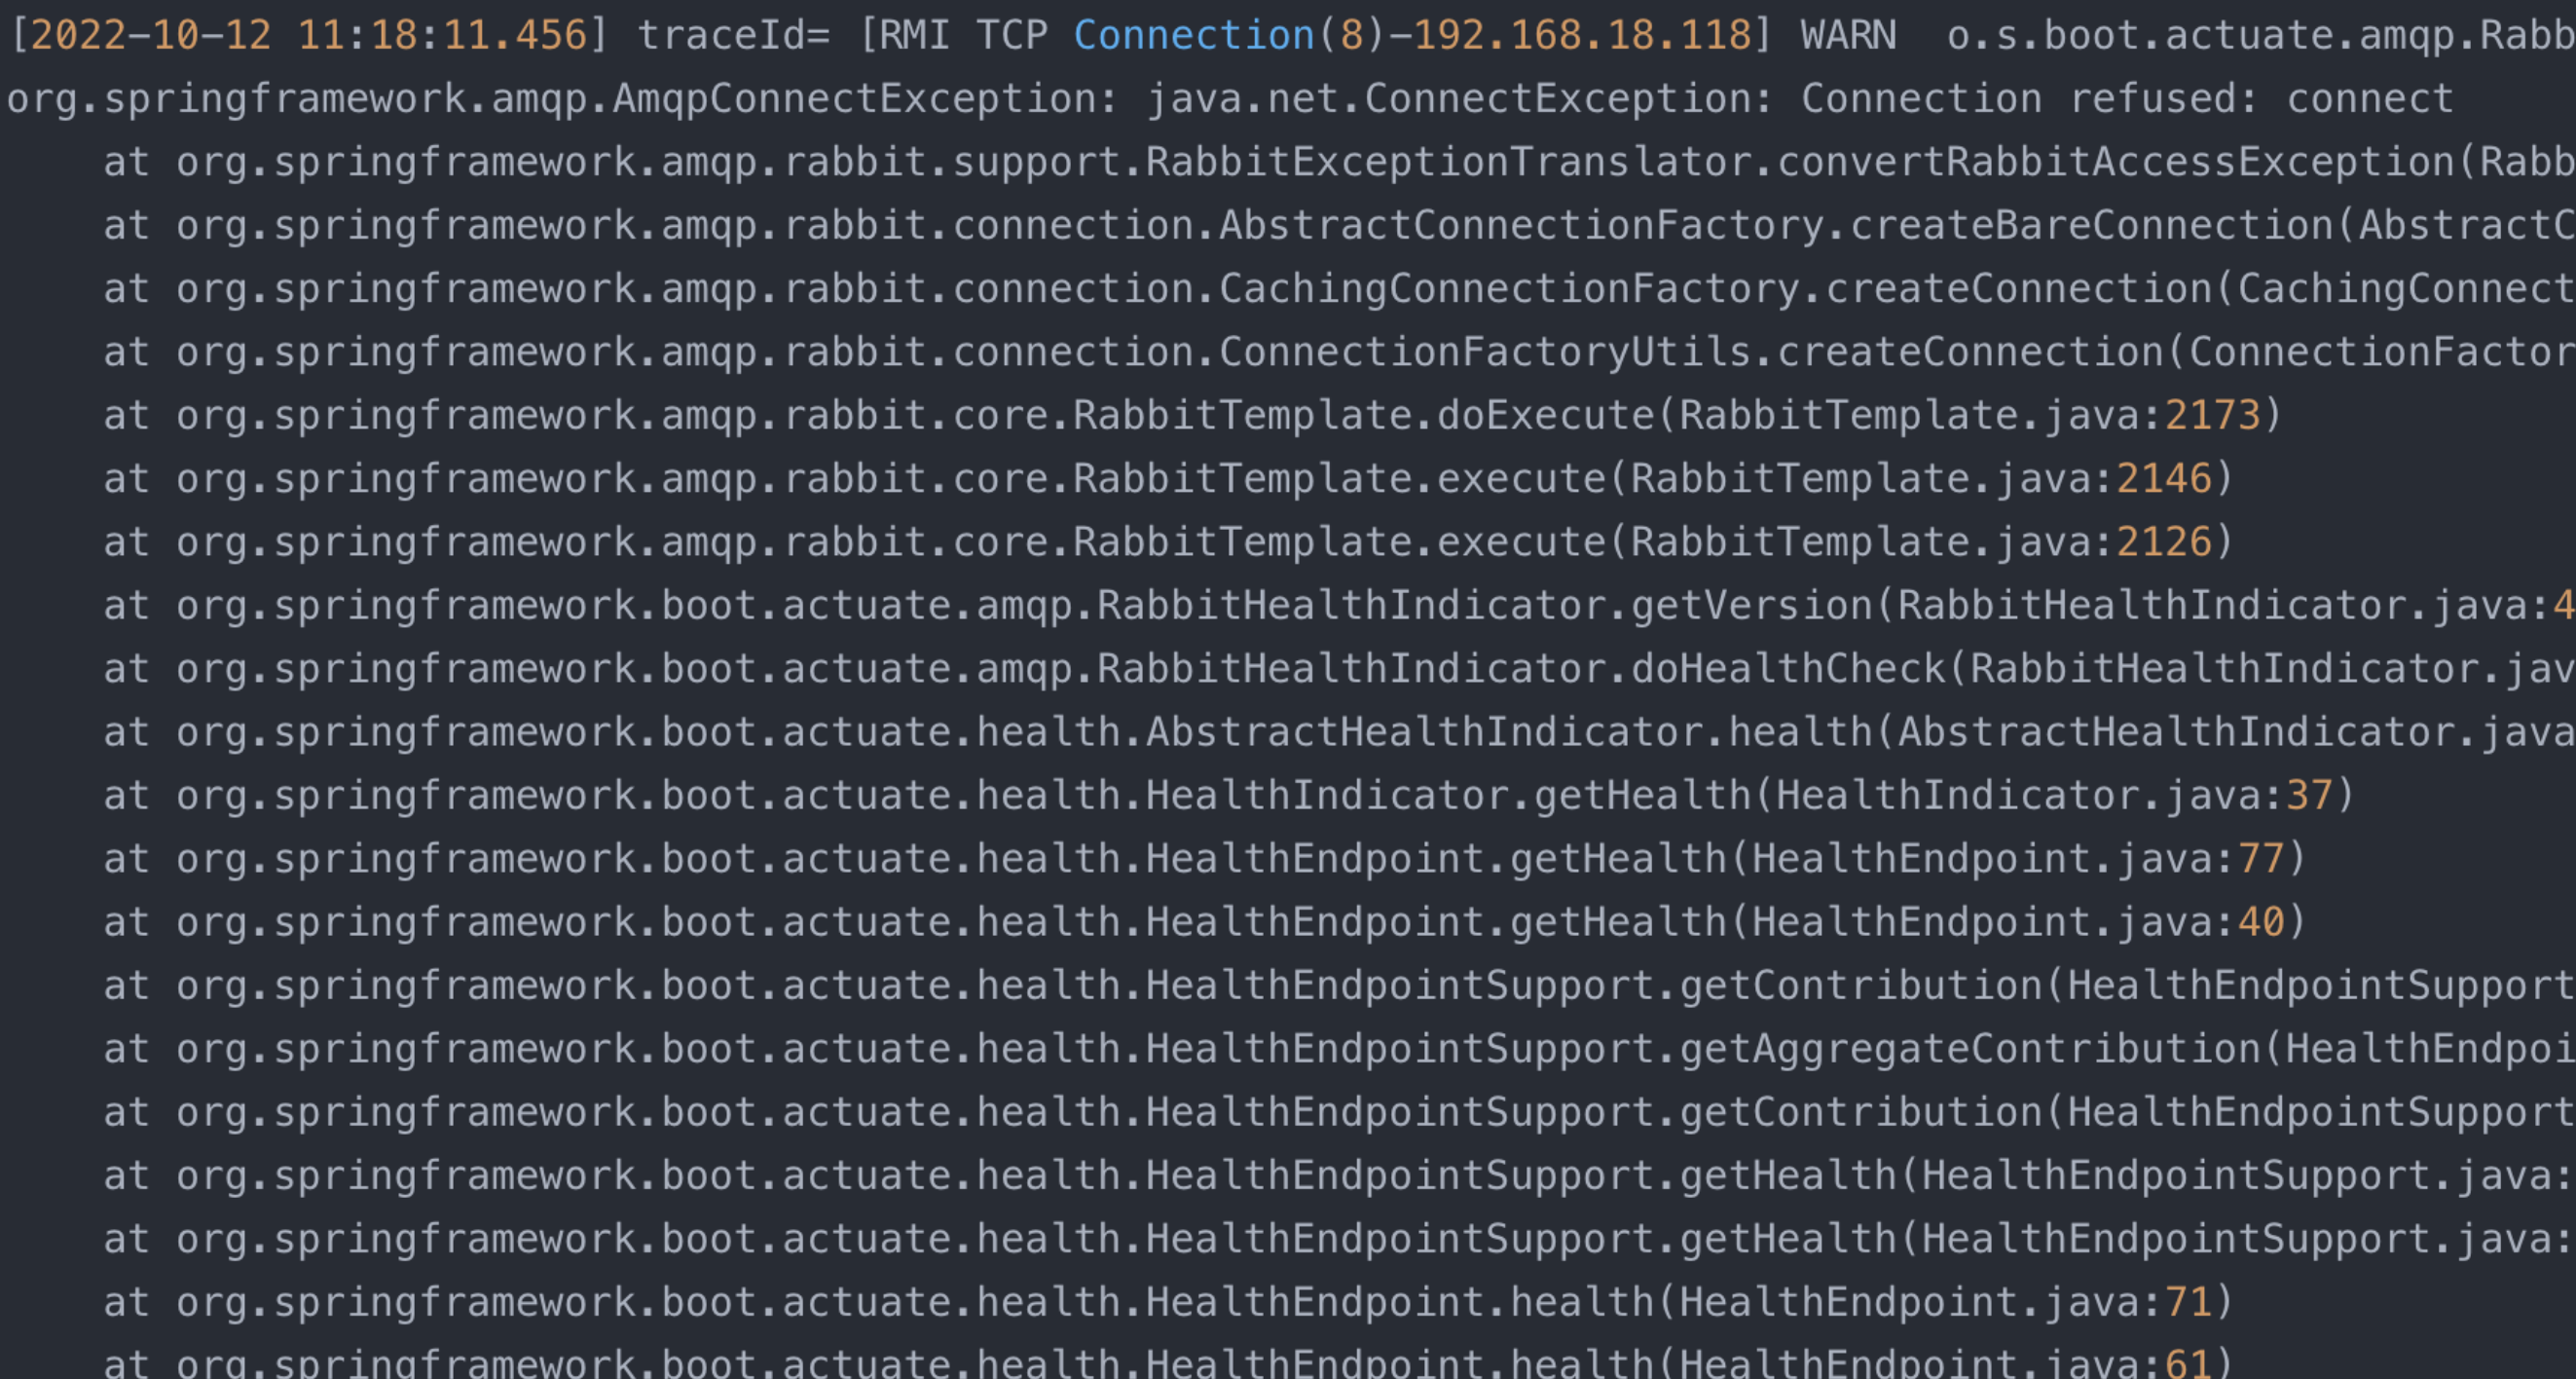
备注:如果只是单纯同时引入多个组件依赖,项目启动阶段未配置连接资源的组件会提示连接异常或者类装载冲突
实现方案
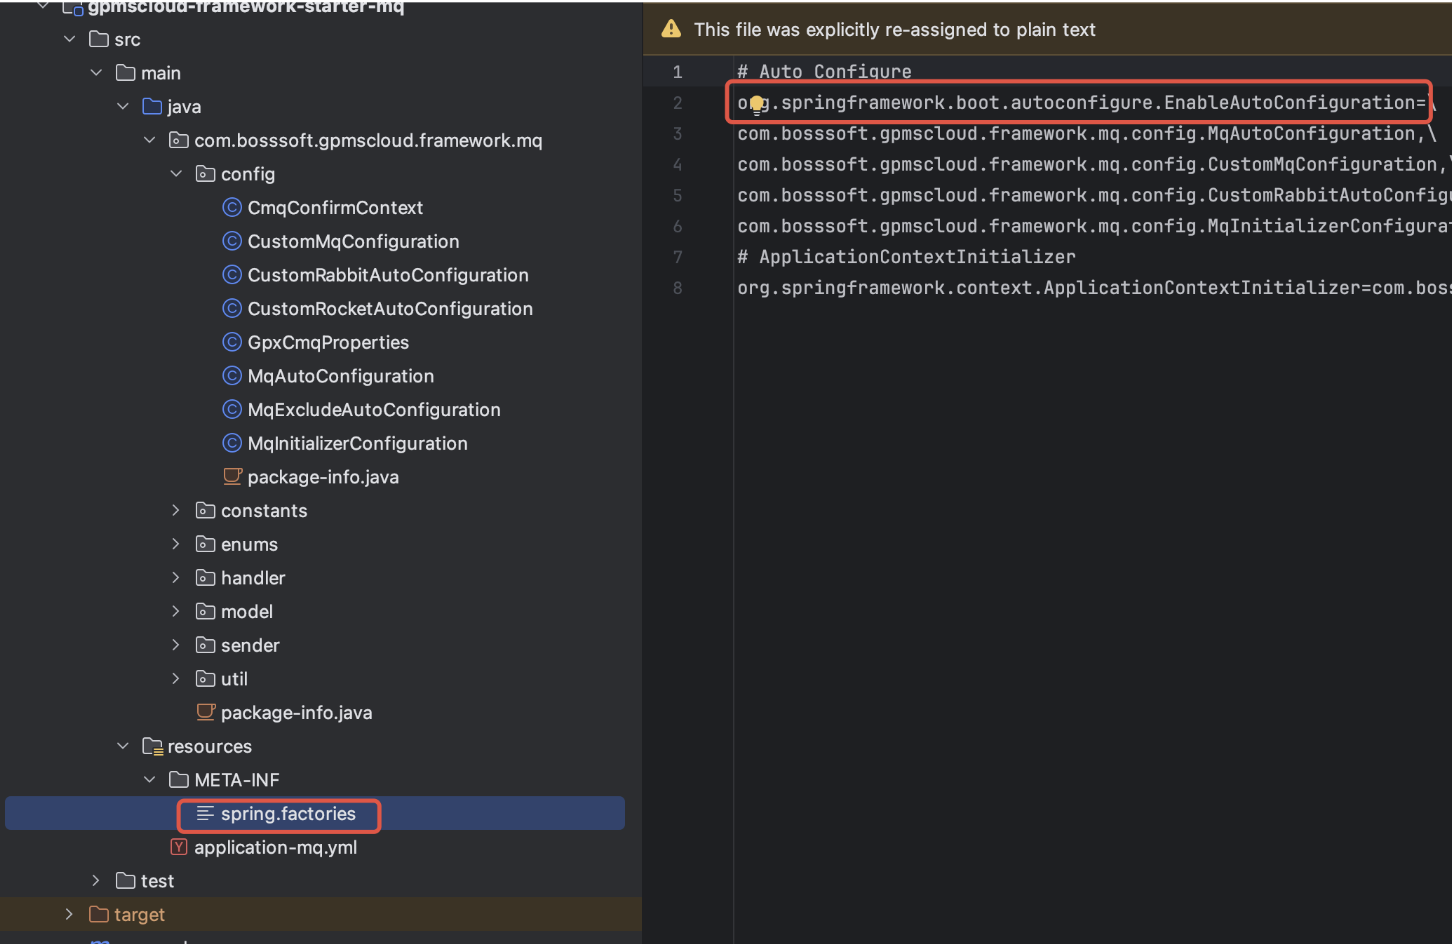
1.以starter组件形式定义组件,通过spring.factories声明组件初始化对象和配置文件,这里不详细描述
2.在starter内引入rabbitmq、rocketmq和cmq的starter依赖
<!-- cmq -->
<dependency><groupId>com.bosssoft.gp</groupId><artifactId>starter-gp-stream-client</artifactId><version>V5.0.7.4.Release</version>
</dependency>
<!-- rabbit-mq -->
<dependency><groupId>org.springframework.boot</groupId><artifactId>spring-boot-starter-amqp</artifactId>
</dependency>
<dependency><groupId>org.springframework.amqp</groupId><artifactId>spring-amqp</artifactId>
</dependency>
<!-- rocketmq-mq -->
<dependency><groupId>org.apache.rocketmq</groupId><artifactId>rocketmq-spring-boot-starter</artifactId><version>2.3.2</version>
</dependency>
3.在组件内排除掉rabbitmq、rocketmq和cmq的AutoConfiguration对象,这样在spring容器加载时就不会自启动对应组件,也不会在项目启动阶段去连接对应mq(cmq采用手动创建监听器,不会触发自启动可以不处理)
3.1.可以在starter内通过yml文件声明:
spring:autoconfigure:exclude: org.springframework.boot.autoconfigure.amqp.RabbitAutoConfiguration,org.apache.rocketmq.spring.autoconfigure.RocketMQAutoConfiguration
3.2.也可以通过@EnableAutoConfiguration的exclude实现排包
import org.apache.rocketmq.spring.autoconfigure.RocketMQAutoConfiguration;
import org.springframework.boot.autoconfigure.EnableAutoConfiguration;
import org.springframework.boot.autoconfigure.amqp.RabbitAutoConfiguration;
import org.springframework.context.annotation.Configuration;
/*** @author: xielijie* @className: MqConfig* @description:这里独立配置是因为其他config类都被spring.factories声明,添加@EnableAutoConfiguration会提示异常* @date: 2025-03-07 14:31**/
@Configuration
@Configuration
//#在配置中把默认的RabbitMQ/RocketMQ自动配置类排除掉, 再通过自定义配置开关控制装载RabbitMQ/RocketMQ, 实现rabbitMq/RocketMQ自动装配自定义开关
@EnableAutoConfiguration(exclude = {RabbitAutoConfiguration.class, RocketMQAutoConfiguration.class, MqClientConfiguration.class})
public class MqExcludeAutoConfiguration {}
3.3.这里延伸个场景,有部分三方组件,比如tomcat,由于配置加载优先级较高,导致在自定义的starter组件内用exclude属性排包太晚加载导致排包不生效(直接在项目的application内声明是有效的,但是组件化声明失效),可以采用自定义配置并且优先加载的方案
@Configuration
@PropertySource(value = "classpath:application-web.yml",encoding = "utf-8",factory = DefaultConfigFactory.class)
@ComponentScan(basePackages = {"com.bosssoft.gpmscloud"})
@Slf4j
public class GpmsCloudWebMvcAutoConfiguration implements EnvironmentPostProcessor {@Overridepublic void postProcessEnvironment(ConfigurableEnvironment environment, SpringApplication application) {MutablePropertySources propertySources = environment.getPropertySources();Map<String, Object> properties = new HashMap<>();properties.put("spring.autoconfigure.exclude","org.apache.rocketmq.spring.autoconfigure.RocketMQAutoConfiguration,com.bosssoft.gp.stream.client.starter.MqClientConfiguration,com.bosssoft.gp.stream.client.starter.MqClientConfiguration");// 添加到属性源中,优先级设置为较高MapPropertySource propertySource = new MapPropertySource("mqContainerExcludeProperties", properties);propertySources.addFirst(propertySource);}}
4.基于配置动态加载mq实现
rabbitmq,默认开启
@Configuration
@ConditionalOnProperty(prefix = "framework.mq", name = "type", havingValue = "rabbitmq", matchIfMissing = true)
public class CustomRabbitAutoConfiguration extends RabbitAutoConfiguration {}
rocketmq
@Configuration
@ConditionalOnProperty(prefix = "framework.mq", name = "type", havingValue = "rabbitmq")
public class CustomRocketAutoConfiguration extends RocketMQAutoConfiguration {public CustomRocketAutoConfiguration(Environment environment) {super(environment);}
}
cmq
@Configuration
@ConditionalOnProperty(prefix = "framework.mq", name = "type", havingValue = "cmq")
public class CustomCmqAutoConfiguration extends MqClientConfiguration {}
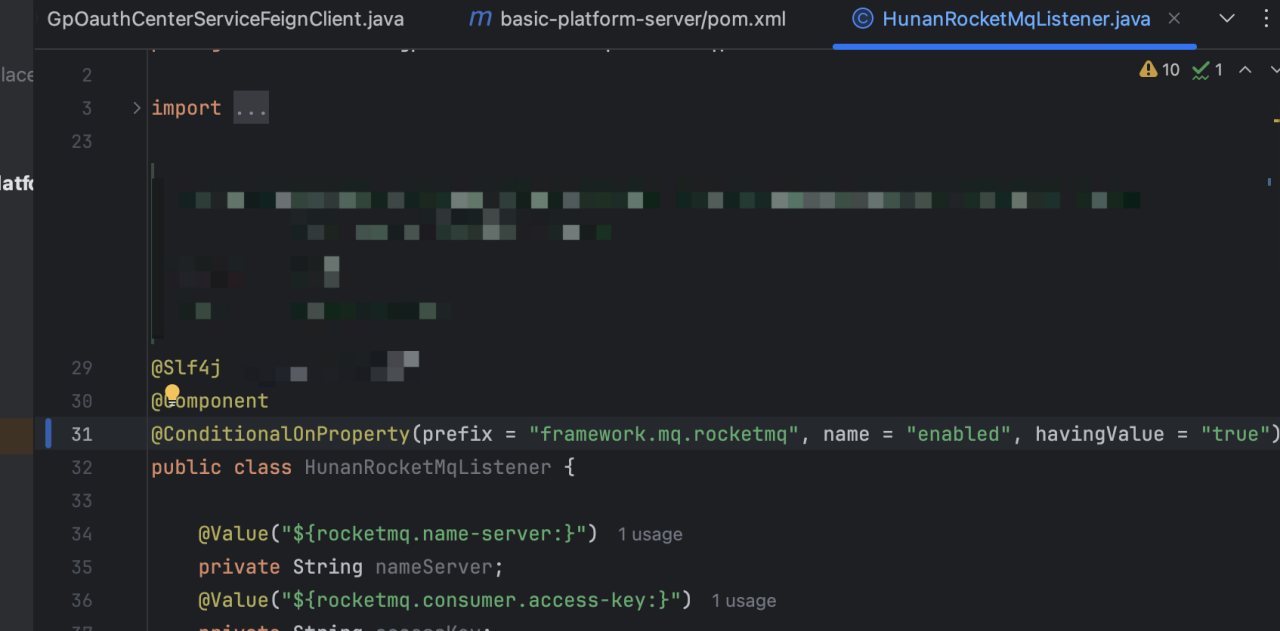
5.发送和监听器业务代码需要基于配置加载
ps:
6.业务使用
以此,业务服务在引入我们自定义的framework-starter-mq模块后,就可以通过framework.mq.rocketmq.type配置来切换不同的mq组件,业务模块对于mq的消费和发生可以根据@ConditionalOnProperty(prefix = “framework.mq.xxx”, name = “enabled”, havingValue = “true”)来实现实现切换
其他同类型三方组件接入也可以采用该思路来实现自定义的动态加载组件