为 Nginx 配置 HTTPS(以 n8n 为例)完整教程【CentOS 7】
在部署如 n8n 这类自动化平台时,为了保障数据传输安全,我们通常会使用 HTTPS 访问。本文将以 n8n.example.com 为例,介绍如何在 CentOS 7 系统中通过 Nginx 为本地运行在端口 5678 的 n8n 服务配置免费 SSL 证书(Let’s Encrypt)。
🧱 环境准备
-
操作系统:CentOS 7
-
Web 服务器:Nginx
-
应用服务:n8n 运行在本地 5678 端口
-
域名:已将
n8n.example.com解析至本机公网 IP
📦 第一步:安装 Certbot 与 Nginx 插件
Certbot 是由 EFF 提供的 Let’s Encrypt 官方客户端,用于申请和续期 SSL 证书。
sudo yum install -y epel-release
sudo yum install -y certbot python2-certbot-nginx
如果你使用的是 Python 3 的系统环境,改用:
sudo yum install -y python3-certbot-nginx🌐 第二步:配置 Nginx 反向代理 n8n
新建 Nginx 配置文件:
sudo vi /etc/nginx/conf.d/n8n.conf写入以下内容,将 80 端口的请求转发到本地的 5678:
server {listen 80;server_name n8n.example.com;location / {proxy_pass http://localhost:5678;proxy_http_version 1.1;proxy_set_header Upgrade $http_upgrade;proxy_set_header Connection 'upgrade';proxy_set_header Host $host;proxy_cache_bypass $http_upgrade;}
}
保存退出后,测试 Nginx 配置:
sudo nginx -t若显示配置成功,重载 Nginx:
sudo systemctl reload nginx🔐 第三步:使用 Certbot 自动申请 SSL 证书
执行以下命令自动为该域名申请 HTTPS 证书并配置 Nginx:
sudo certbot --nginx -d n8n.example.comCertbot 会询问一些确认项:
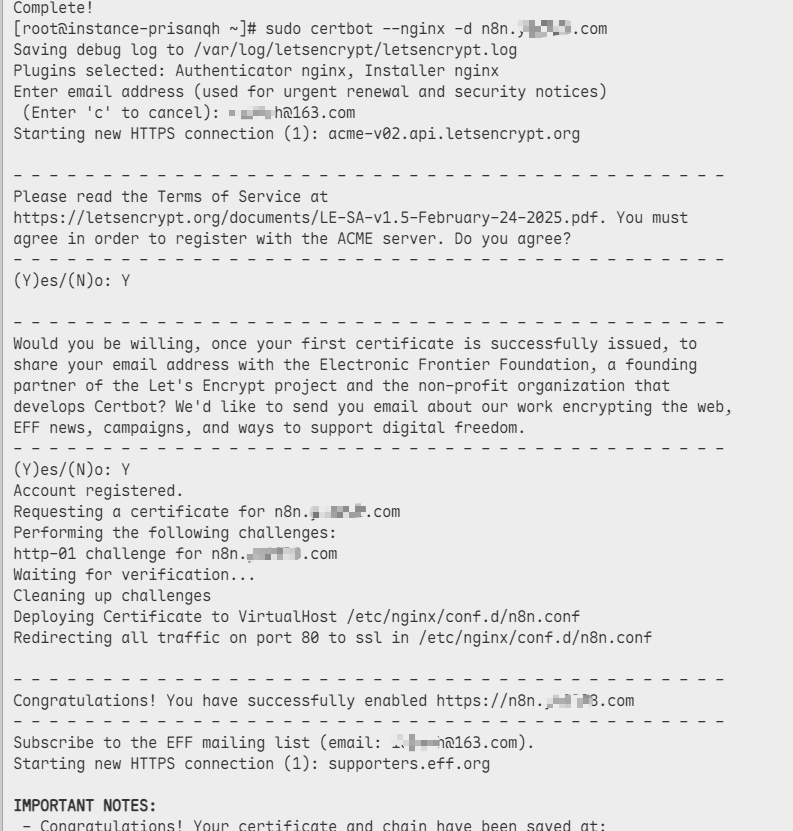
选择完后,Certbot 会:
-
自动获取证书
-
配置 Nginx HTTPS 虚拟主机
-
配置 301 强制跳转
-
自动重载 Nginx
🔁 第四步:测试 HTTPS 是否生效
打开浏览器访问:
https://n8n.example.com如果你看到的是 n8n 的界面,并且浏览器地址栏显示绿色锁🔒,就说明配置成功!
你也可以用命令行测试证书:
curl -I https://n8n.example.com🔄 第五步:配置自动续期(推荐)
Let’s Encrypt 的证书有效期是 90 天,推荐使用定时任务自动续期。
sudo crontab -e添加一行:
0 3 * * * /usr/bin/certbot renew --quiet这样每天凌晨 3 点会静默执行续期检查。
📄 补充:最终生成的 Nginx 配置参考
server {listen 80;server_name n8n.example.com;return 301 https://$host$request_uri;
}server {listen 443 ssl;server_name n8n.example.com;ssl_certificate /etc/letsencrypt/live/n8n.example.com/fullchain.pem;ssl_certificate_key /etc/letsencrypt/live/n8n.example.com/privkey.pem;location / {proxy_pass http://localhost:5678;proxy_http_version 1.1;proxy_set_header Upgrade $http_upgrade;proxy_set_header Connection 'upgrade';proxy_set_header Host $host;proxy_cache_bypass $http_upgrade;}
}