实现多路视频截图预览之后上传到后台系统
********************父组件**********************
<div class="camera-box" v-loading="i.loading">
<div
class="camera-box-inner"
v-for="(x, y) in i.children"
:key="y + 'children' + x.featureCode"
v-show="x.isShow"
:style="`width: ${i.videoInnerStyle!.width + '%'};max-height: ${i.videoInnerStyle!.height + '%'
};`">
<div class="userName-box" v-if="!i.isApp">
{{ `${i.userName} — ${x.cameraName || i.cameraName}` }}
</div>
<div class="userName-box" v-else>{{ `${i.userName}` }}</div>
<video
:class="{ appVideo: i.isApp }"
:id="x.featureCode"
muted
autoplay
controls
v-show="x.camera"
:style="x.PhotoShow ? { border: '2px solid red' } : {}"></video>
<Photo
v-if="x.PhotoShow"
:video="x.videoEl"
:userName="i.userName"
@close="photoClose(x)" />
<div class="takePhoto cusp iconfont icon-a-commonphoto" @click="takePhoto(x)"></div>
</div>
</div>
// 截图
function takePhoto(data) {
const videoEl = document.getElementById(data.featureCode) as HTMLVideoElement | null
if (videoEl) {
data.PhotoShow = true
data.videoEl = videoEl
}
}
// 截图预览关闭
function photoClose(data) {
data.PhotoShow = false
}
********************子组件***********************
<template>
<div class="canvas-photo">
<canvas ref="photoCanvas"></canvas>
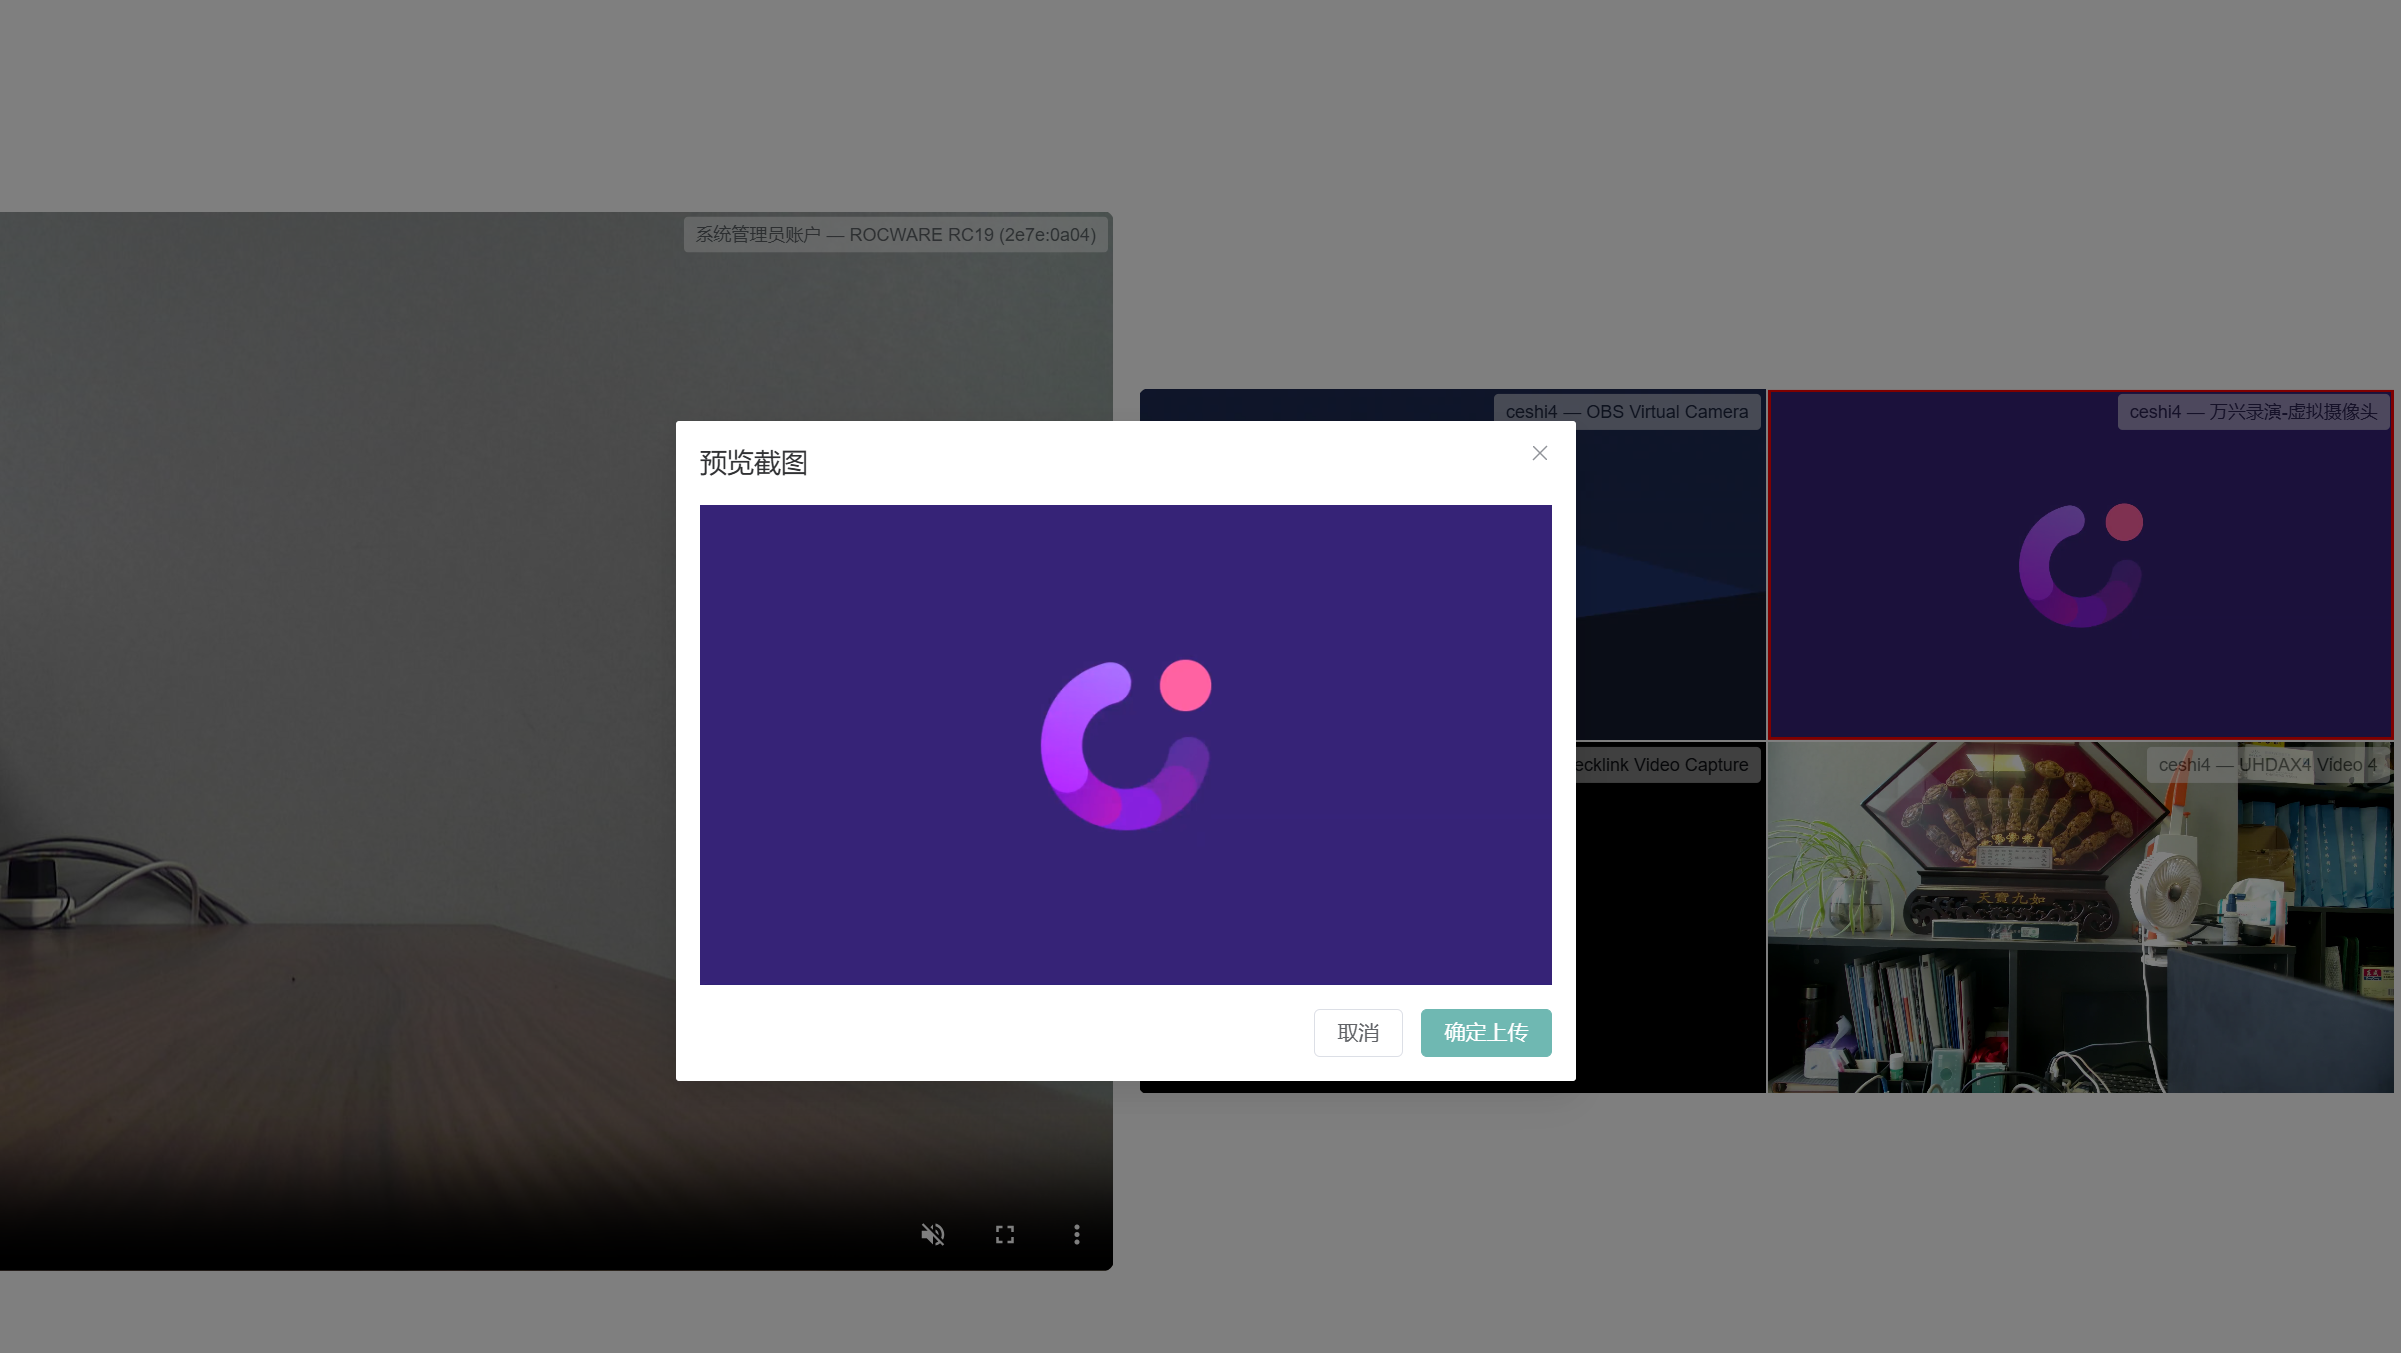
<el-dialog
v-model="previewDialog.show"
:title="previewDialog.title"
width="600px"
@close="handlePreviewClose"
append-to-body>
<div>
<img :src="previewDialog.imageUrl" alt="" />
</div>
<template #footer>
<el-button @click="previewDialog.show = false">取消</el-button>
<el-button type="primary" @click="handleConfirmUpload">确定上传</el-button>
</template>
</el-dialog>
</div>
</template>
<script setup lang="ts">
import { onMounted, PropType, ref } from 'vue'
import request from '../../../utils/request'
import { Session } from '../../../utils/storage'
import { formatTime, base64ToFile } from '/@/utils'
import { ElNotification, ElForm, ElFormItem, ElProgress } from 'element-plus'
const props = defineProps({
video: {
type: Object as PropType<HTMLVideoElement>,
required: true
},
userName: {
type: String as PropType<string>,
default: ''
}
})
const emit = defineEmits(['close'])
const fileName = ref<string>('')
const canvas = ref<any>()
const imgFile = ref<any>()
const previewDialog = reactive<{
show: boolean
title: string
imageUrl: string
}>({
show: false,
title: '预览截图',
imageUrl: ''
})
const photoCanvas = ref()
const ctx = ref<any>()
// // 下载图片
// function downloadCanvas() {
// const link = document.createElement('a')
// link.download = `用户-${props.userName}-视频截图${formatTime(new Date().getTime(), 'yyyy-mm-dd hh-MM-ss')}.png`
// link.href = photoCanvas.value.toDataURL('image/png')
// link.click()
// }
const upLoadProgress = ref<number>(0)
// 截图本地保存和上传到文件管理
const captureAndSaveFrame = () => {
const video = props.video
if (!video || !photoCanvas.value) return
const fileName = `用户-${props.userName}-视频截图${formatTime(new Date().getTime(), 'yyyy-mm-dd hh-MM-ss')}.png`
// 创建canvas元素
canvas.value = document.createElement('canvas')
const ctx = canvas.value.getContext('2d')!
// 设置canvas尺寸与视频一致
canvas.value.width = video.videoWidth
canvas.value.height = video.videoHeight
// 将视频帧绘制到canvas
ctx.drawImage(video, 0, 0, canvas.value.width, canvas.value.height)
// 生成图片数据URL(支持PNG格式)
const imageDataUrl = canvas.value.toDataURL('image/png')
const link = document.createElement('a')
link.href = imageDataUrl
const imageName = `${fileName}_${Date.now()}.png`
link.download = imageName
// base64转为file文件
imgFile.value = base64ToFile(imageDataUrl, imageName)
// 模拟点击下载
document.body.appendChild(link)
link.click()
document.body.removeChild(link)
// 更新预览
previewDialog.imageUrl = imageDataUrl
previewDialog.show = true
}
const handleConfirmUpload = () => {
// 上传到服务器
const formData = new FormData()
// 将文件添加到 FormData 中,以便后续发送请求
formData.append('file', imgFile.value)
// 添加额外的请求参数,这里 dir 为空字符串
formData.append('dir', '')
// 添加额外的请求参数,这里 type 为 10
formData.append('type', '10')
ElNotification({
type: 'info',
title: '一个截图文件正在上传',
dangerouslyUseHTMLString: true,
message: h(ElForm, { model: {}, 'label-width': '80px' }, [
h(ElFormItem, { label: '文件名:' }, fileName.value),
h(ElFormItem, { label: '上传进度:' }, [
h(ElProgress, {
id: 'meetingRoomUploadProgress',
percentage: 0,
style: {
width: '200px'
}
})
])
]),
showClose: true,
duration: 0
})
const el = document
.getElementById('meetingRoomUploadProgress')
?.getElementsByClassName('el-progress-bar__inner')[0] as HTMLElement
const elText = document
.getElementById('meetingRoomUploadProgress')
?.getElementsByClassName('el-progress__text')[0]
.getElementsByTagName('span')[0] as HTMLElement
request('/admin/sys-file/upload', {
method: 'POST',
headers: {
'Content-Type': 'multipart/form-data',
Authorization: 'Bearer ' + Session.get('token'),
'TENANT-ID': Session.getTenant()
},
onUploadProgress: (progressEvent: any) => {
upLoadProgress.value = Number(progressEvent.progress.toFixed(2)) * 100
if (upLoadProgress.value === 100) {
el.style.width = '100%'
elText.innerHTML = '100%'
setTimeout(() => {
ElNotification.closeAll()
}, 1000)
} else {
el.style.width = upLoadProgress.value + '%'
elText.innerHTML = upLoadProgress.value + '%'
}
},
data: formData
})
.then(response => {
if (!response.ok) {
throw new Error('Network response was not ok')
}
return response.json()
})
.then(data => {
// 请求成功时的处理,打印返回的数据
console.log('success', data)
})
.catch(err => {
// 请求失败时的处理,打印错误信息
console.log('error', err)
})
previewDialog.show = false
// 清理资源
cleanupCanvas()
}
// 清理canvas
const cleanupCanvas = () => {
if (canvas.value) {
canvas.value.remove()
canvas.value = null
}
}
const handlePreviewClose = () => {
emit('close')
cleanupCanvas()
}
// 更新canvas尺寸
const updateCanvasSize = () => {
if (!photoCanvas.value || !props.video) return
const width = photoCanvas.value.offsetWidth
const height = photoCanvas.value.offsetHeight
photoCanvas.value.width = width
photoCanvas.value.height = height
if (ctx.value && props.video.videoWidth) {
ctx.value.drawImage(props.video, 0, 0, width, height)
}
}
onMounted(() => {
if (!photoCanvas.value) return
ctx.value = photoCanvas.value.getContext('2d')
// 等待DOM渲染完成后执行
nextTick(() => {
updateCanvasSize()
// 初始捕获一帧
captureAndSaveFrame()
})
// 监听窗口大小变化
window.addEventListener('resize', updateCanvasSize)
})
onUnmounted(() => {
// 移除事件监听器
window.removeEventListener('resize', updateCanvasSize)
// 清理资源
cleanupCanvas()
// 关闭所有通知
ElNotification.closeAll()
})
</script>
<style scoped lang="scss">
.canvas-photo {
width: 100%;
height: 100%;
position: absolute;
top: 0;
left: 0;
opacity: 0;
z-index: -10;
canvas {
width: 100%;
height: 100%;
}
.preview-container {
padding: 20px;
text-align: center;
.preview-image {
max-width: 100%;
max-height: calc(50vh - 100px);
border: 1px solid #ebeef5;
border-radius: 4px;
box-shadow: 0 2px 12px 0 rgba(0, 0, 0, 0.1);
}
}
}
</style>
**********工具函数********************
/**
* 将Base64字符串转换为File对象
* @param {string} base64 - Base64编码的字符串
* @param {string} filename - 生成文件的名称
* @param {string} [mimeType] - 文件的MIME类型,默认为'image/png'
* @returns {File} - 返回的File对象
*/
export function base64ToFile(base64, filename, mimeType = 'image/png') {
// 1. 移除Base64前缀(如果有)
const base64WithoutPrefix = base64.replace(/^data:.+;base64,/, '')
// 2. 将Base64字符串转换为字节数组
const byteCharacters = atob(base64WithoutPrefix)
const byteArrays = []
for (let offset = 0; offset < byteCharacters.length; offset += 512) {
const slice = byteCharacters.slice(offset, offset + 512)
const byteNumbers = new Array(slice.length)
for (let i = 0; i < slice.length; i++) {
byteNumbers[i] = slice.charCodeAt(i)
}
const byteArray = new Uint8Array(byteNumbers)
byteArrays.push(byteArray)
}
// 3. 创建Blob对象
const blob = new Blob(byteArrays, { type: mimeType })
// 4. 将Blob转换为File对象
return new File([blob], filename, { type: mimeType })
}
实现效果图