文创产品设计心得体会宁波优化关键词首页排名
uv工具&&创建虚拟开发环境
uv工具的安装、使用以及虚拟环境的创建已经在上篇文章中做了详细介绍,这里不再赘述,见:MCP从零开始-CSDN博客
MCP客户端搭建
创建项目和创建虚拟环境,已经在上篇中介绍过了,这里不做详细介绍,仅仅列出相关命令。
# 创建项目 && 进入项目
uv init mymcp
cd mymcp# 创建虚拟环境
uv venv# 激活虚拟环境
source .venv/bin/activate # linunx等
.venv/bin/activate        # windows# 删除main.py
rm main.py# 创建客户端文件
touch client.py
执行上述命令创建好了项目并且激活了虚拟环境。
安装相关库
# 安装mcp相关库uv add "mcp[cli]"编写MCP客户端
打开client.py文件编写代码,可以用记事本、notepad++等,不过建议用一款编程软件,这样可以提升代码编写效率,作者采用vscode。
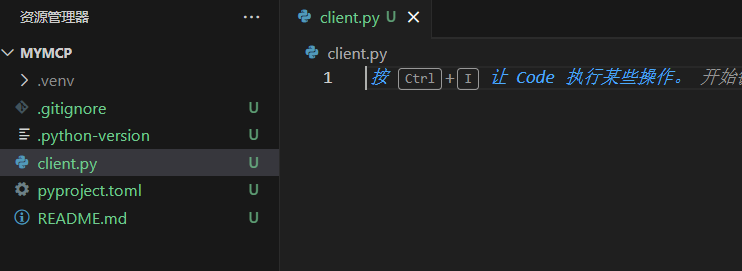
导入必要的库
import asyncio  # 异步操作
from mcp import ClientSession  # MCP客户端会话管理
from contextlib import AsyncExitStack  # 资源管理
创建并初始化客户端
class MyMCPClient:def __init__(self):"""初始化 MCP 客户端"""self.session = None self.exit_stack = AsyncExitStack() # 创建资源管理器模拟 MCP 服务器连接
async def connect_to_mock_server(self):"""MCP 服务器的连接"""print("✅ MCP 客户端已初始化,但未连接到服务器")交互式聊天
async def chat_loop(self):"""交互式聊天循环"""print("\nMCP 客户端已启动!输入 'quit' 退出")while True: try:query = input("\nQuery: ").strip()if query.lower() == 'quit': print("\n👋 退出聊天...")breakprint(f"\n🤖 你:{query}") except Exception as e: print(f"\n⚠️ 发生错误: {str(e)}")释放资源 && 主函数
async def cleanup(self):"""清理资源"""await self.exit_stack.aclose() async def main():client = MyMCPClient() try:await client.connect_to_mock_server() await client.chat_loop() finally:await client.cleanup() if __name__ == "__main__":asyncio.run(main())
将上述代码组合,一个简单的客户端就开发好了!运行下面命令,结果如下:
uv run client.py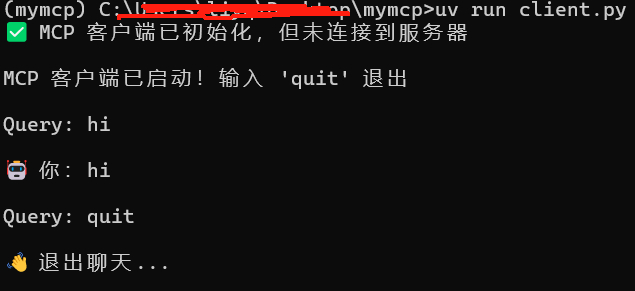
MCP客户端接入AI
下面主要陈述怎样接入OpenAI、DeepSeek等在线模型。
导入OpenAI库依赖
uv add openai创建.env文件
创建.env文件,并写入下面内容:

注:MODEL可以更换为DeepSeek模型或者其他或者本地模型。
修改客户端代码
加载OpenAI API Key
from dotenv import load_dotenv
import os# 加载 .env 文件,确保 API Key 受到保护
load_dotenv()self.openai_api_key = os.getenv("OPENAI_API_KEY")  # 读取 API Key
self.base_url = os.getenv("BASE_URL")  # 读取 BASE YRL
self.model = os.getenv("MODEL")if not self.openai_api_key:raise ValueError("❌ 未找到 OpenAI API Key,请确保 .env 文件中已经设置了 OPENAI_API_KEY")
发送用户输入
async def process_query(self, query: str) -> str:"""调用 OpenAI API 处理用户查询"""messages = [{"role": "system", "content": "你是一个智能助手,帮助用户回答问题。"},{"role": "user", "content": query}]try:response = await asyncio.get_event_loop().run_in_executor(None,lambda: openai.ChatCompletion.create(model="gpt-4",messages=messages,max_tokens=1000,temperature=0.7))return response["choices"][0]["message"]["content"].strip()except Exception as e:return f"⚠️ 调用 OpenAI API 时出错: {str(e)}"交换聊天
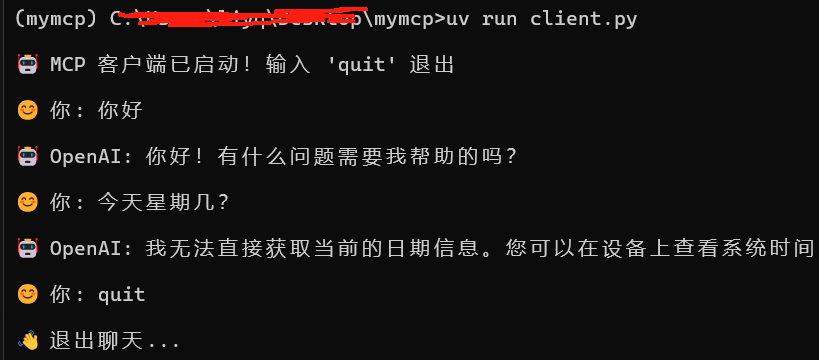
async def chat_loop(self):"""运行交互式聊天循环"""print("\n🤖 MCP 客户端已启动!输入 'quit' 退出")while True:try:query = input("\n你: ").strip()if query.lower() == 'quit':breakresponse = await self.process_query(query) # 发送用户输入到 OpenAI APIprint(f"\n🤖 OpenAI: {response}")except Exception as e:print(f"\n⚠️ 发生错误: {str(e)}")组合上述代码,运行结果如下,这样一个简单的连接AI客户端就实现好了 ^_^
编写服务端
以导入shape数据到SuperMap数据源为例。
服务端代码相对比较简单,主要是封装MCP tools,创建server.py文件,写入一下代码:
#!/usr/bin/env python3
"""
SuperMap MCP Client - Simple client to connect to the SuperMap MCP server
"""import logging
from mcp.server.fastmcp import FastMCP
from iobjectspy import data, conversion, enumsmcp = FastMCP("supermap_server",description="SuperMap integration through the Model Context Protocol")logging.basicConfig(level=logging.INFO, format='%(asctime)s - %(name)s - %(levelname)s - %(message)s')
logger = logging.getLogger("SuperMapMCPServer")def get_datasource():connInfo = (data.DatasourceConnectionInfo().set_type(enums.EngineType.PGGIS).set_server('ip').set_database('db').set_alias('test').set_user('user').set_password('password'))datasource = data.open_datasource(connInfo)if datasource is None:raise Exception("Could not open datasource")else:logger.info("Successfully connected to SuperMap")return datasource@mcp.tool(name="import_data", description="Import a shapefile to datasource")
def import_data(file_path: str) -> bool:datasource = get_datasource()if datasource is None:logger.error("Datasource is None")return False# Import the shapefilebImport = Falsetry:b = conversion.import_shape(file_path, datasource)logger.info(f"Successfully imported {file_path} to datasource")bImport = (len(b) == 1)except Exception as e:logger.error(f"Failed to import {file_path}: {str(e)}")return Falsefinally:datasource.close()logger.info("Datasource closed after import")return bImportdef main():"""Run the MCP server"""mcp.run(transport='stdio')if __name__ == "__main__":main()
运行客户端和服务端
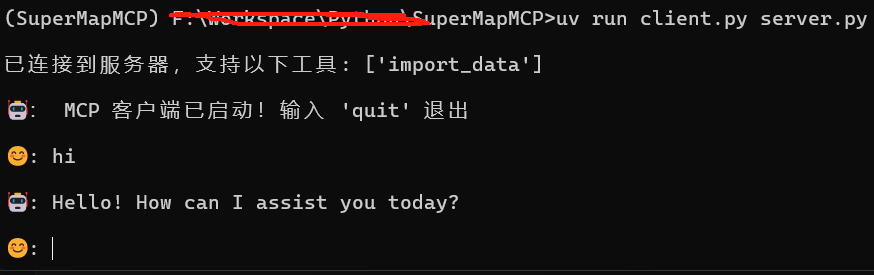
运行
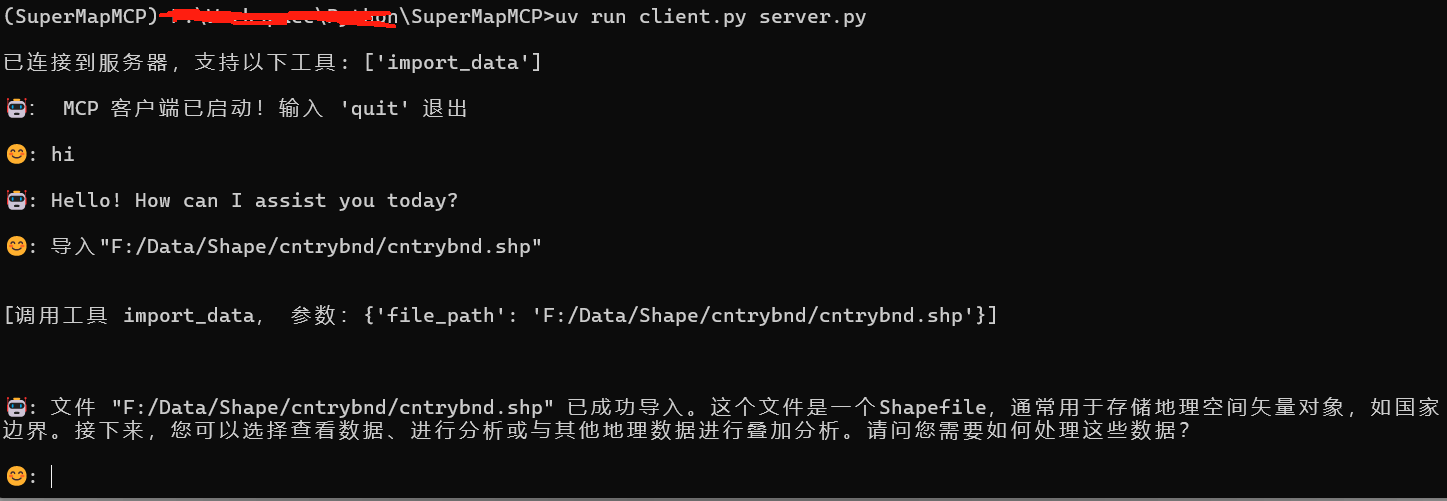
uv run client.py server.py运行上述代码,界面如下所示:
执行数据导入
用supermap desktop查看,结果如下:
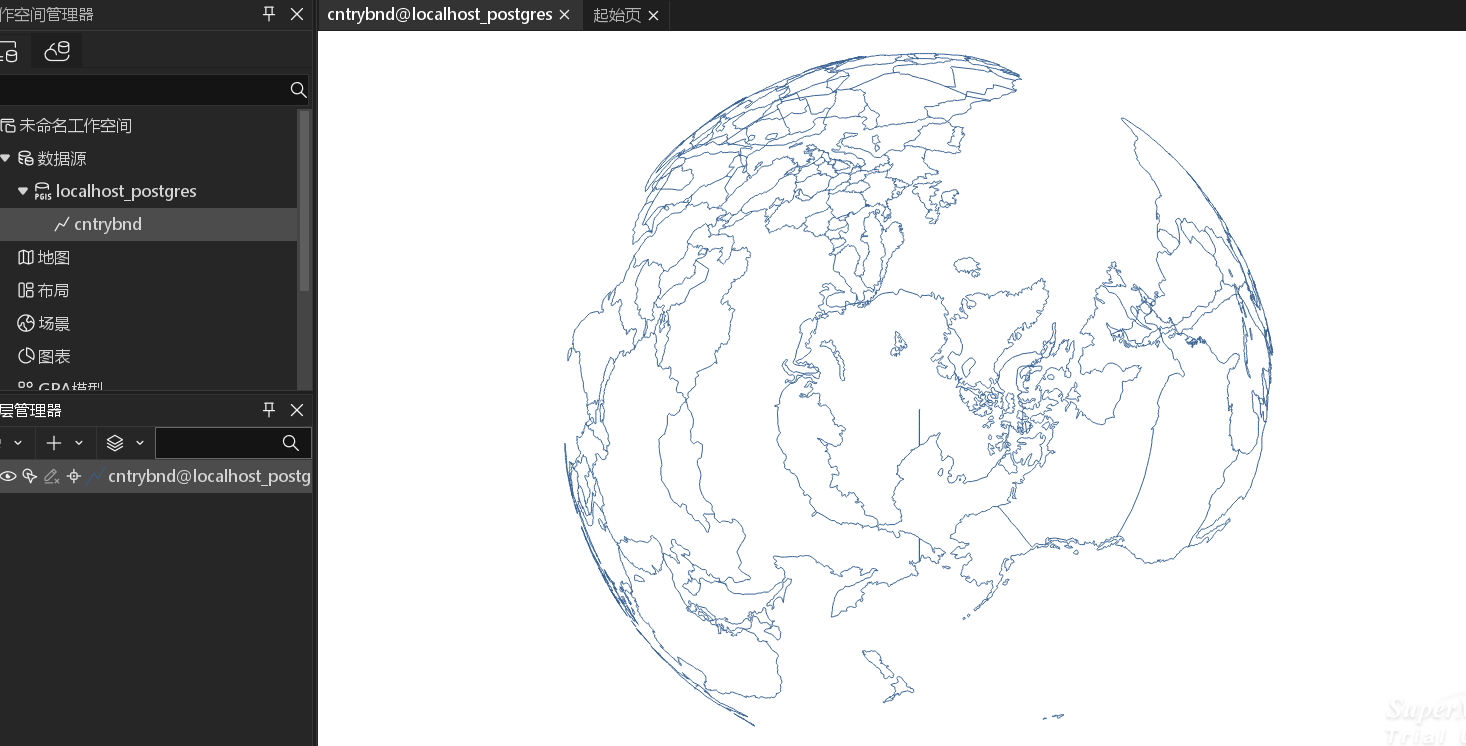
至此客户端和服务端实现完成,是不是不是很难 ^_^
完整代码:https://github.com/liyq0307/SuperMapMCP.git