3D地球可视化教程 - 第4篇:第5篇:星空背景与粒子系统
难度: ⭐⭐⭐☆☆ 中级
预计时间: 50分钟
技术栈: Three.js + 粒子系统 + 实例化渲染 + Canvas纹理
PS:这是一个完整的项目技术分析,后期我会录制视频制作3D地球可视化教程
教程简介
在前四篇教程中,我们已经创建了一个具有夜晚效果、动画和云层的3D地球。现在,我们要为地球创造一个壮观的宇宙背景 - 星空粒子系统
本篇将深入学习粒子系统、实例化渲染、以及高级的动画技术。
本篇学习目标
- 掌握粒子系统的设计原理
- 学习实例化渲染技术
- 实现闪烁动画算法
- 理解Canvas纹理生成
- 创造深邃的宇宙氛围
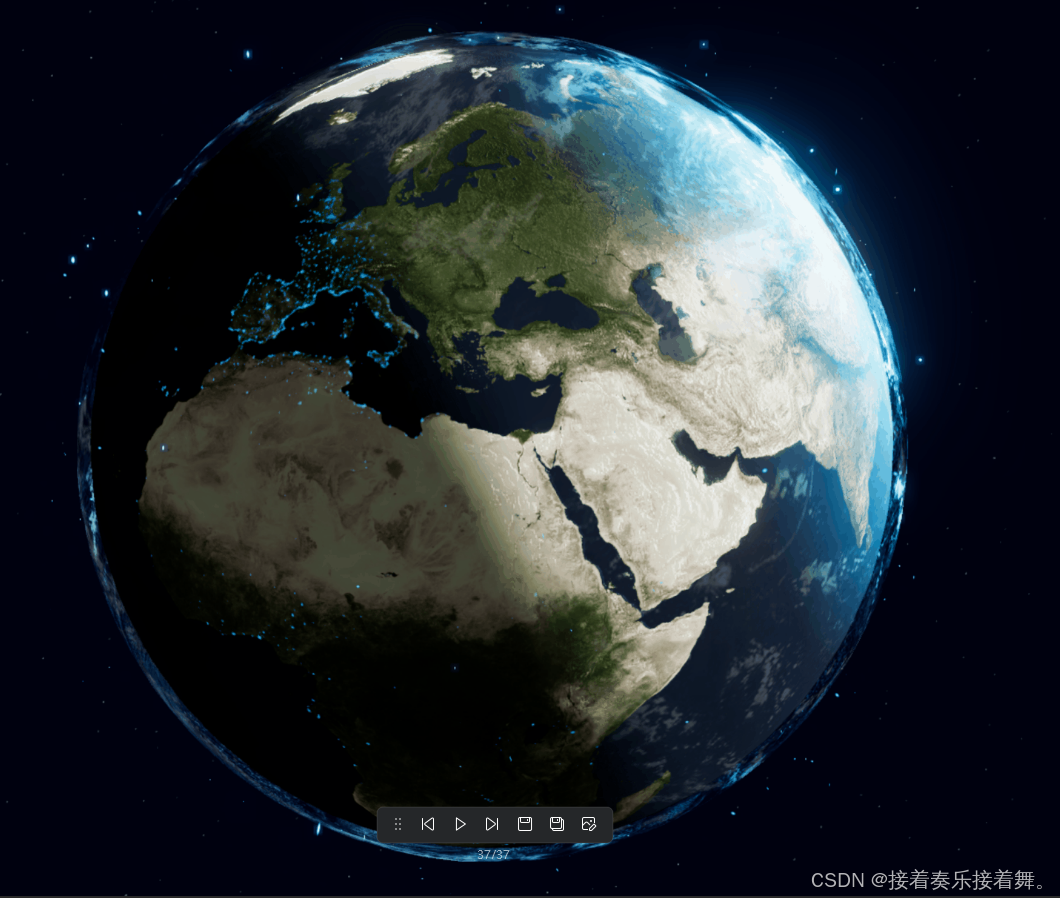
最终效果预览
粒子系统理论基础
什么是粒子系统?
粒子系统是3D图形学中用于模拟大量小物体的技术:
- 大量对象 - 同时渲染数千个粒子
- 统一管理 - 使用统一的几何体和材质
- 高性能 - GPU并行处理,性能卓越
- 灵活控制 - 每个粒子可有独立属性
我们的双层星空设计
星空系统架构
├── 远景星空 (StarField)
│   ├── 半径: 500单位
│   ├── 数量: 4000颗星
│   ├── 效果: 闪烁 + 缓慢旋转
│   └── 用途: 宇宙背景
│
└── 近地轨道星 (OrbitingStars)  ├── 半径: 20-22单位├── 数量: 250颗星├── 效果: 环绕 + 动态大小└── 用途: 地球周围装饰
远景星空系统 (StarField)
1. 球面均匀分布算法
// StarField.js - 星星位置生成
createGeometry() {const positions = new Float32Array(this.config.starCount * 3);for (let i = 0; i < this.config.starCount; i++) {// 🎯 使用球坐标系统确保均匀分布const theta = Math.random() * Math.PI * 2;        // 方位角 [0, 2π]const phi = Math.acos(2 * Math.random() - 1);     // 极角,确保均匀分布const radius = this.config.radius + (Math.random() - 0.5) * 50; // 深度变化// 📐 转换为笛卡尔坐标positions[i3] = radius * Math.sin(phi) * Math.cos(theta);     // Xpositions[i3 + 1] = radius * Math.sin(phi) * Math.sin(theta); // Y  positions[i3 + 2] = radius * Math.cos(phi);                   // Z}
}
关键技术点:
- phi = Math.acos(2 * random - 1) - 确保球面均匀分布
- 深度变化 - 添加±25单位的随机深度,避免平面感
- 大半径 - 500单位半径创造无限远的感觉
2. Canvas纹理生成
// 程序化生成星星纹理
createMaterial() {// 🎨 创建32x32的Canvasconst canvas = document.createElement("canvas");canvas.width = 32;canvas.height = 32;const context = canvas.getContext("2d");// ⭐ 绘制径向渐变星星const gradient = context.createRadialGradient(16, 16, 0, 16, 16, 16);gradient.addColorStop(0, "rgba(255, 255, 255, 1)");    // 中心:不透明gradient.addColorStop(0.2, "rgba(255, 255, 255, 0.8)"); // 内圈:80%gradient.addColorStop(0.4, "rgba(255, 255, 255, 0.4)"); // 中圈:40%gradient.addColorStop(1, "rgba(255, 255, 255, 0)");     // 外圈:透明context.fillStyle = gradient;context.fillRect(0, 0, 32, 32);// 🖼️ 转换为Three.js纹理const texture = new THREE.CanvasTexture(canvas);
}
纹理设计原理:
- 径向渐变 - 从中心到边缘的透明度渐变
- 发光效果 - 中心亮,边缘暗,模拟星光发散
- 程序生成 - 无需外部图片,减少资源依赖
3. 闪烁动画算法
// 基于正弦波的闪烁效果
update() {this.time += this.config.twinkleSpeed;const opacities = this.geometry.attributes.opacity.array;for (let i = 0; i < this.config.starCount; i++) {// 🌟 每颗星星独立的闪烁周期const twinkle = Math.sin(this.time + this.twinkleOffsets[i]) * 0.3 + 0.7;//                                    随机偏移          变化幅度  基础亮度opacities[i] = this.originalOpacities[i] * twinkle;}// 🔄 标记需要更新this.geometry.attributes.opacity.needsUpdate = true;
}
闪烁算法解析:
- 时间基础 - 基于统一时间,确保同步
- 随机偏移 - 每颗星星有不同的相位偏移
- 幅度控制 - 0.3的变化幅度 + 0.7的基础值 = [0.4, 1.0]范围
近地轨道星系统 (OrbitingStars)
实例化渲染技术
// OrbitingStars.js - 实例化渲染
createStarLayer(layerIndex, starCount) {// 🔧 创建基础几何体const starGeometry = new THREE.PlaneGeometry(1.0, 1.0);// 🎯 创建实例化网格const instancedMesh = new THREE.InstancedMesh(starGeometry,     // 基础几何体starMaterial,     // 共享材质starCount         // 实例数量);// 📊 为每个实例设置变换矩阵for (let i = 0; i < starCount; i++) {const matrix = new THREE.Matrix4();matrix.setPosition(x, y, z);          // 位置matrix.scale(size, size, size);       // 缩放instancedMesh.setMatrixAt(i, matrix); // 设置实例矩阵}
}
实例化渲染优势:
- 性能卓越 - 一次绘制调用渲染所有实例
- 内存高效 - 共享几何体和材质
- 灵活控制 - 每个实例可独立变换
- 易于管理 - 统一的更新和销毁
多层轨道设计
// 5层轨道的参数设计
const orbitLayers = {layer1: { radius: 20.6, speed: 1.0,  starCount: 50 },  // 最内层,最快layer2: { radius: 21.2, speed: 0.8,  starCount: 50 },layer3: { radius: 21.8, speed: 0.6,  starCount: 50 },layer4: { radius: 22.4, speed: 0.4,  starCount: 50 },layer5: { radius: 23.0, speed: 0.2,  starCount: 50 },  // 最外层,最慢
};//  物理原理:内层轨道速度更快(类似行星运动)
const orbitalPhysics = "v = √(GM/r)";  // 开普勒定律
高级动画技术
1. 多种动画模式
// OrbitingStars支持的动画类型
const animationTypes = {PULSE: 0,           // 脉动:大小周期性变化ORBIT: 1,           // 轨道:径向位置变化  COMBINED: 2,        // 组合:脉动+轨道STATIC: 3,          // 静态:无额外动画
};// 🎭 为每颗星星随机分配动画类型
for (let i = 0; i < starCount; i++) {const animationType = Math.floor(Math.random() * 4);this.sizeAnimationTypes.push(animationType);// 根据动画类型设置参数switch (animationType) {case PULSE:frequency = 0.5 + Math.random() * 1.0;  // 脉动频率amplitude = 0.3 + Math.random() * 0.4;  // 脉动幅度break;case ORBIT:radialFreq = 0.2 + Math.random() * 0.3; // 轨道频率radialAmp = 0.1 + Math.random() * 0.2;  // 轨道幅度break;}
}
2. 复合动画计算
// 复杂的动画更新逻辑
updateStarLayer(layerIndex) {for (let i = 0; i < starCount; i++) {let finalSize = baseSize;let radialOffset = 0;//  基于动画类型计算效果switch (animationType) {case PULSE:// 脉动动画:大小变化const pulseFactor = Math.sin(this.time * frequency + offset) * amplitude + 1.0;finalSize *= pulseFactor;break;case ORBIT:// 轨道动画:径向位置变化radialOffset = Math.sin(this.time * radialFreq + radialOffset) * radialAmp;break;case COMBINED:// 组合动画:同时应用脉动和轨道finalSize *= (Math.sin(this.time * frequency + offset) * amplitude + 1.0);radialOffset = Math.sin(this.time * radialFreq + radialOffset) * radialAmp;break;}//  应用计算结果this.updateInstanceMatrix(i, finalSize, radialOffset);}
}
性能优化技术
1. 粒子数量优化
// 性能分级配置
const performanceConfig = {低端设备: { starCount: 2000, orbitingStars: 100 },中端设备: { starCount: 4000, orbitingStars: 250 },高端设备: { starCount: 8000, orbitingStars: 500 },
};//  自动检测设备性能
const detectPerformance = () => {const canvas = document.createElement('canvas');const gl = canvas.getContext('webgl');const maxTextureSize = gl.getParameter(gl.MAX_TEXTURE_SIZE);if (maxTextureSize >= 8192) return 'high';if (maxTextureSize >= 4096) return 'medium';return 'low';
};
2. 渲染优化策略
// 渲染优化配置
const renderOptimization = {//  材质优化blending: THREE.AdditiveBlending,  // 加法混合增强发光depthWrite: false,                 // 禁用深度写入alphaTest: 0.001,                  // 透明度测试//  纹理优化textureSize: 32,                   // 小纹理,减少内存generateMipmaps: false,            // 禁用mipmap//  几何体优化bufferGeometry: true,              // 使用BufferGeometryinstancedRendering: true,          // 实例化渲染
};
3. 内存管理
// 智能的资源管理
destroy() {//  清理几何体this.geometries.forEach(geometry => geometry.dispose());//  清理材质this.materials.forEach(material => {if (material.map) material.map.dispose();material.dispose();});//  清理实例化网格this.instancedMeshes.forEach(mesh => {this.scene.remove(mesh);});//  清空数组this.originalOpacities = [];this.twinkleOffsets = [];
}
视觉效果技术解析
1. 星光发散效果
// Canvas绘制星光纹理
const createStarTexture = () => {const canvas = document.createElement("canvas");canvas.width = 32;canvas.height = 32;const context = canvas.getContext("2d");//  径向渐变模拟星光发散const gradient = context.createRadialGradient(16, 16, 0, 16, 16, 16);gradient.addColorStop(0, "rgba(255, 255, 255, 1)");    // 中心最亮gradient.addColorStop(0.2, "rgba(255, 255, 255, 0.8)"); // 内层gradient.addColorStop(0.4, "rgba(255, 255, 255, 0.4)"); // 中层gradient.addColorStop(1, "rgba(255, 255, 255, 0)");     // 边缘透明return new THREE.CanvasTexture(canvas);
};
2. 加法混合模式
// 增强发光效果的混合模式
this.material = new THREE.PointsMaterial({map: texture,blending: THREE.AdditiveBlending,  //  关键:加法混合transparent: true,depthWrite: false,
});
加法混合的效果:
- 叠加发光 - 重叠区域更亮,模拟真实星光
- 防止过暗 - 永远不会让画面变暗
- 增强对比 - 亮的更亮,暗的保持暗
3. 闪烁算法优化
// 高效的闪烁计算
update() {this.time += this.config.twinkleSpeed;  // 统一时间步进for (let i = 0; i < this.config.starCount; i++) {// 🌟 基于正弦波的自然闪烁const twinkle = Math.sin(this.time + this.twinkleOffsets[i]) * 0.3 + 0.7;//                      时间    随机相位偏移      变化幅度   基础亮度// 📊 应用到透明度opacities[i] = this.originalOpacities[i] * twinkle;}
}
算法优势:
- 统一时间 - 所有星星同步,但相位不同
- 自然变化 - 正弦波模拟自然的亮度变化
- 可控范围 - [0.4, 1.0]的亮度范围,避免完全消失
近地轨道星系统技术
1. 多层轨道设计
// 5层轨道的科学设计
createStarLayer(layerIndex, starCount) {// 计算轨道半径const radiusProgress = layerIndex / (this.config.orbitLayers - 1);const orbitRadius = this.config.minRadius + (this.config.maxRadius - this.config.minRadius) * radiusProgress;//  计算轨道速度(内层更快)const speedMultiplier = 1 + (this.config.orbitLayers - layerIndex - 1) * 0.5;this.rotationSpeeds[layerIndex] = this.config.rotationSpeed * speedMultiplier;
}
轨道物理学:
- 内快外慢 - 符合开普勒第三定律
- 层次分明 - 5层轨道创造丰富的视觉层次
- 相对运动 - 不同速度创造动态美感
2. 实例化渲染实现
// 高性能的实例化渲染
const instancedMesh = new THREE.InstancedMesh(starGeometry,   // 共享几何体starMaterial,   // 共享材质starCount       // 实例数量
);//  设置每个实例的变换矩阵
for (let i = 0; i < starCount; i++) {const matrix = new THREE.Matrix4();matrix.setPosition(x, y, z);matrix.scale(size, size, size);instancedMesh.setMatrixAt(i, matrix);
}//  标记需要更新
instancedMesh.instanceMatrix.needsUpdate = true;
参数配置指南
远景星空配置
// 真实星空效果
const realisticStarField = {starCount: 4000,          // 适中密度radius: 500,              // 远距离背景minSize: 1.5,             // 最小星点maxSize: 3.0,             // 最大星点twinkleSpeed: 0.002,      // 缓慢闪烁rotationSpeed: -0.00025,  // 逆时针旋转
};// 梦幻星空效果
const fantasticStarField = {starCount: 8000,          // 高密度minSize: 2.0,             // 更大星点maxSize: 4.0,             // 更大星点twinkleSpeed: 0.005,      // 快速闪烁color: 0x00b7ff,          // 蓝色星光
};
近地轨道配置
// 科幻轨道星
const sciFiOrbitingStars = {starCount: 250,           // 适中数量orbitLayers: 5,           // 5层轨道minRadius: 20.6,          // 贴近地球maxRadius: 23.0,          // 不太远rotationSpeed: 0.001,     // 可见的旋转color: 0x00b7ff,          // 科技蓝
};// 真实卫星效果
const realisticSatellites = {starCount: 100,           // 少量卫星orbitLayers: 3,           // 3层轨道rotationSpeed: 0.0005,    // 缓慢轨道color: 0xffffff,          // 白色光点
};
技术深度分析
1. 球面均匀分布数学
// 为什么使用 Math.acos(2 * random - 1) ?
const uniformSphereDistribution = {//  错误方法:phi = Math.random() * Math.PIproblem: "会在极点聚集,分布不均匀",//  正确方法:phi = Math.acos(2 * Math.random() - 1)  solution: "基于立体角均匀分布,确保球面均匀",// 数学原理principle: "cos(phi)的均匀分布 = phi的非均匀分布"
};
2. 距离衰减算法
// 星星大小的距离衰减
gl_PointSize = size * (300.0 / -mvPosition.z);
//             基础大小  距离系数   视空间深度//  效果:远处的星星更小,近处的更大
const sizeAttenuation = {near: "大而亮的星点",far: "小而暗的星点", realistic: "符合人眼观察经验"
};
3. 内存布局优化
// 高效的数据布局
const dataLayout = {positions: "Float32Array(starCount * 3)",     // 位置:xyzsizes: "Float32Array(starCount)",             // 大小:单值opacities: "Float32Array(starCount)",         // 透明度:单值//  连续内存布局,GPU访问更高效memoryPattern: "[x,y,z,x,y,z,...][s,s,s,...][o,o,o,...]"
};
视觉层次分析
当前的完整视觉层次
// 从内到外的完整渲染层次
const completeRenderLayers = {1: "地球白天纹理 (radius: 20, scale: 0.999)",2: "地球夜晚纹理 (radius: 20, scale: 1.001)", 3: "云层大气层 (radius: 20, scale: 1.03)",4: "近地轨道星 (radius: 20.6-23.0)",5: "远景星空 (radius: 475-525)",
};
视觉效果组合
刷新页面观察,你会发现:
-
** 宇宙背景**
- 深邃的星空包围整个场景
- 数千颗星星闪烁,营造无限空间感
- 缓慢逆时针旋转,增加动态感
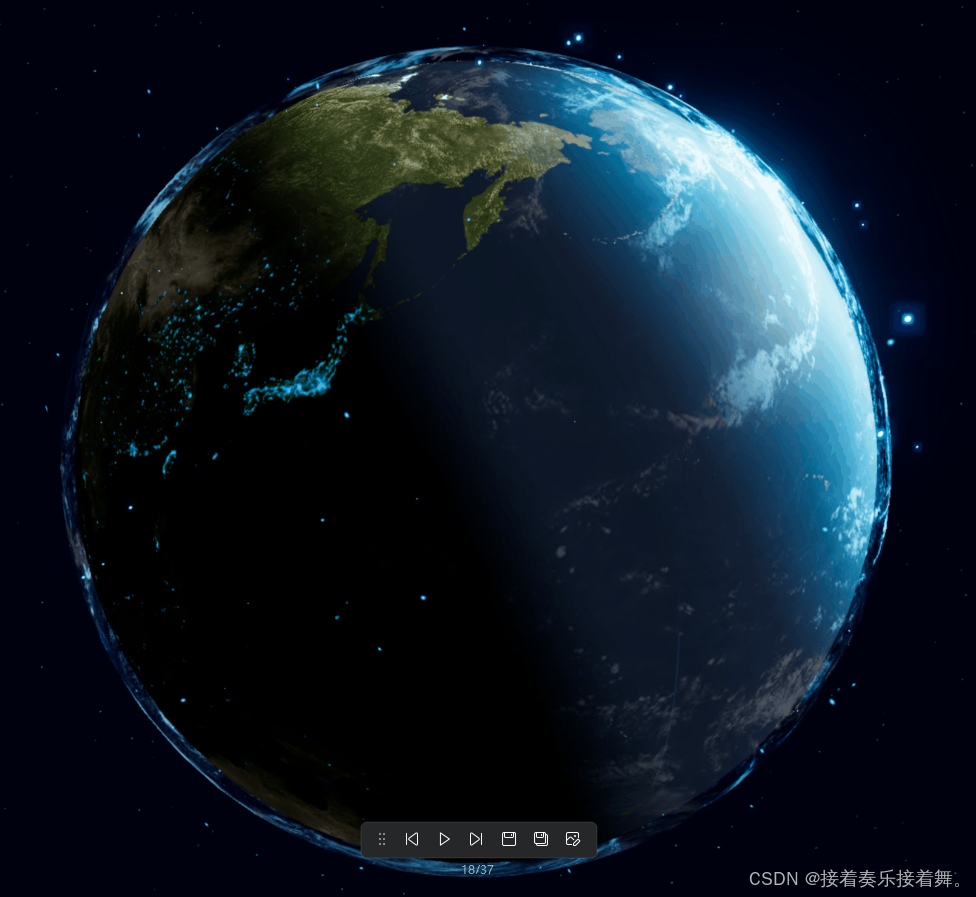
-
** 轨道装饰**
- 地球周围的近距离星点
- 多层轨道创造丰富层次
- 不同速度的环绕运动
-
地球主体
- 地球依然是视觉焦点
- 星空烘托地球的重要性
- 整体氛围更加壮观
粒子系统设计模式
1. 工厂模式应用
// 粒子系统工厂
class ParticleSystemFactory {static createStarField(scene, config) {return new StarField(scene, config);}static createOrbitingStars(scene, config) {return new OrbitingStars(scene, config);}static createCustomParticles(scene, config) {// 可扩展的自定义粒子系统return new CustomParticleSystem(scene, config);}
}
2. 组件化设计
// 粒子系统的组件化结构
class ParticleSystem {constructor() {this.geometry = new GeometryComponent();this.material = new MaterialComponent();this.animation = new AnimationComponent();this.lifecycle = new LifecycleComponent();}
}
实践操作指南
观察星空效果
访问 http://localhost:5174,仔细观察:
-
** 远景星空**
- 数千颗星星形成的宇宙背景
- 微妙的闪烁动画
- 缓慢的整体旋转
-
近地轨道
- 地球周围的环绕星点
- 多层轨道的速度差异
- 星点的大小和亮度变化
-
** 整体效果**
- 星空与地球的视觉层次
- 动画的协调配合
- 宇宙氛围的营造
参数测试
尝试修改以下参数观察效果:
// StarField参数实验
{starCount: 6000,        // 尝试 2000, 4000, 8000twinkleSpeed: 0.005,    // 尝试 0.001, 0.002, 0.005rotationSpeed: -0.0005, // 尝试 0, -0.0001, -0.001color: 0x00b7ff,        // 尝试 0xffffff, 0xffaa00, 0x00b7ff
}// OrbitingStars参数实验
{starCount: 300,         // 尝试 100, 250, 500orbitLayers: 7,         // 尝试 3, 5, 7rotationSpeed: 0.002,   // 尝试 0.001, 0.002, 0.005
}
高级技术实现
1. 自定义着色器增强
// StarField的自定义顶点着色器
attribute float size;
attribute float opacity;
varying float vOpacity;void main() {vOpacity = opacity;// 视空间位置计算vec4 mvPosition = modelViewMatrix * vec4(position, 1.0);//  距离衰减计算gl_PointSize = size * (300.0 / -mvPosition.z);gl_Position = projectionMatrix * mvPosition;
}
// 对应的片段着色器
uniform sampler2D map;
uniform vec3 color;
varying float vOpacity;void main() {//  采样纹理vec4 texColor = texture2D(map, gl_PointCoord);//  应用颜色和透明度gl_FragColor = vec4(color, texColor.a * vOpacity);
}
2. 实例化矩阵计算
// OrbitingStars的矩阵变换
updateInstanceMatrix(instanceIndex, size, radialOffset) {const matrix = new THREE.Matrix4();//  计算新位置(考虑径向偏移)const adjustedRadius = originalRadius + radialOffset;const newPosition = originalPosition.clone().normalize().multiplyScalar(adjustedRadius);//  设置变换矩阵matrix.setPosition(newPosition);matrix.scale(size, size, size);//  更新实例this.instancedMesh.setMatrixAt(instanceIndex, matrix);this.instancedMesh.instanceMatrix.needsUpdate = true;
}
本篇总结
** 核心知识点**
-
粒子系统架构
- BufferGeometry的高效使用
- PointsMaterial vs ShaderMaterial
- 实例化渲染技术
-
数学算法
- 球面均匀分布算法
- 距离衰减计算
- 正弦波闪烁算法
-
性能优化
- GPU并行处理
- 内存布局优化
- 渲染批次合并
-
视觉设计
- 多层次星空设计
- 发光效果营造
- 宇宙氛围创造
** 视觉效果成果**
- 壮观星空 - 数千颗星星的宇宙背景
- 动态层次 - 远近不同的星空层次
- 闪烁生动 - 自然的星光闪烁效果
- 无限空间 - 营造深邃的宇宙感
下一篇预告
在第6篇教程中,我们将学习:
** 蜂巢网格与自定义几何体**
- 程序化几何体生成
- 高级着色器编程
- 扫光动画算法
- 科幻视觉效果
预期效果:
- 科幻感的六边形网格
- 动态扫光动画
- 地球表面的技术感装饰