Windows下 AutoGen(二)Autogen Studio
1. 安装 & 启动
GitHub - microsoft/autogen: A programming framework for agentic AI
# Install AutoGen Studio for no-code GUI
pip install -U "autogenstudio"# Run AutoGen Studio on http://localhost:8080
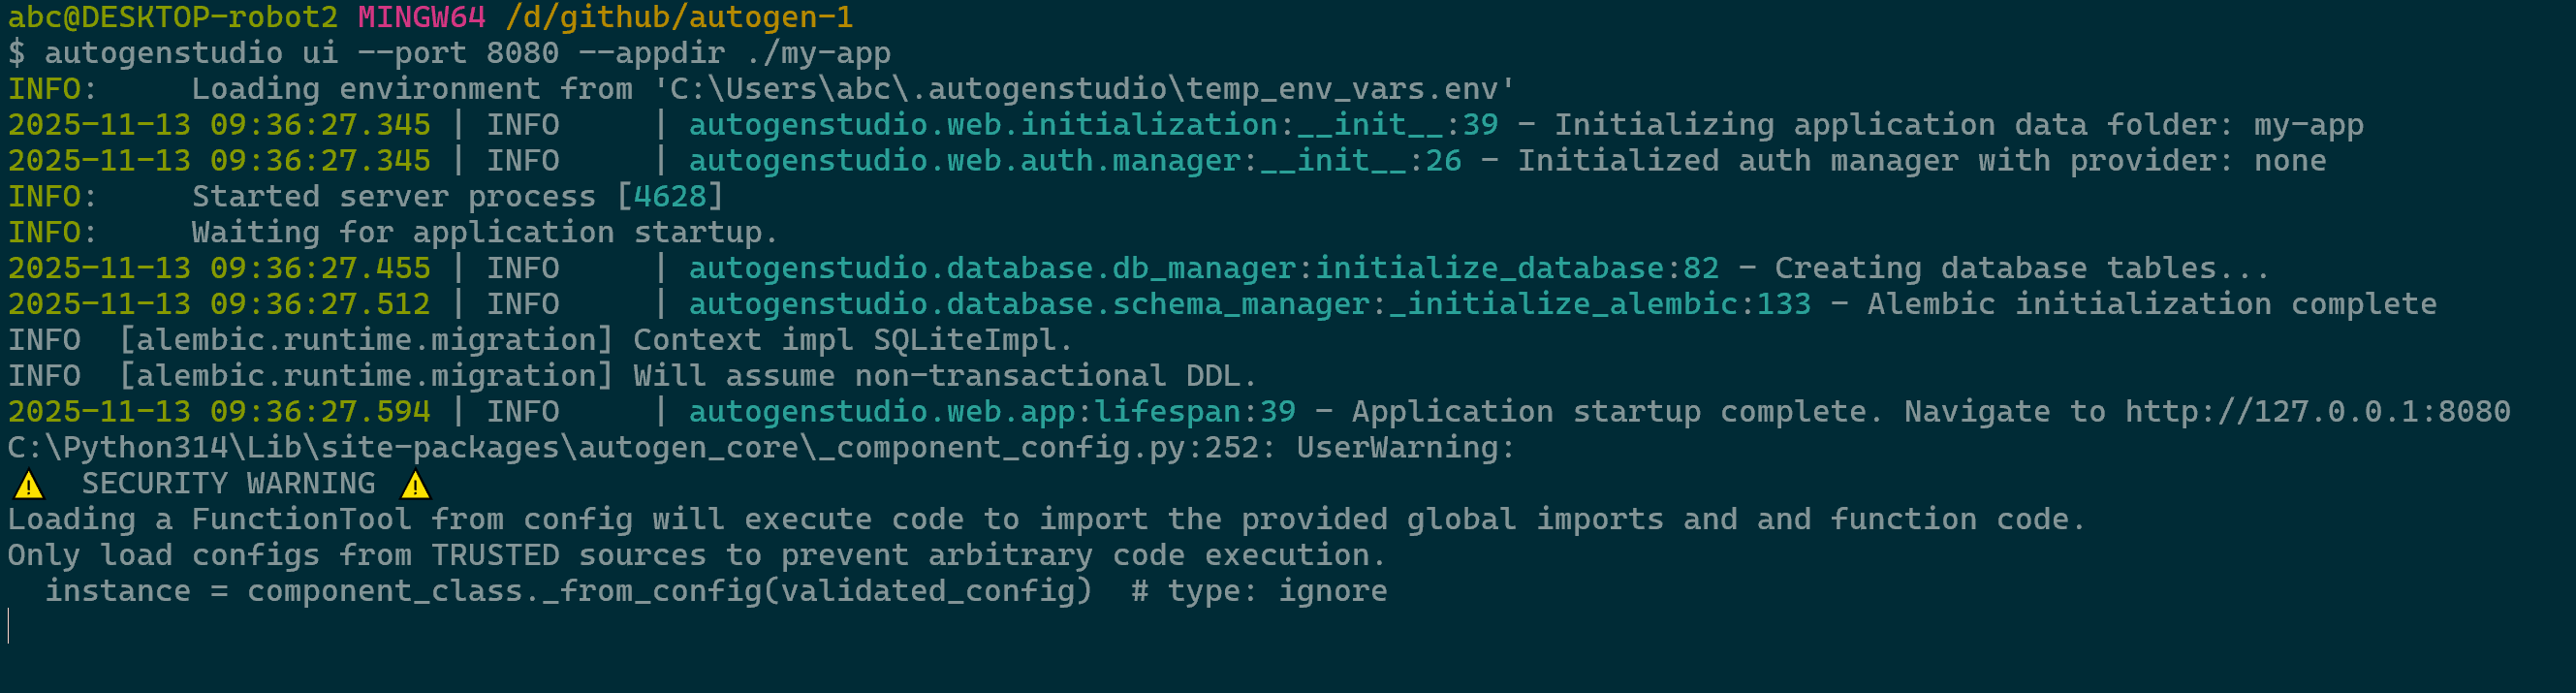
autogenstudio ui --port 8080 --appdir ./my-appautogen/python/packages/autogen-studio at main · microsoft/autogen · GitHub
启动成功可以看到 Navigate to http://127.0.0.1:8080, 打开链接
文档:AutoGen Studio - Getting Started | AutoGen 0.2
2. 配置 & 说明
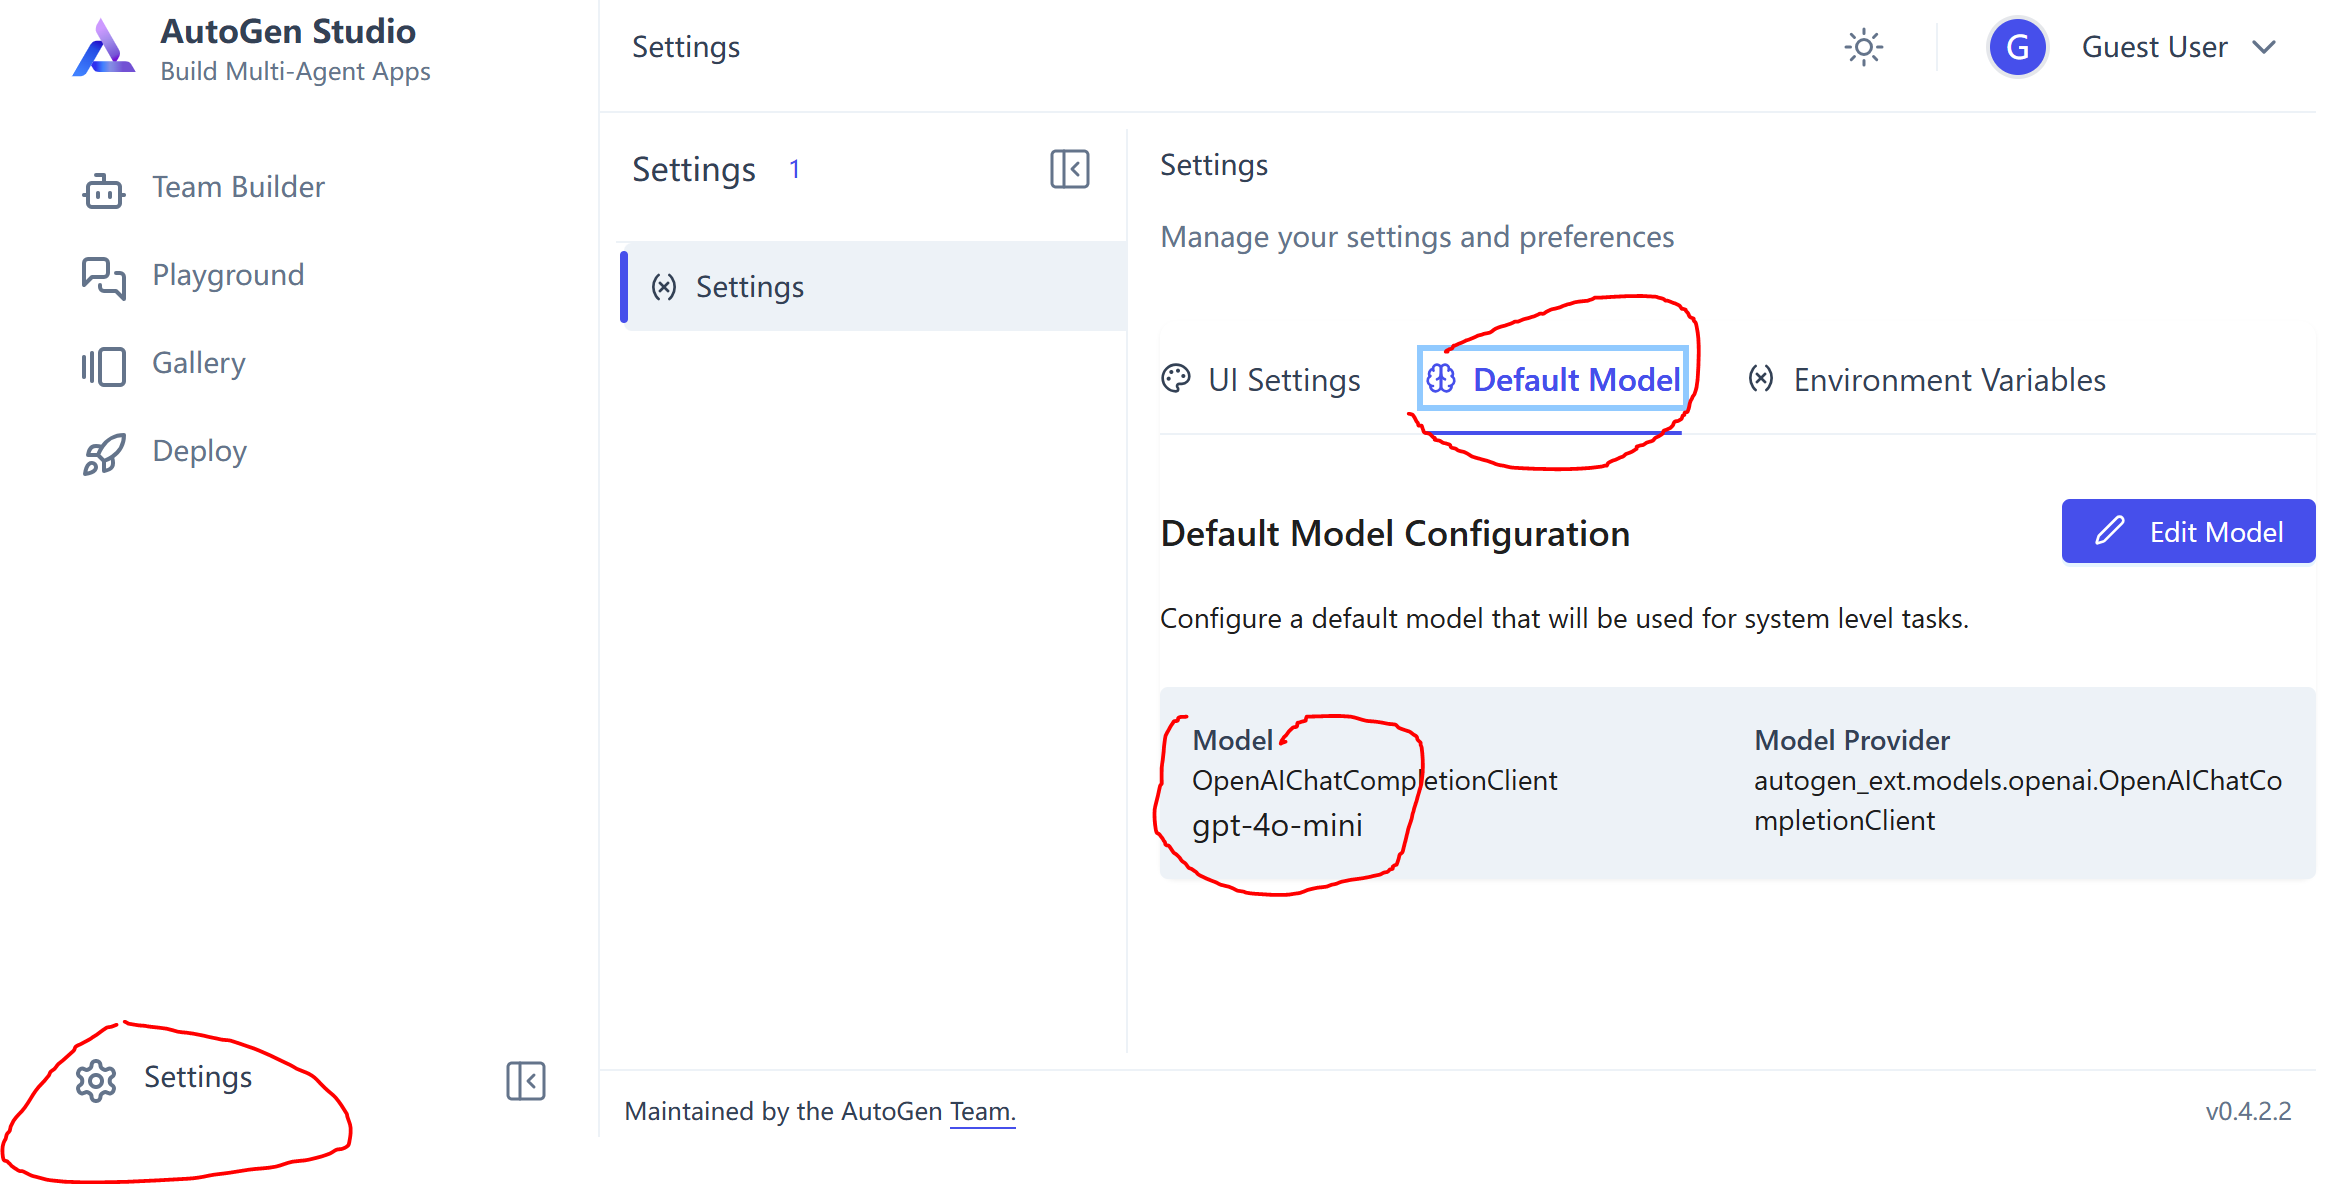
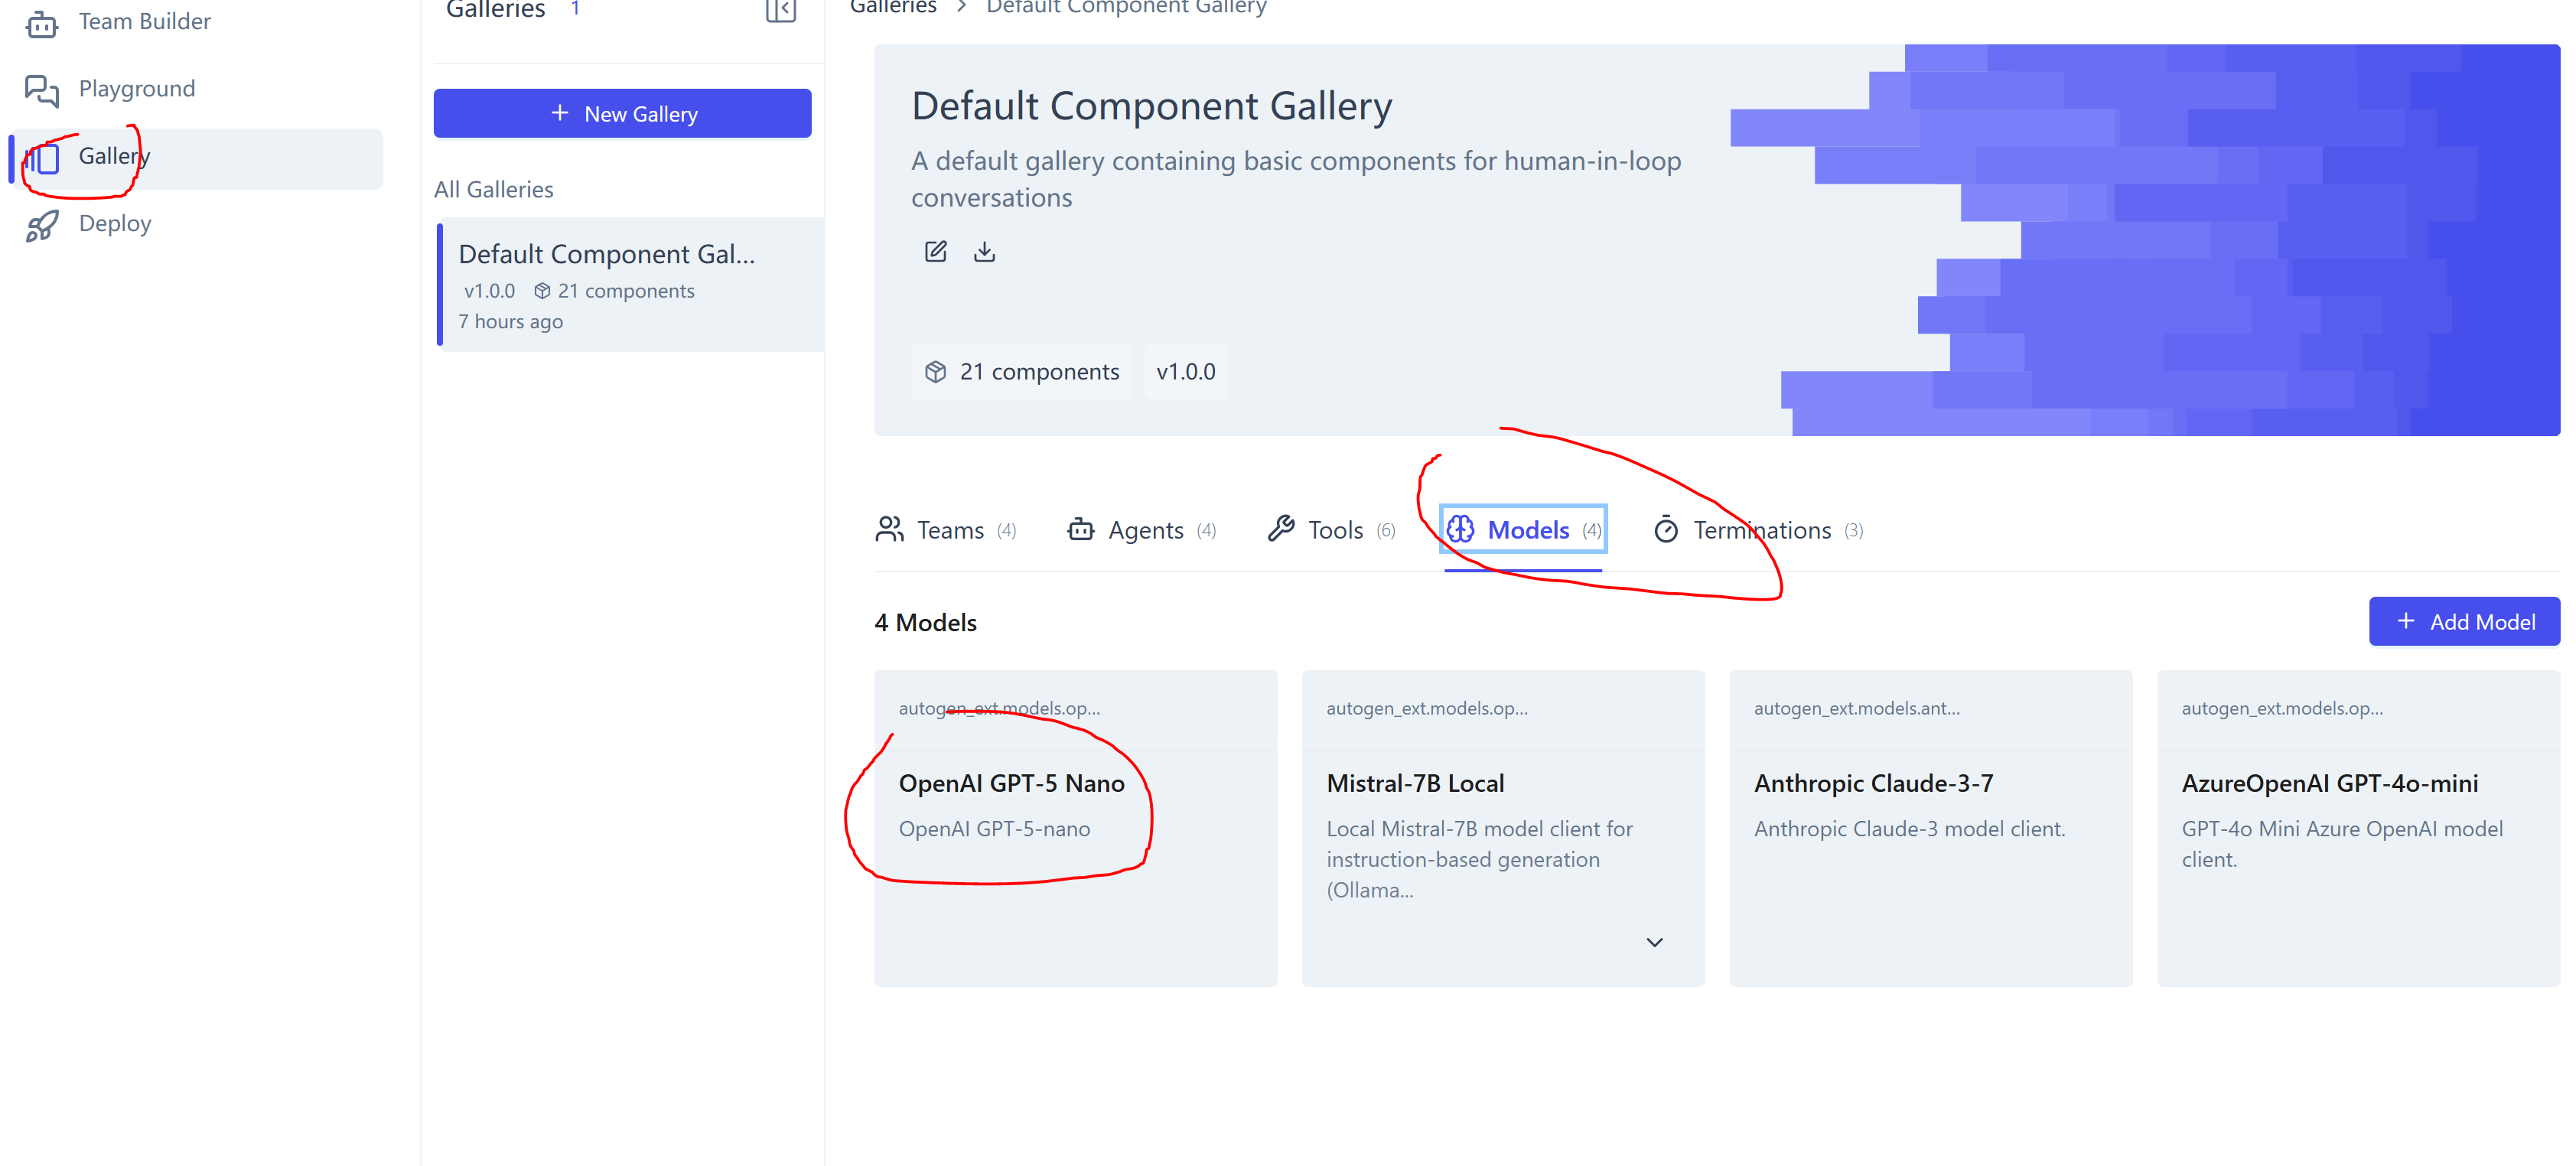
首先要做的是配置AI Client,Settings -> DefaultModel -> Edit Model 更改model添加AppKey
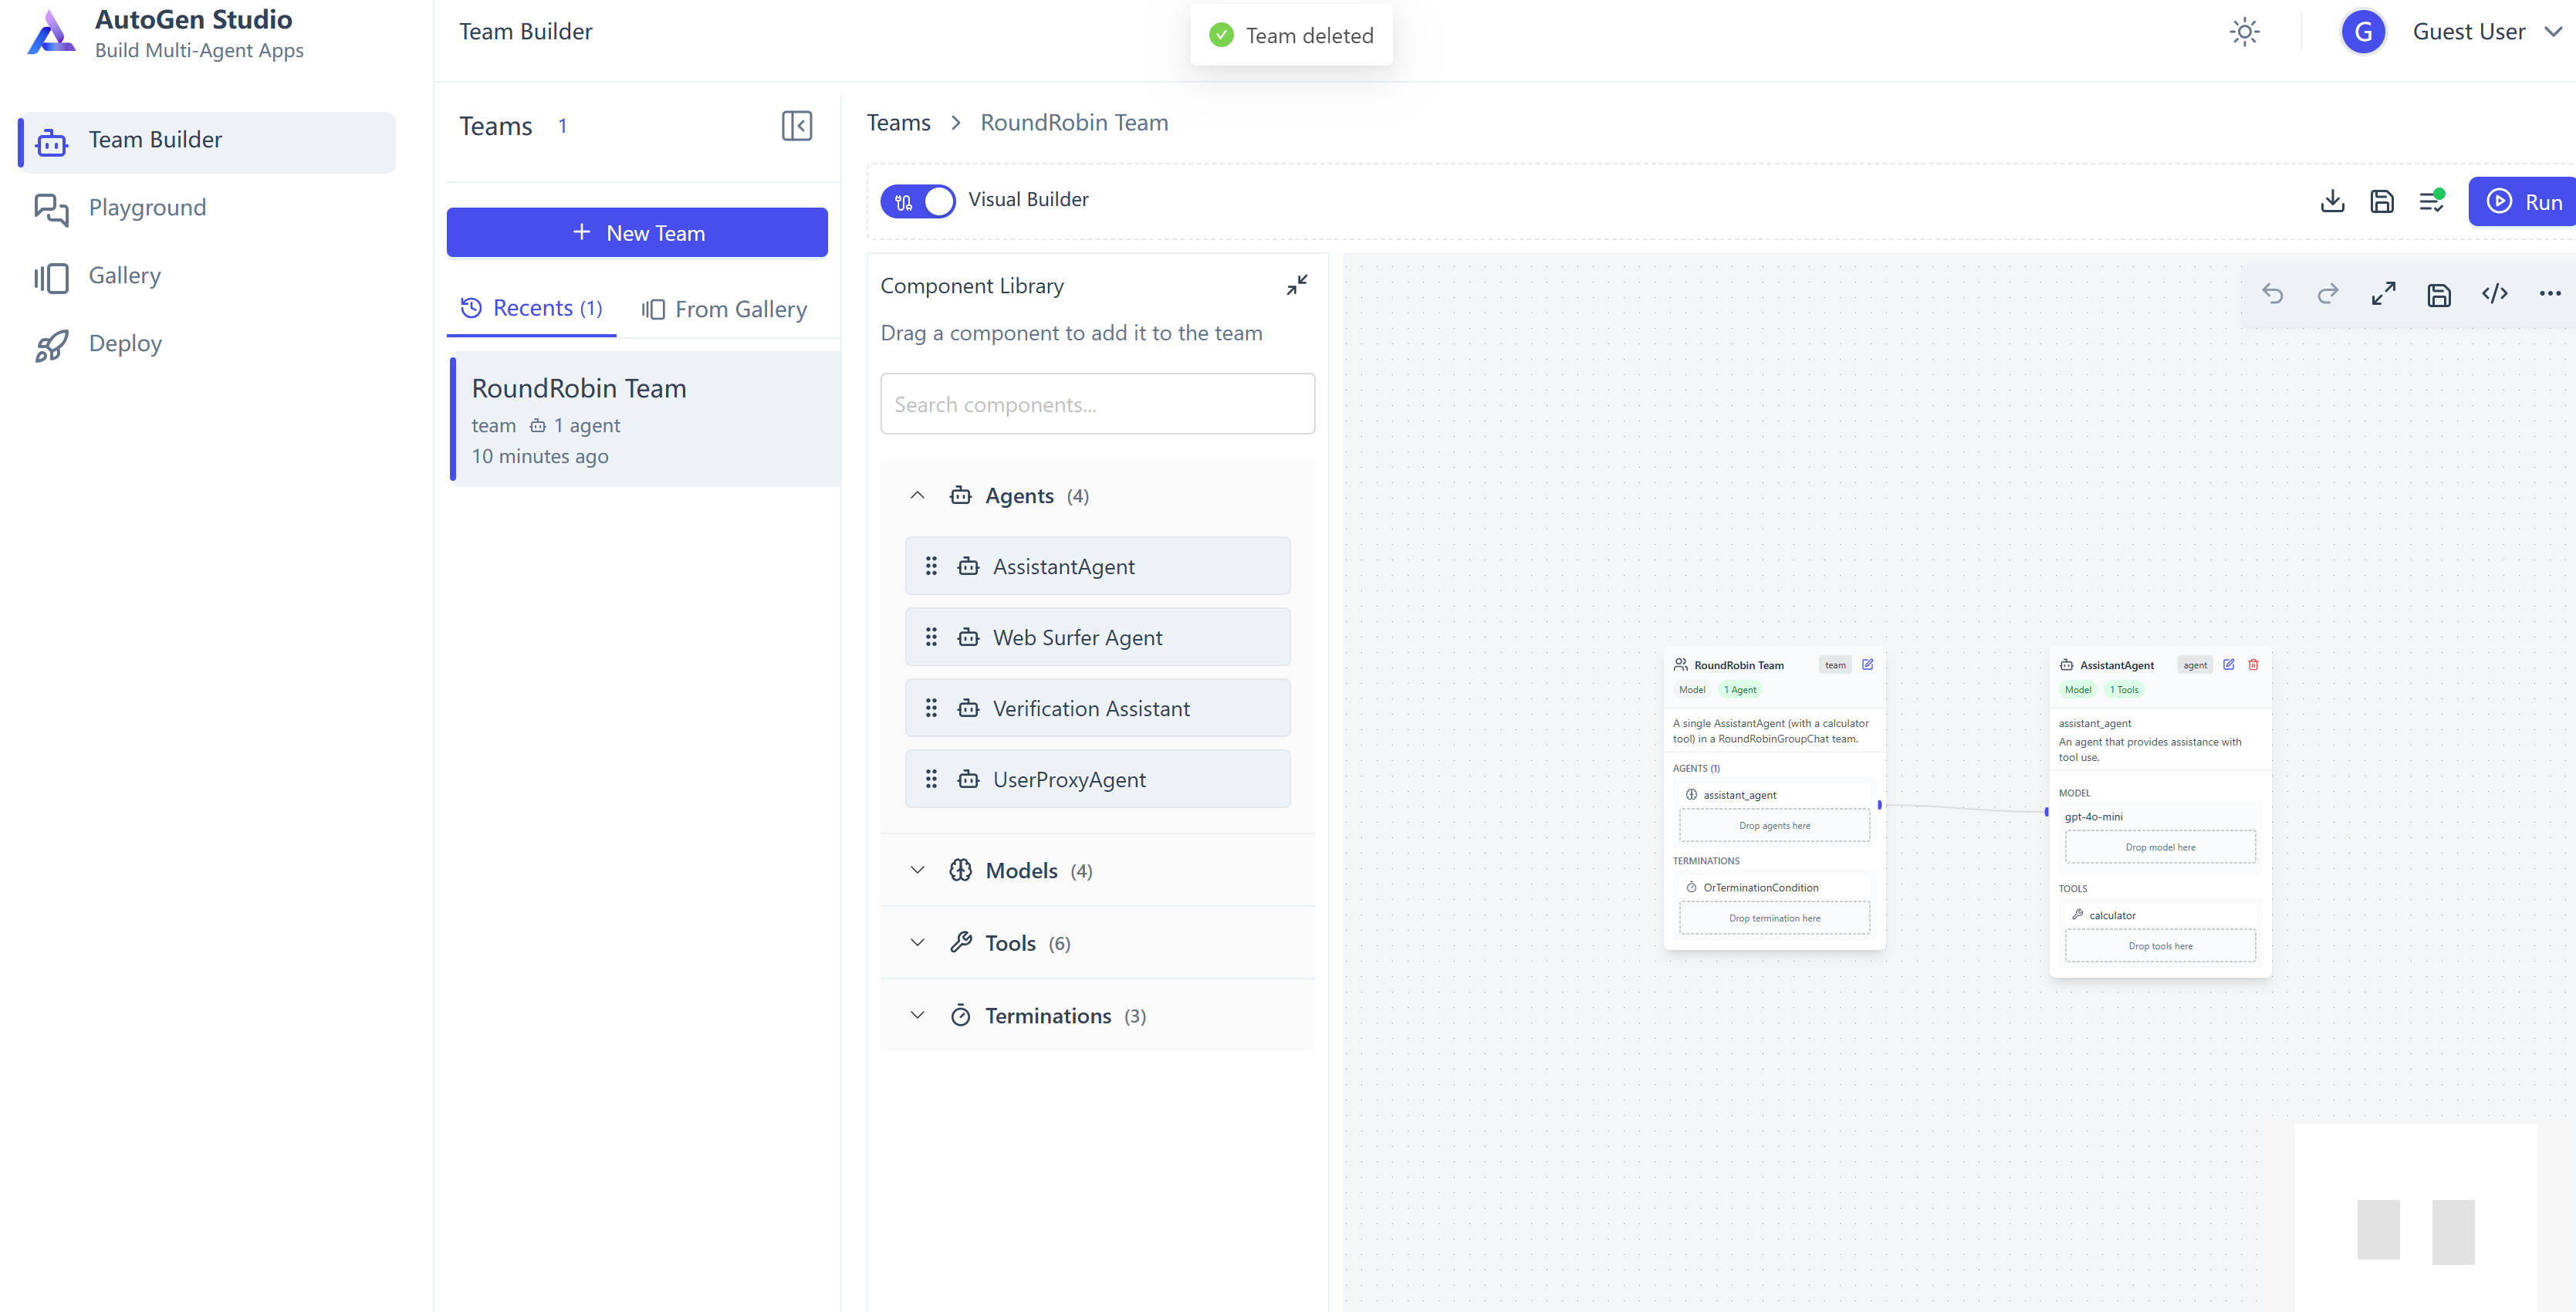
先看侧边栏的 Team Builder / Playground / Gallery / Deploy 都是做什么的:
如果这里你想用其他的gpt其他版本,比如说 gpt-5-nano,这里需要配置 json config
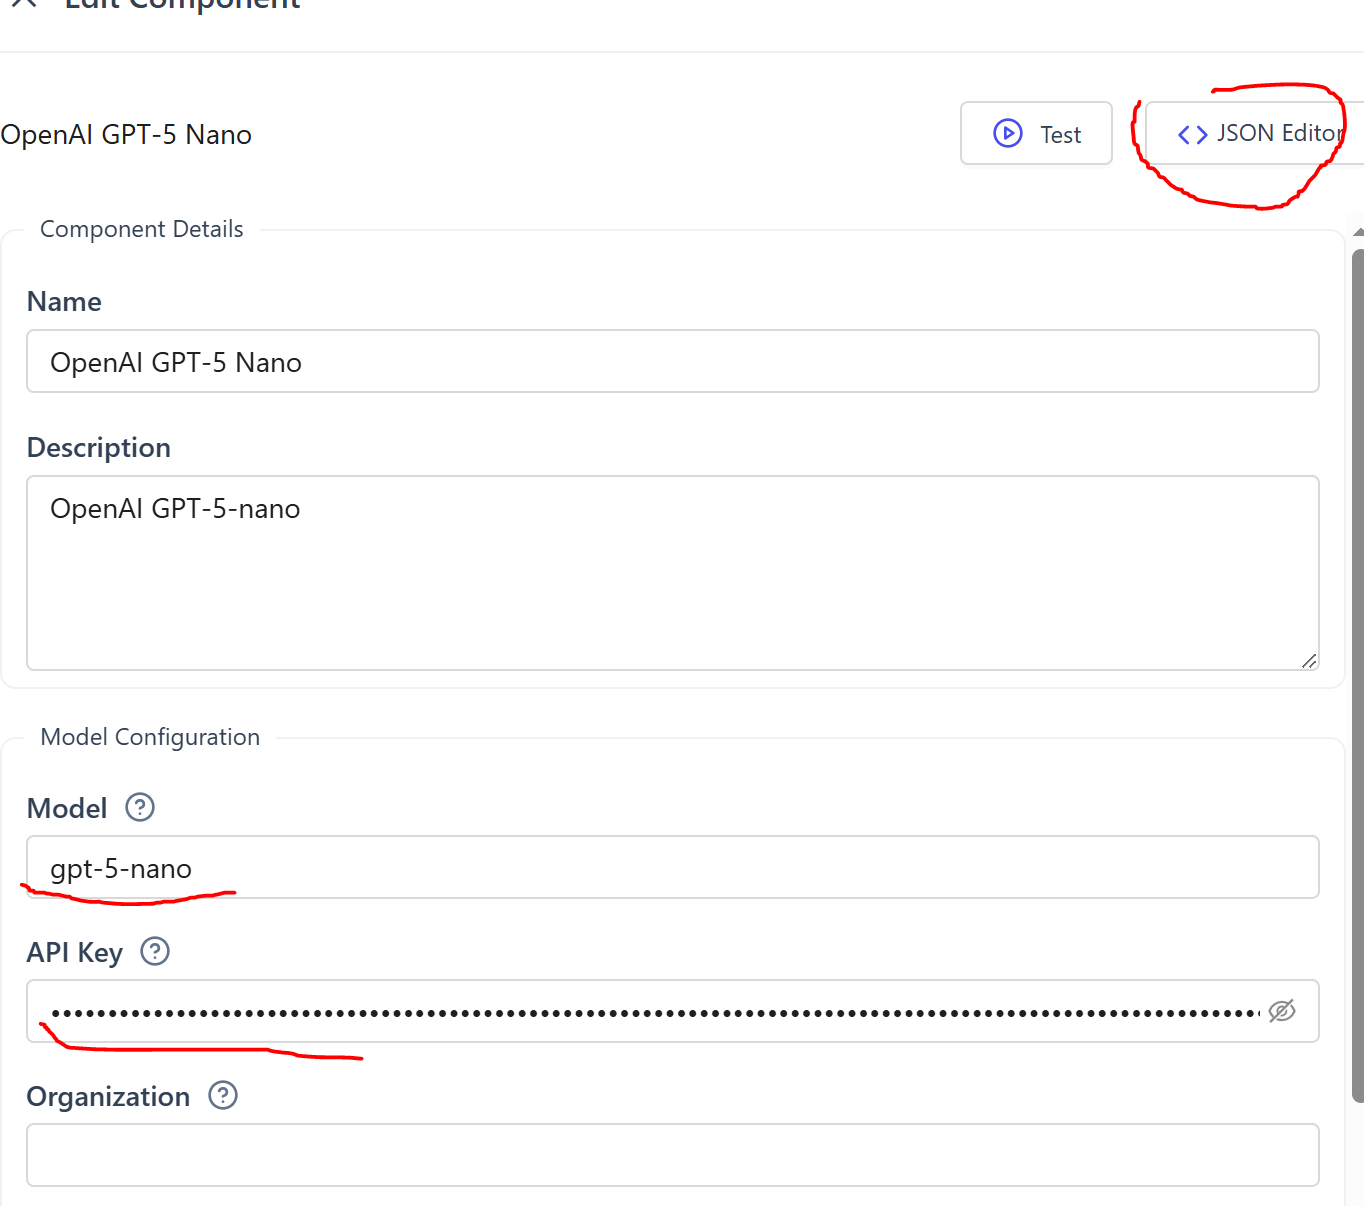
{"provider": "autogen_ext.models.openai.OpenAIChatCompletionClient","component_type": "model","version": 1,"component_version": 1,"description": "OpenAI GPT-5-nano","label": "OpenAI GPT-5 Nano","config": {"model": "gpt-5-nano","api_key": "sk-proj-xxx","model_info": {"vision": "False","function_calling": "True","json_output": "False","family": "unknown","structured_output": "True"}}
}
添加上面的 model_info 配置,function_calling是多agent必须,记得设置为 True。
3. 设计Agent team
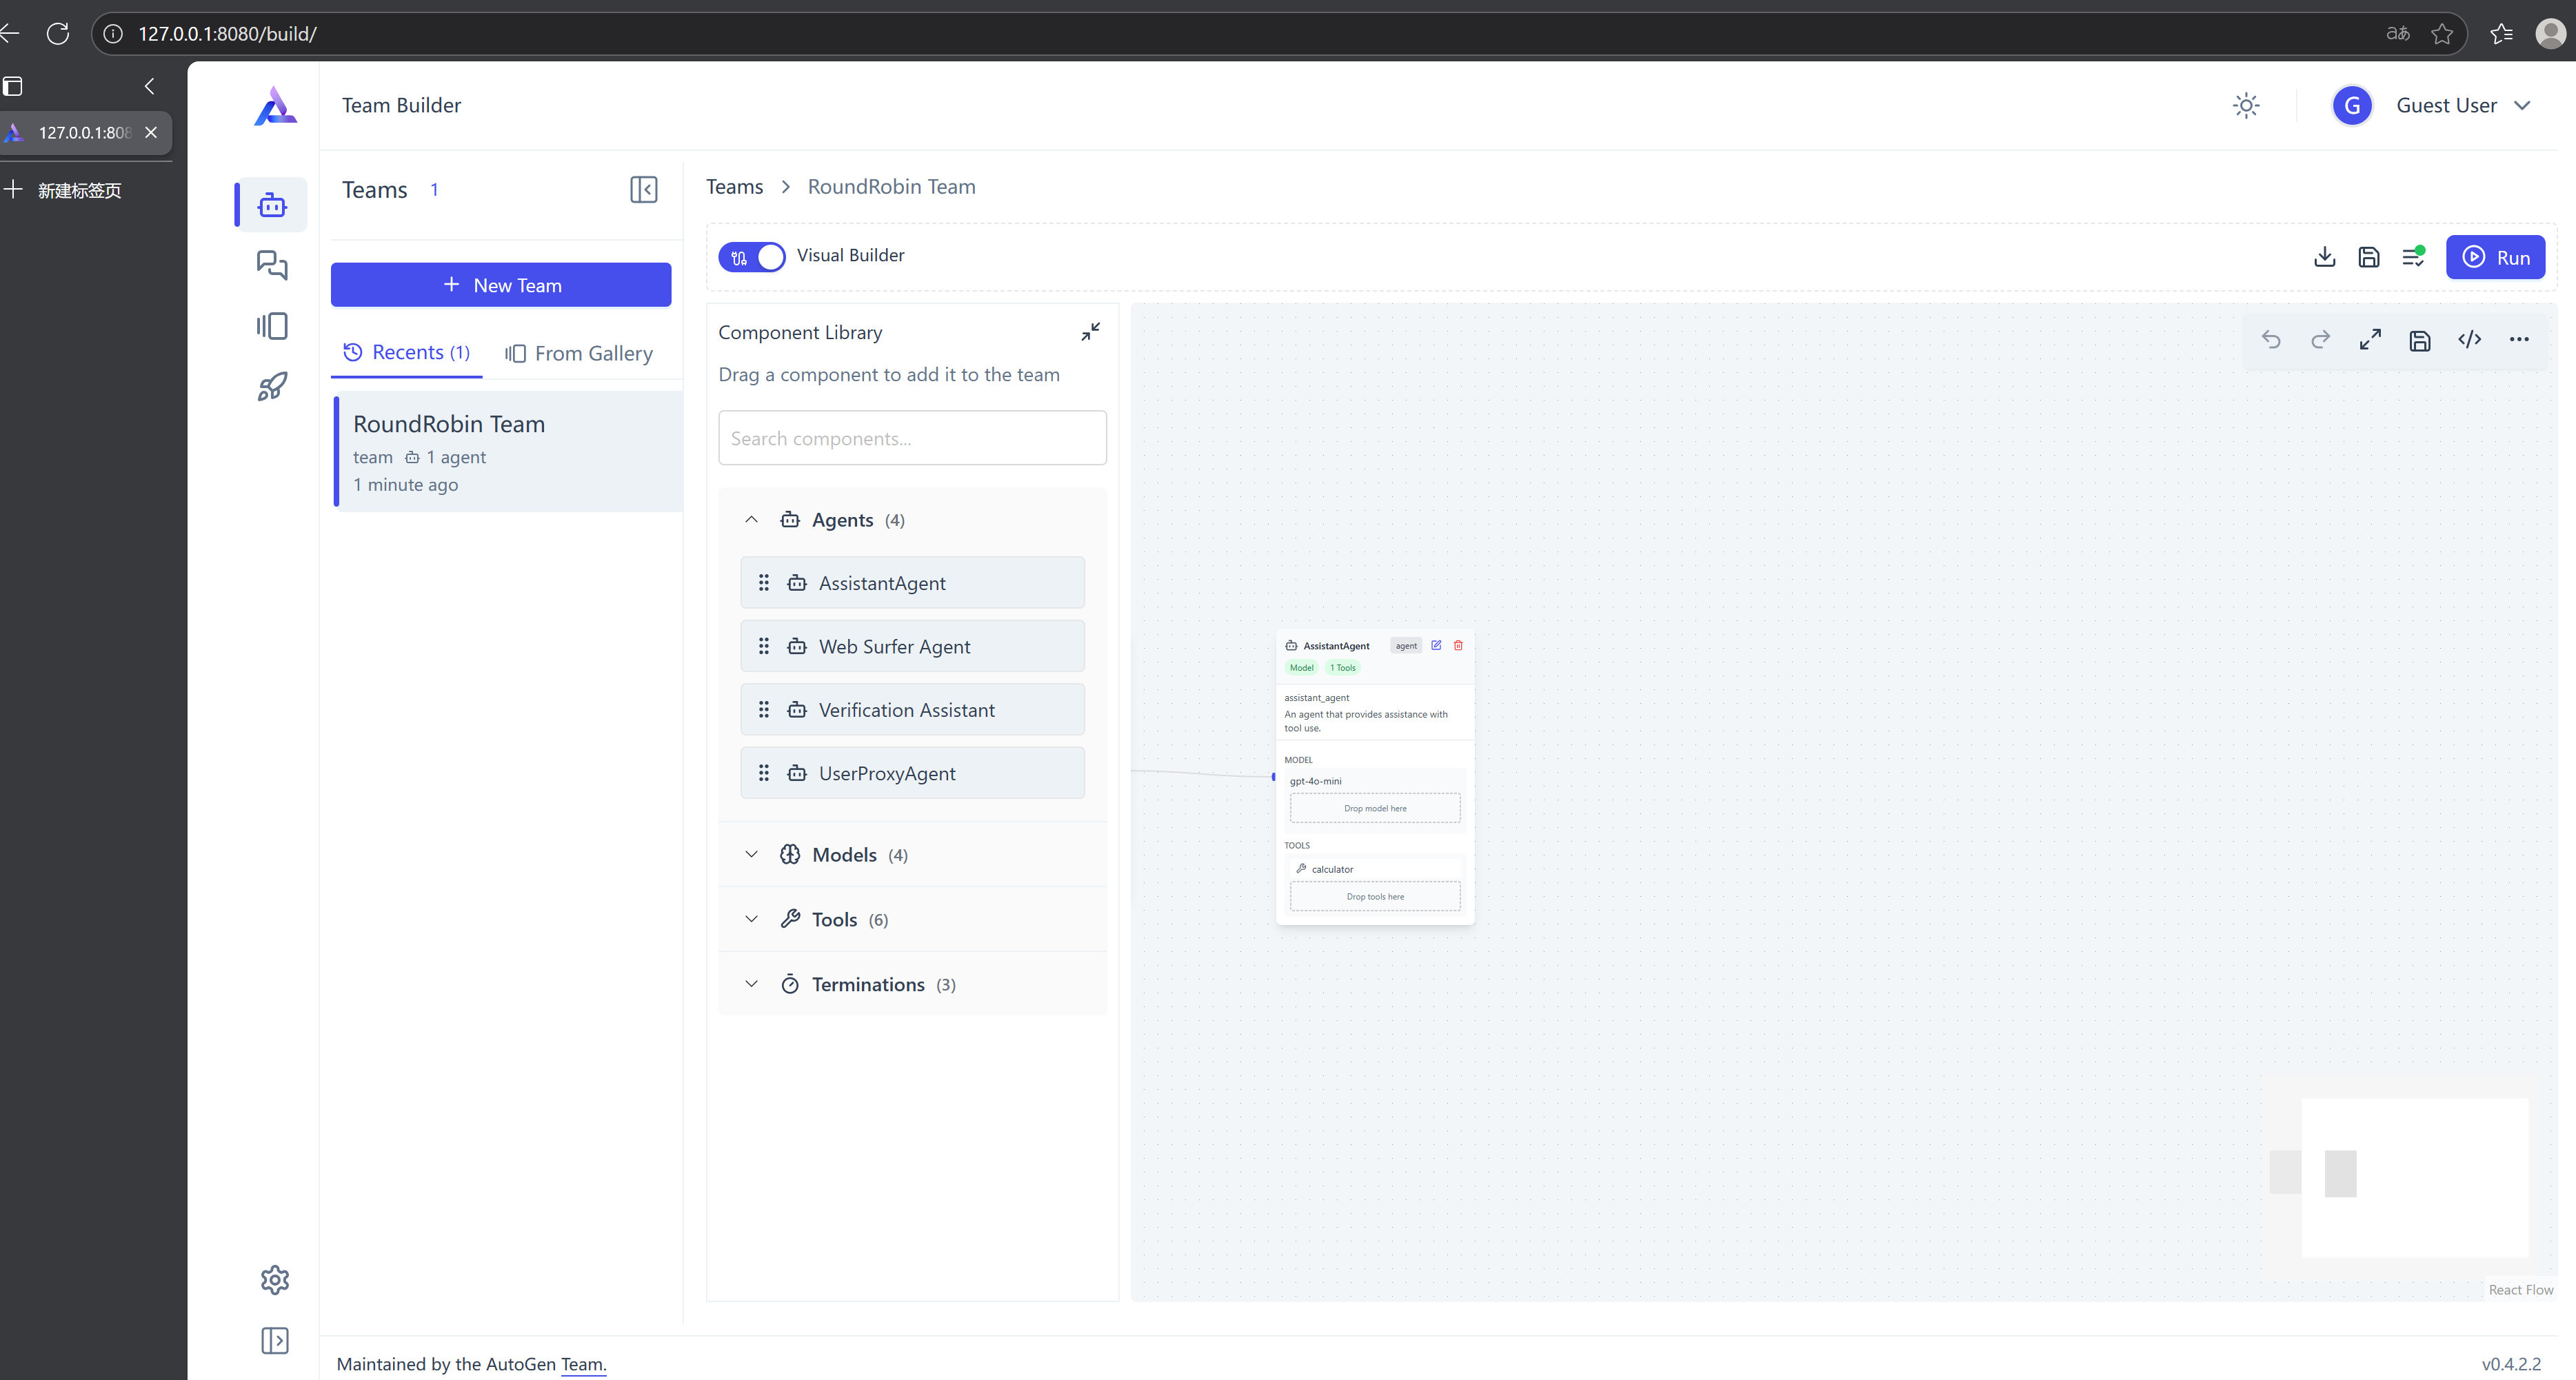
点击 Team Builder,创建新的Team,给 Team取个名字,说明一下这个Team是做什么的。
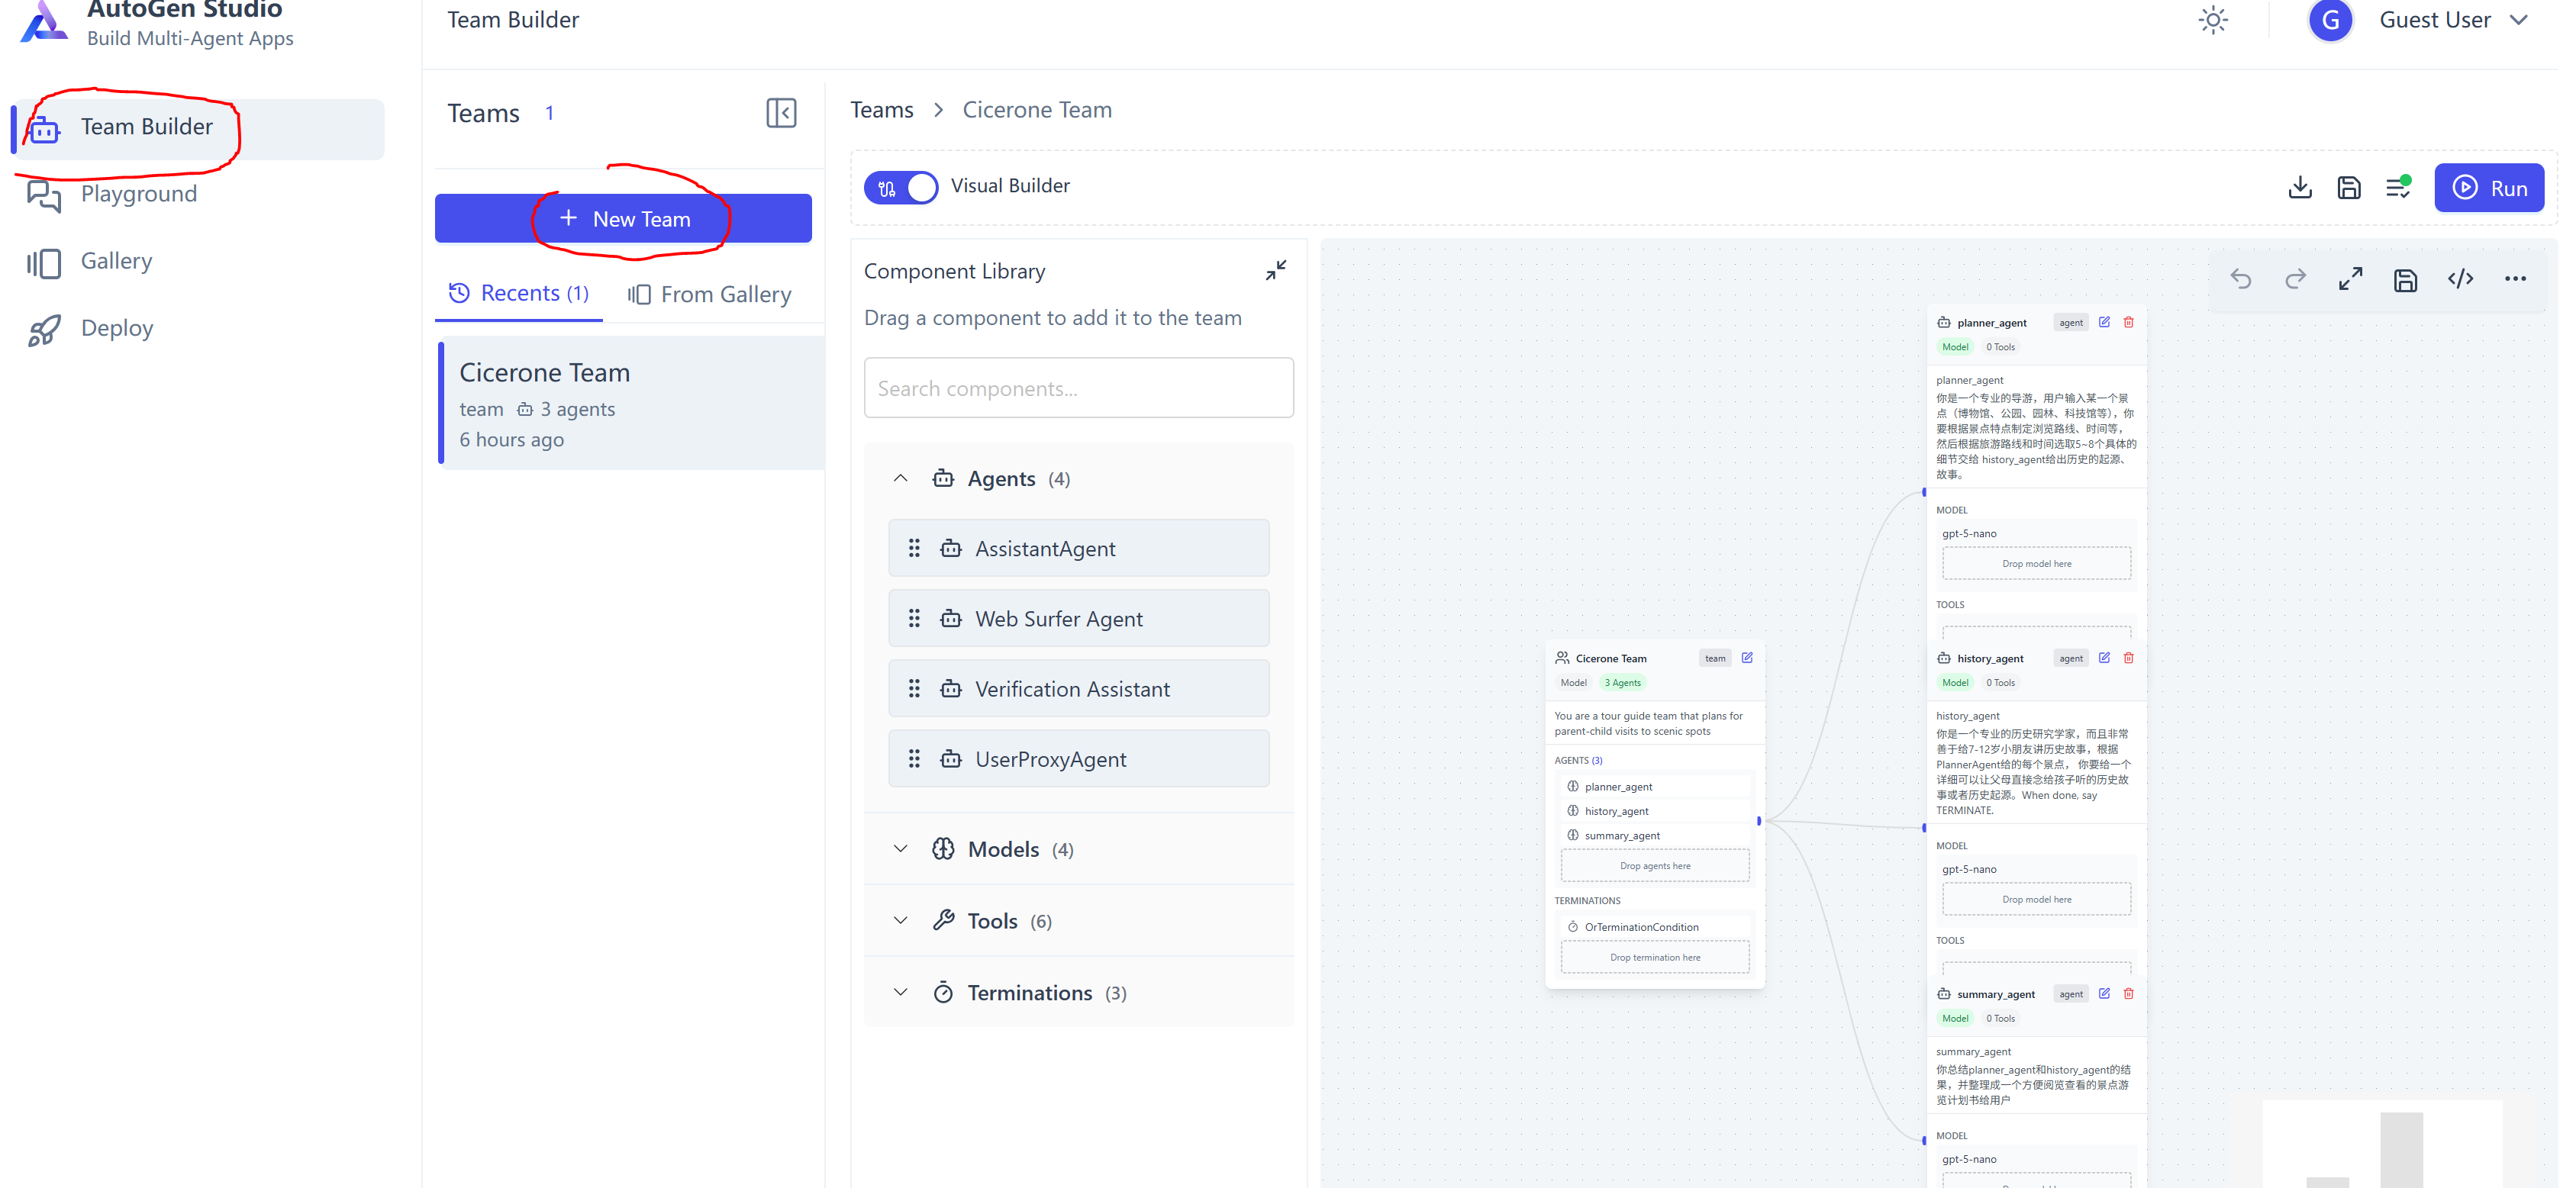
之后就可以添加你的Assistant Agent了,这里我用了3个Agent,第一个根据用户输入的景区或博物馆设计参观方案,并且提出5-8个景点或文物等,交给第二个Agent处理;第二个Agent负责对第一个Agent给的每个景点或文物,给出一个历史故事;最后第三个Agent负责总结前面两个Agent的输出,然后展示给用户。
需要注意:底层实际上是Python实现的autogen的代码,所以配置 Assistant Agent的时候,name要用python支持的格式,不要带空格。
4. 运行你的 Agent Team
进入Playground,新建一个Session,选择你要对话的 Team:
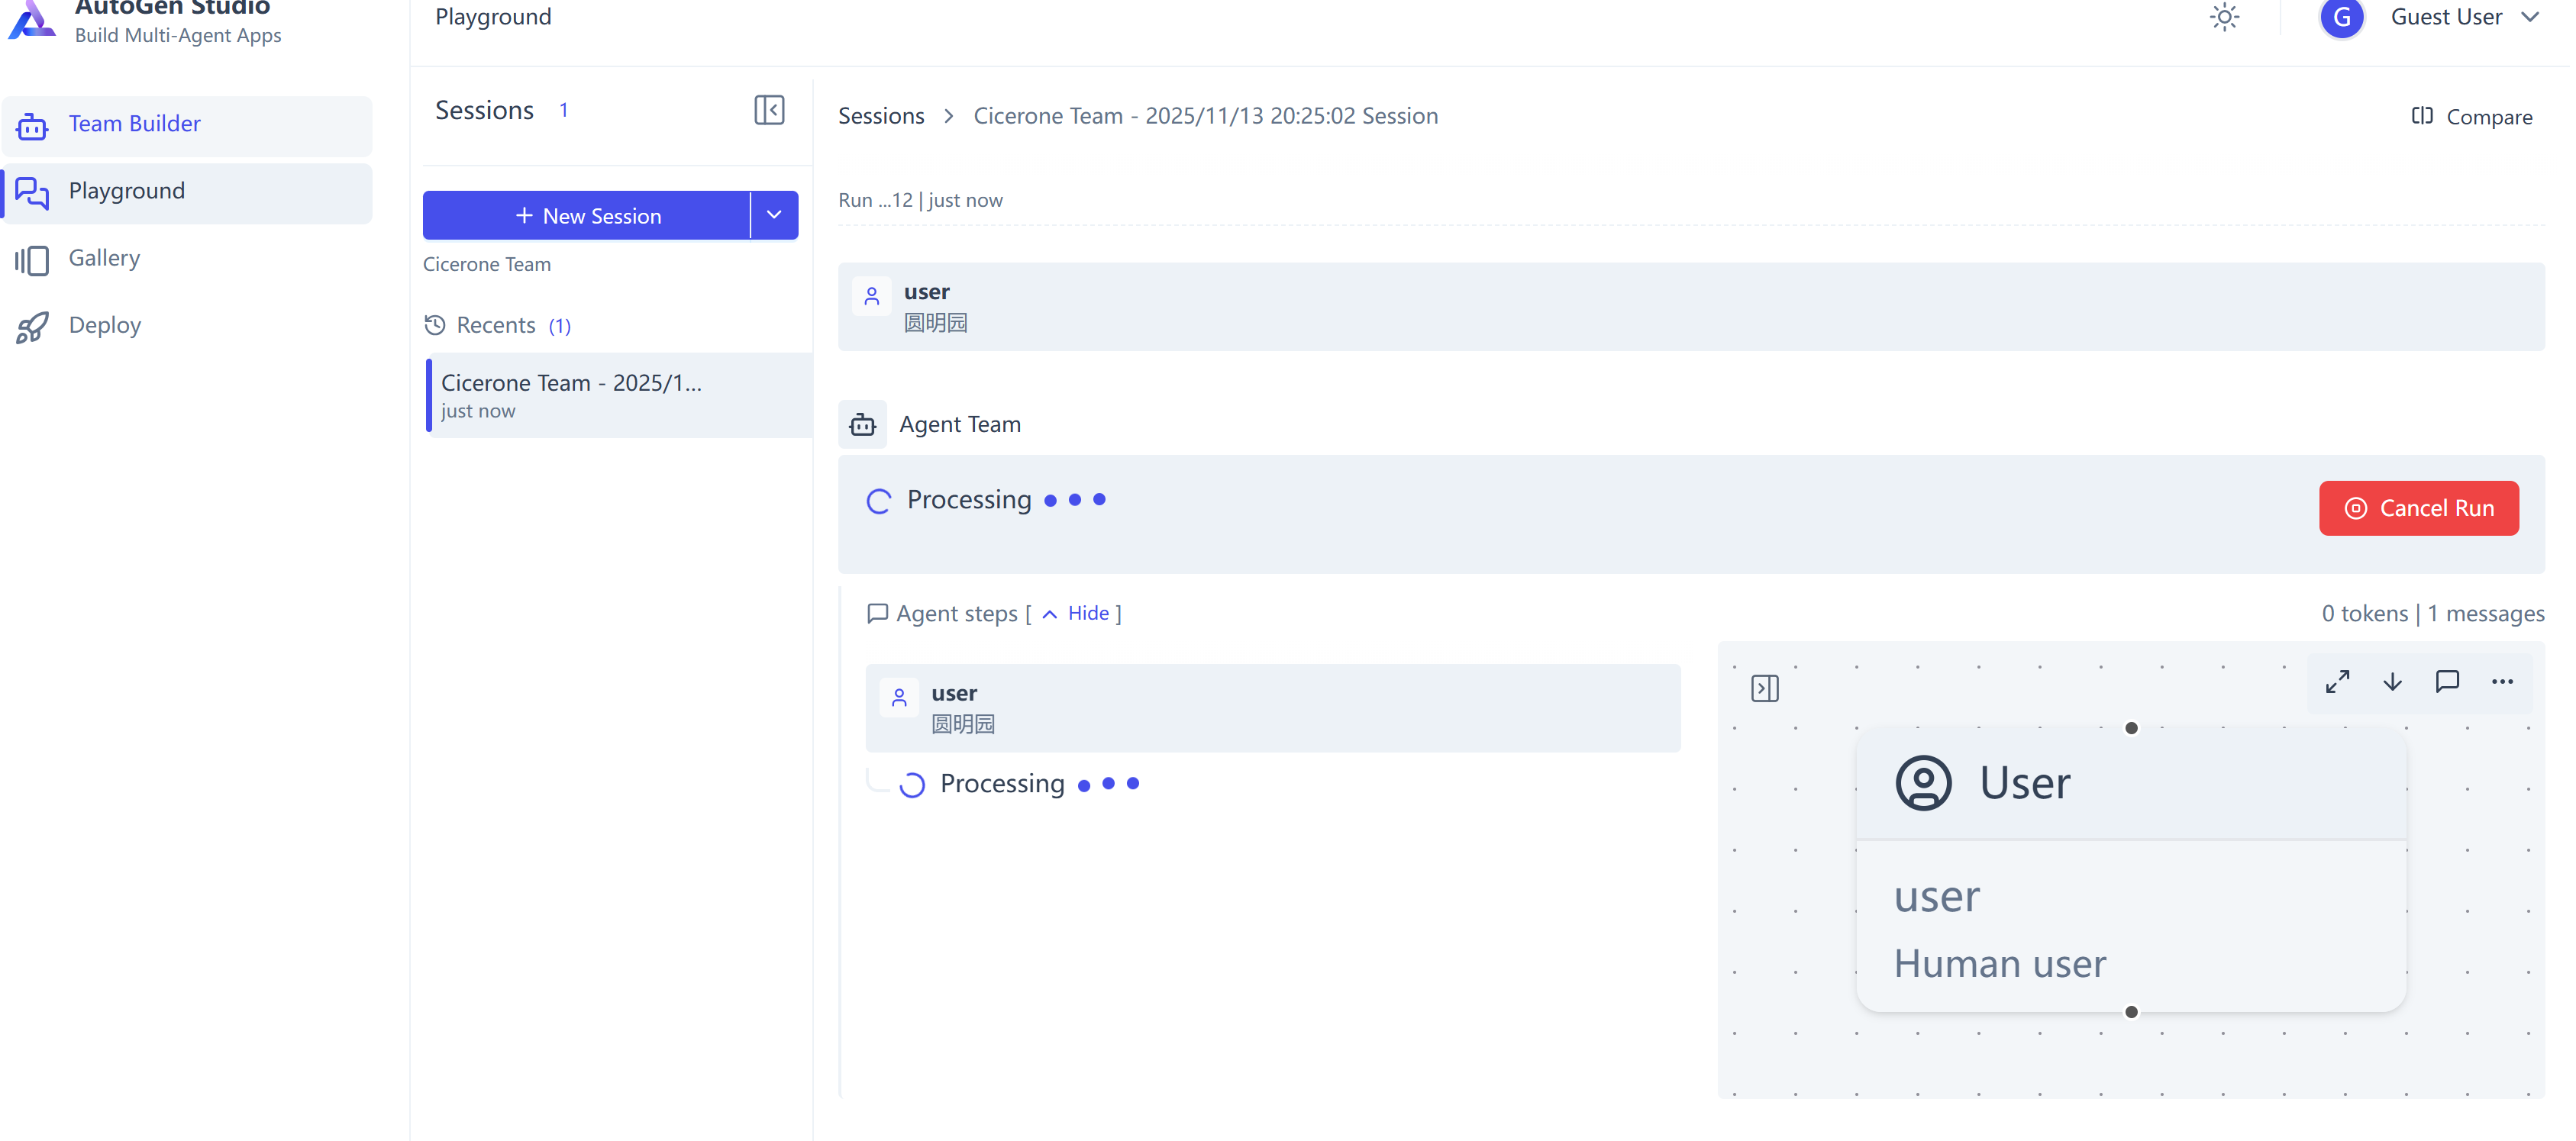
AutoGen Studio 会向你展示哪些Agent工作了,每个Agent工作的结果,方便你能及时发现问题进行调整。
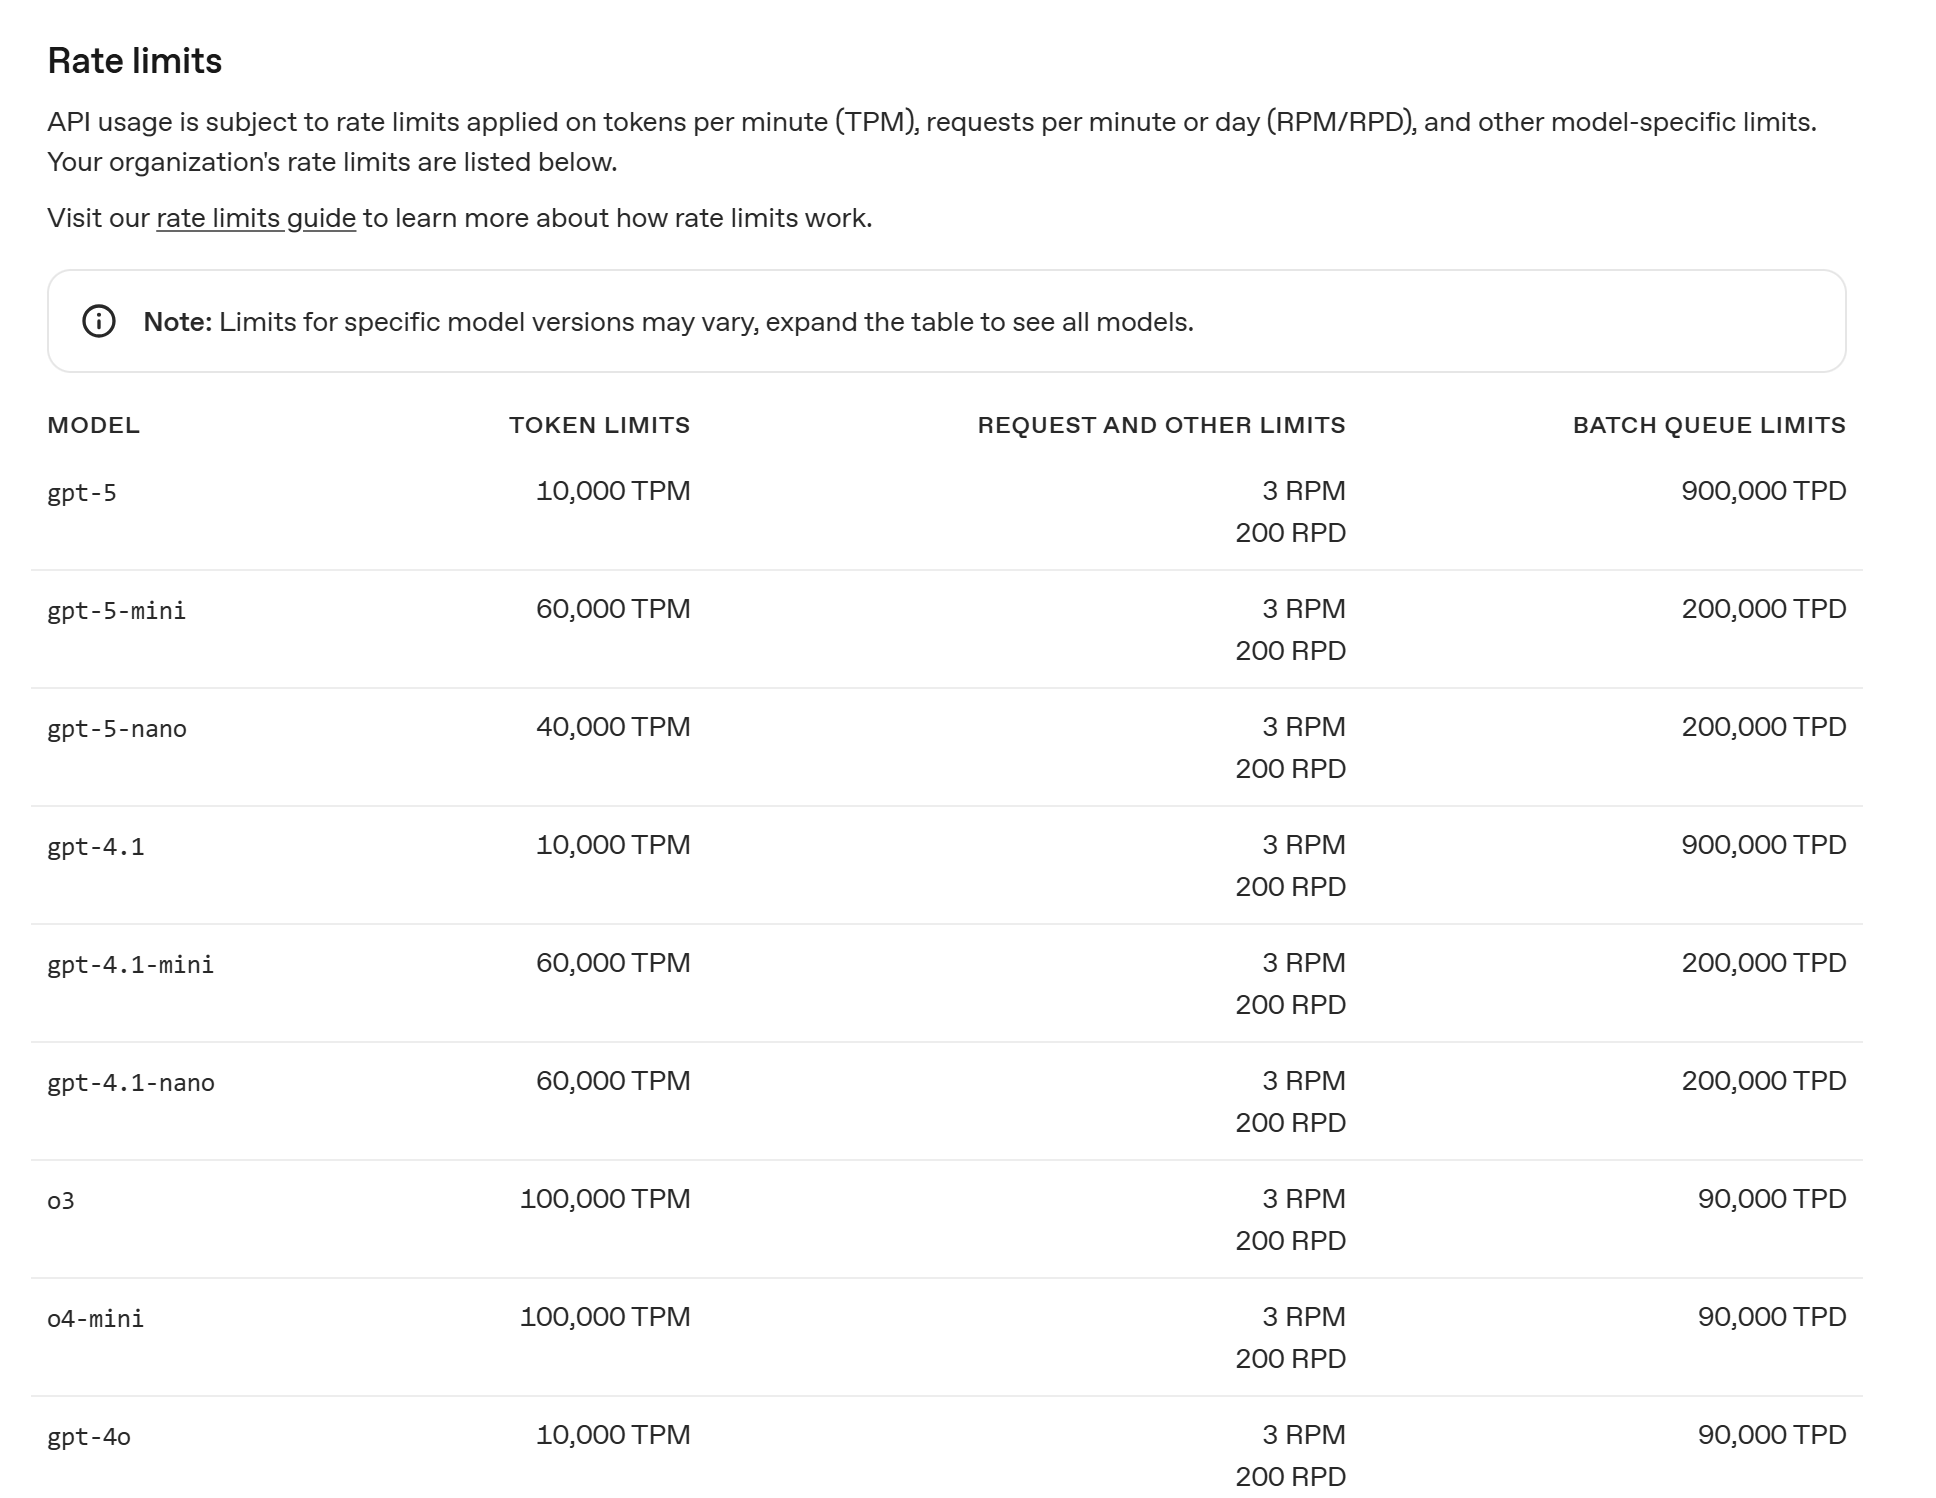
5. OpenAI - Rate Limits