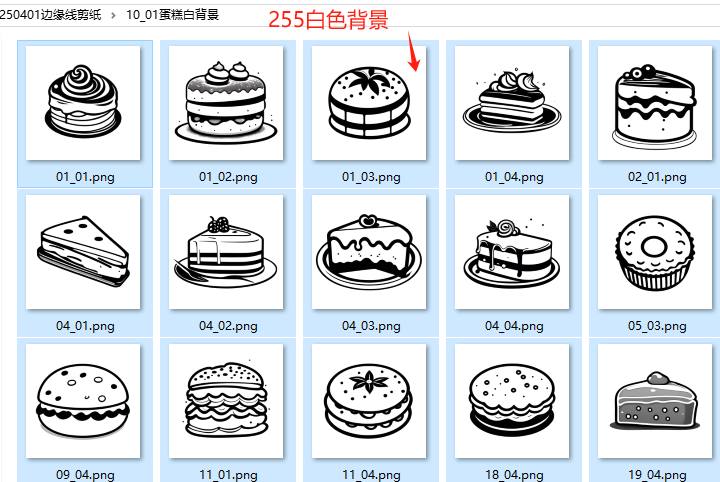
【教学类-102-05】蛋糕剪纸图案(留白边、沿线剪)04——Python白色(255)图片转为透明png再制作“点状边框和虚线边框”

背景需求
前期用青蛙PNG图片做了点状边框
【教学类-102-03】自制剪纸图案(留白边、沿线剪)03——Python制作白色描边和黑点虚线间隔(透明png图片)-CSDN博客文章浏览阅读898次,点赞39次,收藏3次。【教学类-102-03】自制剪纸图案(留白边、沿线剪)03——Python制作白色描边和黑点虚线间隔(透明png图片)https://blog.csdn.net/reasonsummer/article/details/147002991?spm=1011.2415.3001.5331
【教学类-102-04】自制剪纸图案(留白边、沿线剪)04——Python制作白色描边和黑线虚线间隔(透明png图片)-CSDN博客文章浏览阅读350次,点赞10次,收藏2次。【教学类-102-04】自制剪纸图案(留白边、沿线剪)04——Python制作白色描边和黑线虚线间隔(透明png图片)https://blog.csdn.net/reasonsummer/article/details/147022408?spm=1011.2415.3001.5331
但是我前期大部分图片都是用PS填充(255,255,255)白色背景,并没有把背景变成PNG透明。
因此需要
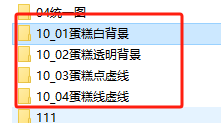
1、先识别255,255,255的图像坐标(10-01)
2、把255,255,255的地方改成透明色"RGBA"(10-02)
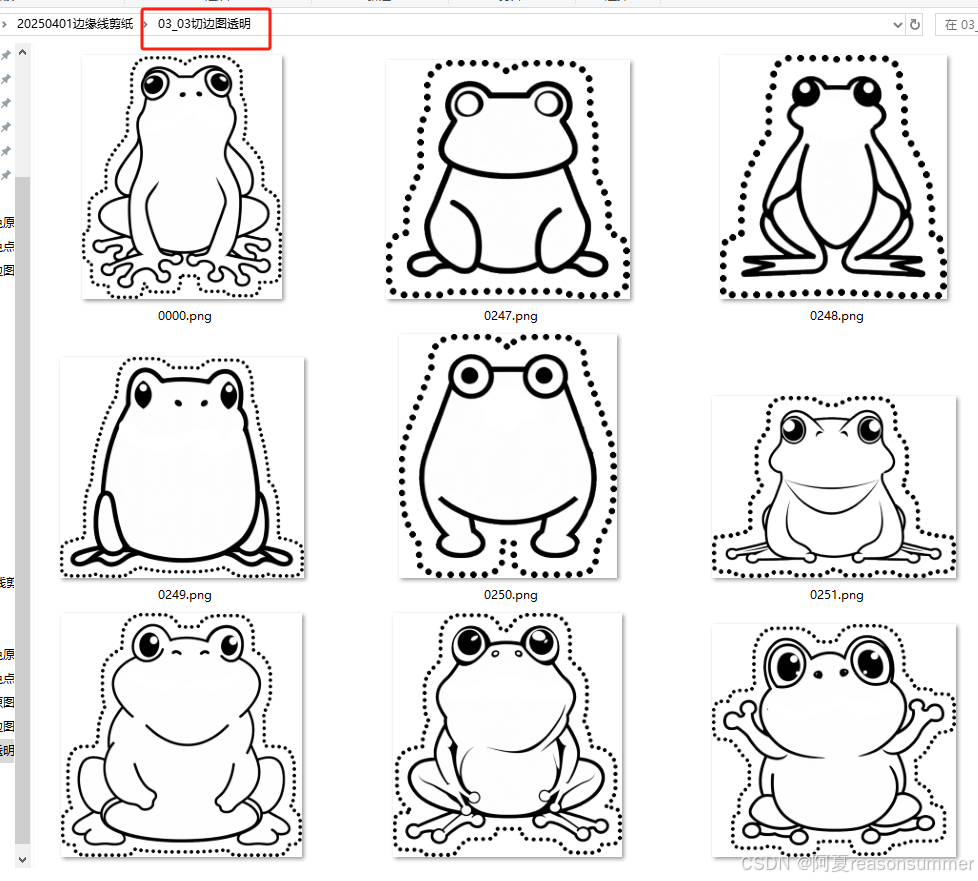
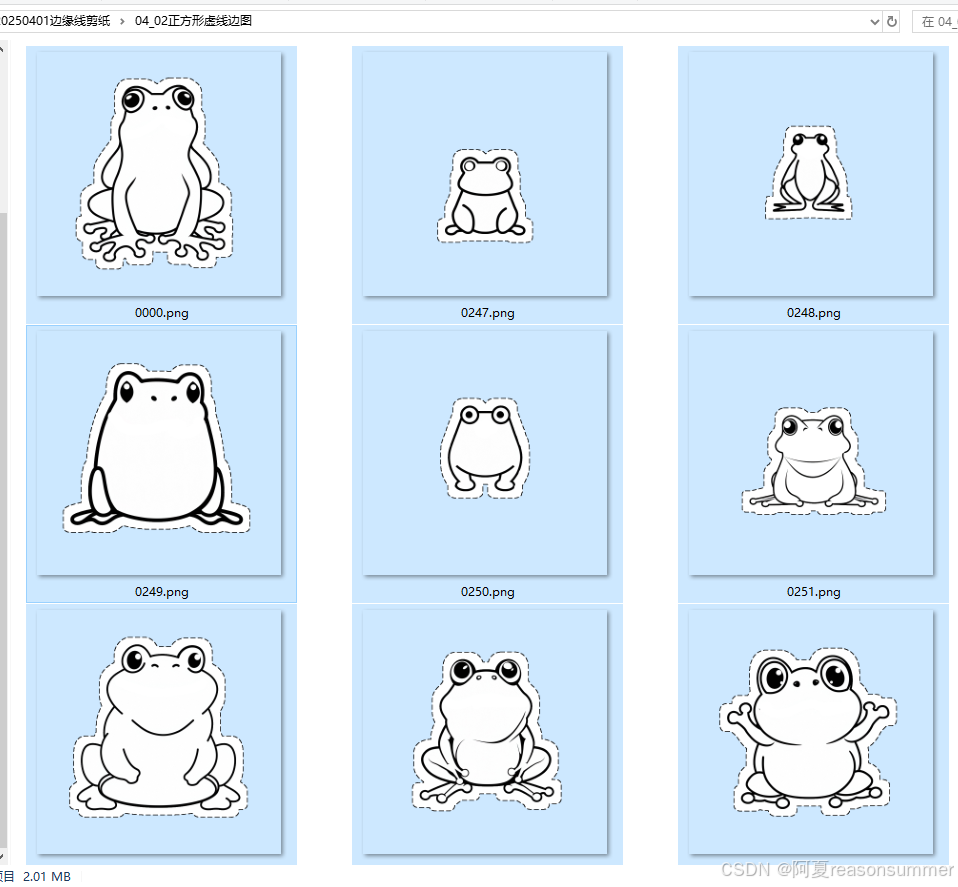
3、根据透明部分与非透明部分交界线,添加点状虚线(10-03)或线状虚线(10-04)。
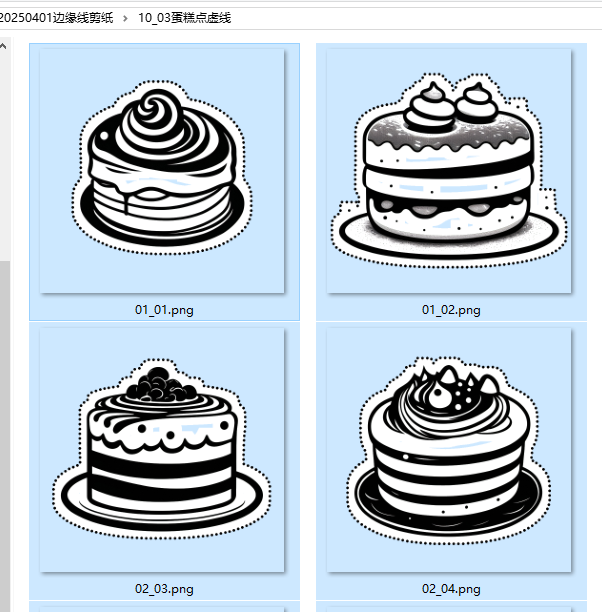
代码一:点状虚线
'''
先把白色背景改成透明,然后在添加点状虚线
剪纸外轮廓描边虚线点制作(黑点)沿线剪——平均边缘点子的距离(最终效果)
deepseek 阿夏
20250407
'''

from PIL import Image, ImageDraw
import os
import math

# 先把图片被色部分变成透明

'''

图片透明
'''
from PIL import Image
import os

def process_image(file_path):
    img = Image.open(file_path)
    img = img.convert("RGBA")
    datas = img.getdata()

    new_data = []
    for item in datas:
        if item[0] == 255 and item[1] == 255 and item[2] == 255:
            # 红色
            new_data.append((255, 0, 0, 0))
        else:
            new_data.append(item)

    img.putdata(new_data)
    return img

path = r'C:\Users\jg2yXRZ\OneDrive\桌面\20250401边缘线剪纸'
in_folder = path+r'\10_01蛋糕白背景'
input_folder = path+r'\10_02蛋糕透明背景'
os.makedirs(input_folder,exist_ok=True)

for file_name in os.listdir(in_folder):
    if file_name.endswith(".png") or file_name.endswith(".jpg") or file_name.endswith(".jpeg"):
        input_file_path = os.path.join(in_folder, file_name)
        input_file_path = os.path.join(input_folder, file_name)
        processed_image = process_image(input_file_path)
        processed_image.save(input_file_path)


# 搜索变

# 白边宽度(像素)
white_border_width = 30
# 黑点直径(像素)
dot_size = 10
# 黑点间距(像素)
dot_spacing = dot_size*2  # 增加间距确保均匀分布

def get_edge_pixels(image):
    """获取图像中不透明像素与透明像素交界的边缘像素坐标"""
    edge_pixels = []
    pixels = image.load()
    width, height = image.size

    for y in range(height):
        for x in range(width):
            if pixels[x, y][3] > 0:  # 不透明像素
                # 检查4邻域
                for dx, dy in [(-1,0),(1,0),(0,-1),(0,1)]:
                    nx, ny = x+dx, y+dy
                    if 0 <= nx < width and 0 <= ny < height:
                        if pixels[nx, ny][3] == 0:  # 邻域透明
                            edge_pixels.append((x, y))
                            break
    return edge_pixels

def expand_edge_pixels(edge_pixels, distance, width, height):
    """扩展边缘像素坐标到指定距离"""
    expanded_pixels = set()
    for x, y in edge_pixels:
        for dy in range(-distance, distance+1):
            for dx in range(-distance, distance+1):
                nx, ny = x+dx, y+dy
                if 0 <= nx < width and 0 <= ny < height:
                    expanded_pixels.add((nx, ny))
    return expanded_pixels

def get_contour_pixels(border_pixels, width, height):
    """获取白边区域的外轮廓像素(使用边缘追踪算法)"""
    # 找到起始点(最左上角的边界像素)
    start_point = None
    for y in range(height):
        for x in range(width):
            if (x,y) in border_pixels:
                start_point = (x,y)
                break
        if start_point:
            break

    if not start_point:
        return []

    # 使用Moore-Neighbor追踪算法获取轮廓
    contour = []
    current = start_point
    previous = (current[0]-1, current[1])  # 假设从左侧开始

    directions = [
        (0, -1), (1, -1), (1, 0), (1, 1),
        (0, 1), (-1, 1), (-1, 0), (-1, -1)
    ]

    while True:
        contour.append(current)
        # 找到下一个边界点
        found = False
        start_dir = (directions.index((previous[0]-current[0], previous[1]-current[1])) + 1) % 8
        for i in range(8):
            dir_idx = (start_dir + i) % 8
            dx, dy = directions[dir_idx]
            neighbor = (current[0]+dx, current[1]+dy)

            if 0 <= neighbor[0] < width and 0 <= neighbor[1] < height:
                if neighbor in border_pixels:
                    previous = current
                    current = neighbor
                    found = True
                    break

        if not found or current == start_point:
            break

    return contour

def draw_uniform_dots(image, contour, dot_size, dot_spacing):
    """在轮廓上均匀绘制黑点"""
    dot_layer = Image.new('RGBA', image.size, (0, 0, 0, 0))
    draw = ImageDraw.Draw(dot_layer)

    if not contour:
        return dot_layer

    # 计算轮廓总长度
    total_length = 0
    segments = []
    for i in range(len(contour)):
        p1 = contour[i]
        p2 = contour[(i+1)%len(contour)]
        dx = p2[0] - p1[0]
        dy = p2[1] - p1[1]
        length = math.sqrt(dx*dx + dy*dy)
        segments.append((p1, p2, length))
        total_length += length

    # 计算需要绘制的点数
    num_dots = int(total_length / dot_spacing)
    if num_dots == 0:
        num_dots = 1

    # 均匀分布点
    step = total_length / num_dots
    current_dist = 0
    segment_idx = 0
    remaining_seg = segments[0][2]

    for _ in range(num_dots):
        # 找到当前点所在线段
        while current_dist > remaining_seg and segment_idx < len(segments)-1:
            current_dist -= remaining_seg
            segment_idx += 1
            remaining_seg = segments[segment_idx][2]

        p1, p2, seg_len = segments[segment_idx]
        ratio = current_dist / seg_len
        x = p1[0] + ratio * (p2[0] - p1[0])
        y = p1[1] + ratio * (p2[1] - p1[1])

        # 绘制黑点
        draw.ellipse([
            (x - dot_size/2, y - dot_size/2),
            (x + dot_size/2, y + dot_size/2)
        ], fill=(0, 0, 0, 255))

        current_dist += step

    return dot_layer

def process_image(input_path, output_path):
    """处理单个图像"""
    original = Image.open(input_path).convert('RGBA')
    original_copy = original.copy()
    width, height = original.size

    # 获取边缘并扩展白边
    edge_pixels = get_edge_pixels(original)
    border_pixels = expand_edge_pixels(edge_pixels, white_border_width, width, height)

    # 获取精确的外轮廓
    contour = get_contour_pixels(border_pixels, width, height)

    # 创建白边图层
    white_border = Image.new('RGBA', (width, height), (255, 255, 255, 255))
    mask = Image.new('L', (width, height), 0)
    mask_pixels = mask.load()
    for x, y in border_pixels:
        mask_pixels[x, y] = 255
    white_border.putalpha(mask)

    # 合成白边
    result = Image.alpha_composite(original, white_border)

    # 绘制均匀分布的黑点
    dot_layer = draw_uniform_dots(original, contour, dot_size, dot_spacing)
    result = Image.alpha_composite(result, dot_layer)

    # 覆盖原始图像
    result = Image.alpha_composite(result, original_copy)

    result.save(output_path, format='PNG')
    print(f"Processed: {os.path.basename(input_path)}")

def process_images(input_folder, output_folder):
    """批量处理图像"""
    if not os.path.exists(output_folder):
        os.makedirs(output_folder)

    for filename in os.listdir(input_folder):
        if filename.lower().endswith('.png'):
            input_path = os.path.join(input_folder, filename)
            output_path = os.path.join(output_folder, filename)
            process_image(input_path, output_path)

if __name__ == '__main__':
    path = r'C:\Users\jg2yXRZ\OneDrive\桌面\20250401边缘线剪纸'
    # input_folder = os.path.join(path, '10 蛋糕白背景')

    output_folder = os.path.join(path, '10_03蛋糕点虚线')
    process_images(input_folder, output_folder)
效果图:


代码;2:线条虚线
'''
先把白色背景改成透明,然后在添加线条虚线
剪纸外轮廓描边虚线点制作(黑点)沿线剪——平均边缘点子的距离(最终效果)
deepseek 阿夏
20250407
'''
'''
剪纸外轮廓描边虚线制作(黑色虚线)沿线剪——最终稳定版
确保显示虚线边框且无多余连接线
'''

from PIL import Image, ImageDraw
import os
import math
import numpy as np


# 图片透明
from PIL import Image
import os

def process_image(file_path):
    img = Image.open(file_path)
    img = img.convert("RGBA")
    datas = img.getdata()

    new_data = []
    for item in datas:
        if item[0] == 255 and item[1] == 255 and item[2] == 255:
            # 红色
            new_data.append((255, 0, 0, 0))
        else:
            new_data.append(item)

    img.putdata(new_data)
    return img

path = r'C:\Users\jg2yXRZ\OneDrive\桌面\20250401边缘线剪纸'
in_folder = path+r'\10_01蛋糕白背景'
input_folder = path+r'\10_02蛋糕透明背景'
os.makedirs(input_folder,exist_ok=True)

for file_name in os.listdir(in_folder):
    if file_name.endswith(".png") or file_name.endswith(".jpg") or file_name.endswith(".jpeg"):
        input_file_path = os.path.join(in_folder, file_name)
        input_file_path = os.path.join(input_folder, file_name)
        processed_image = process_image(input_file_path)
        processed_image.save(input_file_path)


# 白边宽度(像素)
white_border_width = 20
# 虚线参数
dash_length = 20    # 每段虚线长度(像素)
dash_gap = 20       # 虚线间距(像素)
dash_width = 10     # 虚线粗细(像素)

def get_edge_pixels(image):
    """获取图像中不透明像素与透明像素交界的边缘像素坐标"""
    edge_pixels = set()
    pixels = image.load()
    width, height = image.size

    for y in range(height):
        for x in range(width):
            if pixels[x, y][3] > 0:  # 不透明像素
                # 检查8邻域
                for dx, dy in [(-1,-1),(-1,0),(-1,1),(0,-1),(0,1),(1,-1),(1,0),(1,1)]:
                    nx, ny = x+dx, y+dy
                    if 0 <= nx < width and 0 <= ny < height:
                        if pixels[nx, ny][3] == 0:  # 邻域透明
                            edge_pixels.add((x, y))
                            break
    return list(edge_pixels)

def expand_edge_pixels(edge_pixels, distance, width, height):
    """扩展边缘像素坐标到指定距离"""
    expanded_pixels = set()
    for x, y in edge_pixels:
        for dy in range(-distance, distance+1):
            for dx in range(-distance, distance+1):
                nx, ny = x+dx, y+dy
                if 0 <= nx < width and 0 <= ny < height:
                    expanded_pixels.add((nx, ny))
    return expanded_pixels

def get_contour_pixels(border_pixels, width, height):
    """获取白边区域的外轮廓像素(确保完整轮廓)"""
    # 创建一个二维数组来标记边界像素
    border_map = np.zeros((height, width), dtype=bool)
    for x, y in border_pixels:
        border_map[y, x] = True

    # 找到起始点(最左上角的边界像素)
    start_point = None
    for y in range(height):
        for x in range(width):
            if border_map[y, x]:
                start_point = (x, y)
                break
        if start_point:
            break

    if not start_point:
        return []

    # 使用改进的Moore-Neighbor追踪算法
    contour = []
    current = start_point
    previous = (current[0]-1, current[1])  # 假设从左侧开始

    # 8邻域方向定义(顺时针顺序)
    directions = [
        (0, -1), (1, -1), (1, 0), (1, 1),
        (0, 1), (-1, 1), (-1, 0), (-1, -1)
    ]

    # 追踪完整轮廓
    max_iterations = width * height * 2  # 防止无限循环
    iterations = 0

    while iterations < max_iterations:
        iterations += 1
        contour.append(current)

        # 找到下一个边界点
        found = False
        start_dir = (directions.index((previous[0]-current[0], previous[1]-current[1])) + 1) % 8

        for i in range(8):
            dir_idx = (start_dir + i) % 8
            dx, dy = directions[dir_idx]
            neighbor = (current[0]+dx, current[1]+dy)

            if 0 <= neighbor[0] < width and 0 <= neighbor[1] < height:
                if border_map[neighbor[1], neighbor[0]]:
                    # 检查是否回到了起点(完成一个完整轮廓)
                    if neighbor == start_point and len(contour) > 3:
                        return contour  # 返回完整闭合轮廓

                    previous = current
                    current = neighbor
                    found = True
                    break

        if not found:
            break  # 无法找到下一个点

    return contour

def draw_uniform_dashes(image, contour, dash_length, dash_gap, dash_width):
    """在轮廓上均匀绘制黑色虚线(正确处理闭合轮廓)"""
    dash_layer = Image.new('RGBA', image.size, (0, 0, 0, 0))
    draw = ImageDraw.Draw(dash_layer)

    if len(contour) < 2:
        return dash_layer

    # 计算轮廓总长度(包括闭合段)
    total_length = 0
    segments = []

    # 添加所有线段(包括最后一段连接起点和终点的线段)
    for i in range(len(contour)):
        p1 = contour[i]
        p2 = contour[(i+1)%len(contour)]
        dx = p2[0] - p1[0]
        dy = p2[1] - p1[1]
        length = math.sqrt(dx*dx + dy*dy)
        segments.append((p1, p2, length))
        total_length += length

    if total_length == 0:
        return dash_layer

    # 计算虚线周期长度
    dash_cycle = dash_length + dash_gap

    # 计算需要绘制的虚线数量
    num_dashes = int(total_length / dash_cycle)
    if num_dashes == 0:
        num_dashes = 1

    # 均匀分布虚线
    current_pos = 0
    segment_idx = 0
    remaining_seg = segments[0][2]

    while current_pos < total_length and segment_idx < len(segments):
        # 找到当前虚线起点所在线段
        while current_pos > remaining_seg and segment_idx < len(segments)-1:
            current_pos -= remaining_seg
            segment_idx += 1
            remaining_seg = segments[segment_idx][2]

        # 计算虚线起点坐标
        p1, p2, seg_len = segments[segment_idx]
        ratio = min(current_pos / seg_len, 1.0)  # 确保不超过1
        start_x = p1[0] + ratio * (p2[0] - p1[0])
        start_y = p1[1] + ratio * (p2[1] - p1[1])

        # 计算虚线终点位置
        end_pos = min(current_pos + dash_length, total_length)

        # 绘制虚线(可能跨越多个线段)
        remaining_dash = dash_length
        current_seg = segment_idx
        current_ratio = ratio
        points = [(start_x, start_y)]

        while remaining_dash > 0 and current_seg < len(segments):
            p1, p2, seg_len = segments[current_seg]
            available = seg_len * (1 - current_ratio) if current_seg == segment_idx else seg_len

            if remaining_dash <= available:
                # 虚线终点在当前线段内
                end_ratio = current_ratio + remaining_dash / seg_len
                end_x = p1[0] + end_ratio * (p2[0] - p1[0])
                end_y = p1[1] + end_ratio * (p2[1] - p1[1])
                points.append((end_x, end_y))
                break
            else:
                # 虚线延伸到下一线段
                points.append((p2[0], p2[1]))
                remaining_dash -= available
                current_seg += 1
                current_ratio = 0

        # 绘制虚线(确保至少有两个点)
        if len(points) > 1:
            draw.line(points, fill=(0, 0, 0, 255), width=dash_width)

        # 移动到下一个虚线起点
        current_pos += dash_cycle

    return dash_layer

def process_image(input_path, output_path):
    """处理单个图像"""
    original = Image.open(input_path).convert('RGBA')
    original_copy = original.copy()
    width, height = original.size

    # 获取边缘并扩展白边
    edge_pixels = get_edge_pixels(original)
    border_pixels = expand_edge_pixels(edge_pixels, white_border_width, width, height)

    # 获取精确的外轮廓
    contour = get_contour_pixels(border_pixels, width, height)

    # 创建白边图层
    white_border = Image.new('RGBA', (width, height), (255, 255, 255, 255))
    mask = Image.new('L', (width, height), 0)
    mask_pixels = mask.load()
    for x, y in border_pixels:
        mask_pixels[x, y] = 255
    white_border.putalpha(mask)

    # 合成白边
    result = Image.alpha_composite(original, white_border)

    # 绘制均匀分布的黑色虚线
    dash_layer = draw_uniform_dashes(original, contour, dash_length, dash_gap, dash_width)
    result = Image.alpha_composite(result, dash_layer)

    # 覆盖原始图像
    result = Image.alpha_composite(result, original_copy)

    result.save(output_path, format='PNG')
    print(f"Processed: {os.path.basename(input_path)}")

def process_images(input_folder, output_folder):
    """批量处理图像"""
    if not os.path.exists(output_folder):
        os.makedirs(output_folder)

    for filename in os.listdir(input_folder):
        if filename.lower().endswith('.png'):
            input_path = os.path.join(input_folder, filename)
            output_path = os.path.join(output_folder, filename)
            process_image(input_path, output_path)

if __name__ == '__main__':
    path = r'C:\Users\jg2yXRZ\OneDrive\桌面\20250401边缘线剪纸'
    # input_folder = os.path.join(path, '04_01正方形虚线原图')
    output_folder = os.path.join(path, '10_04蛋糕线虚线')

    process_images(input_folder, output_folder)
效果图
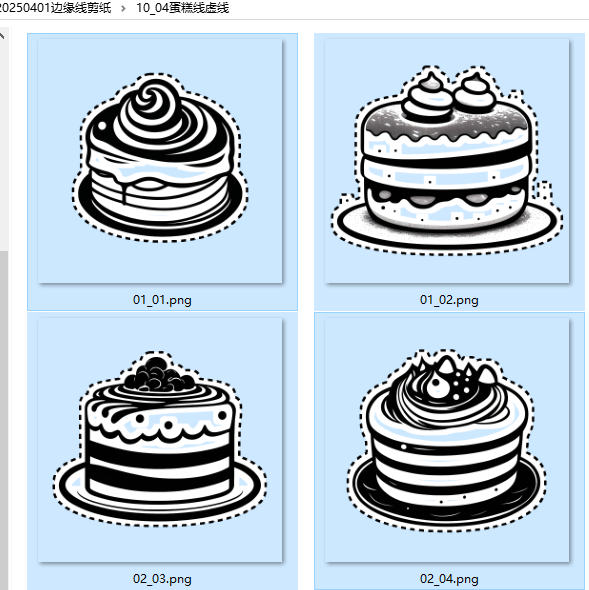


因为提供的白色背景原图,在PS图片时,魔棒选择容差50,选取相似白色,所以背景白色和蛋糕内部的白色都填充了255,255,255.因此生成的虚线图片,蛋糕内部也是透明的
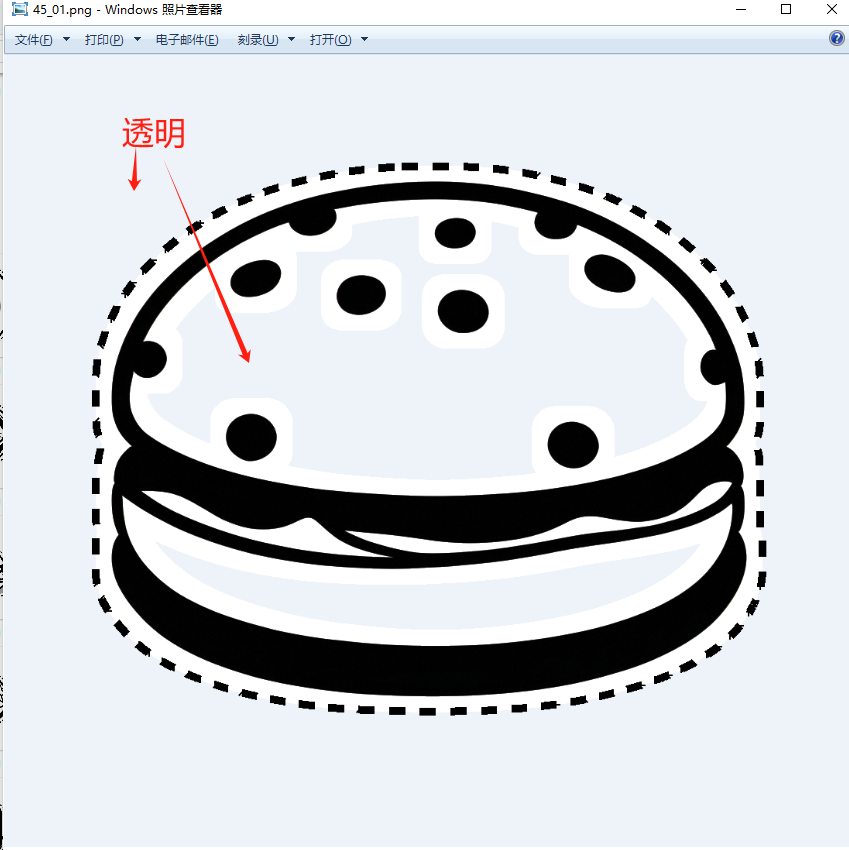
如果放在白色纸上,这一点不明显,如果填充到彩色纸上,蛋糕内部也是白色。
所以下次AI做图和PS修图时,只考虑修背景部分,不考虑选取相似(内部)
说明:
虽然是Python自动生成,但是生成的时间很长,感觉63张用了30分钟(1024比较大,它要检测边缘,费时)